
All knitting is based on variations of two basic stitches (knit and purl, where the working yarn passes through an existing loop in the fabric) and yarn overs (where the working yarn does not pass through an existing stitch). Recognising these and their variations in your knitted fabric is a key skill for reading your knitting.
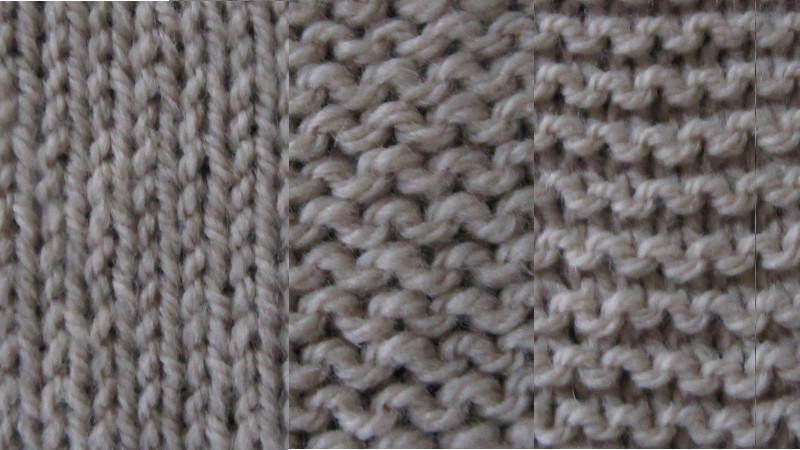
Know your knits from your purls
Recognising the basic knit and purl stitches is fundamental to reading your knitting.
Knit stitches
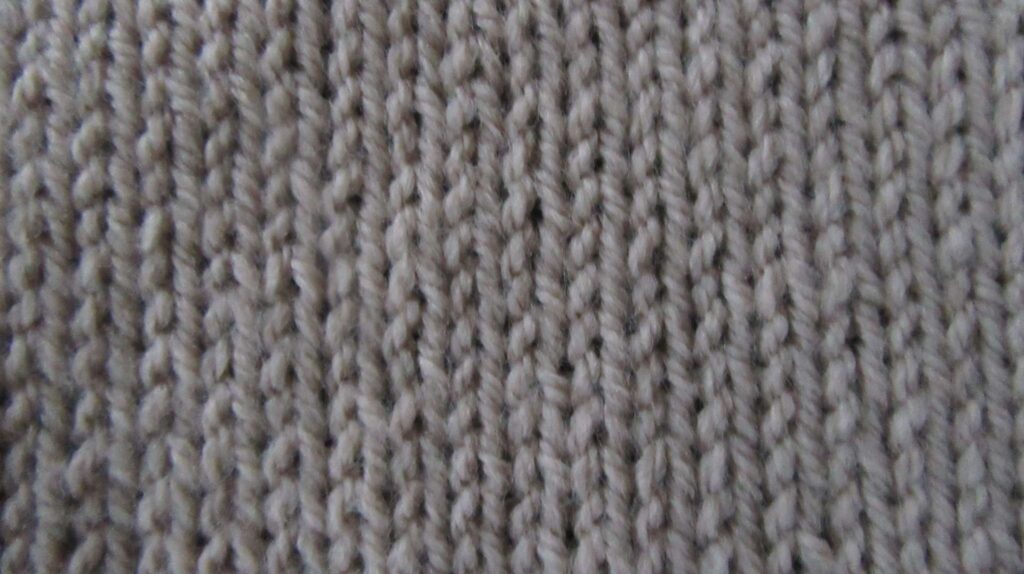
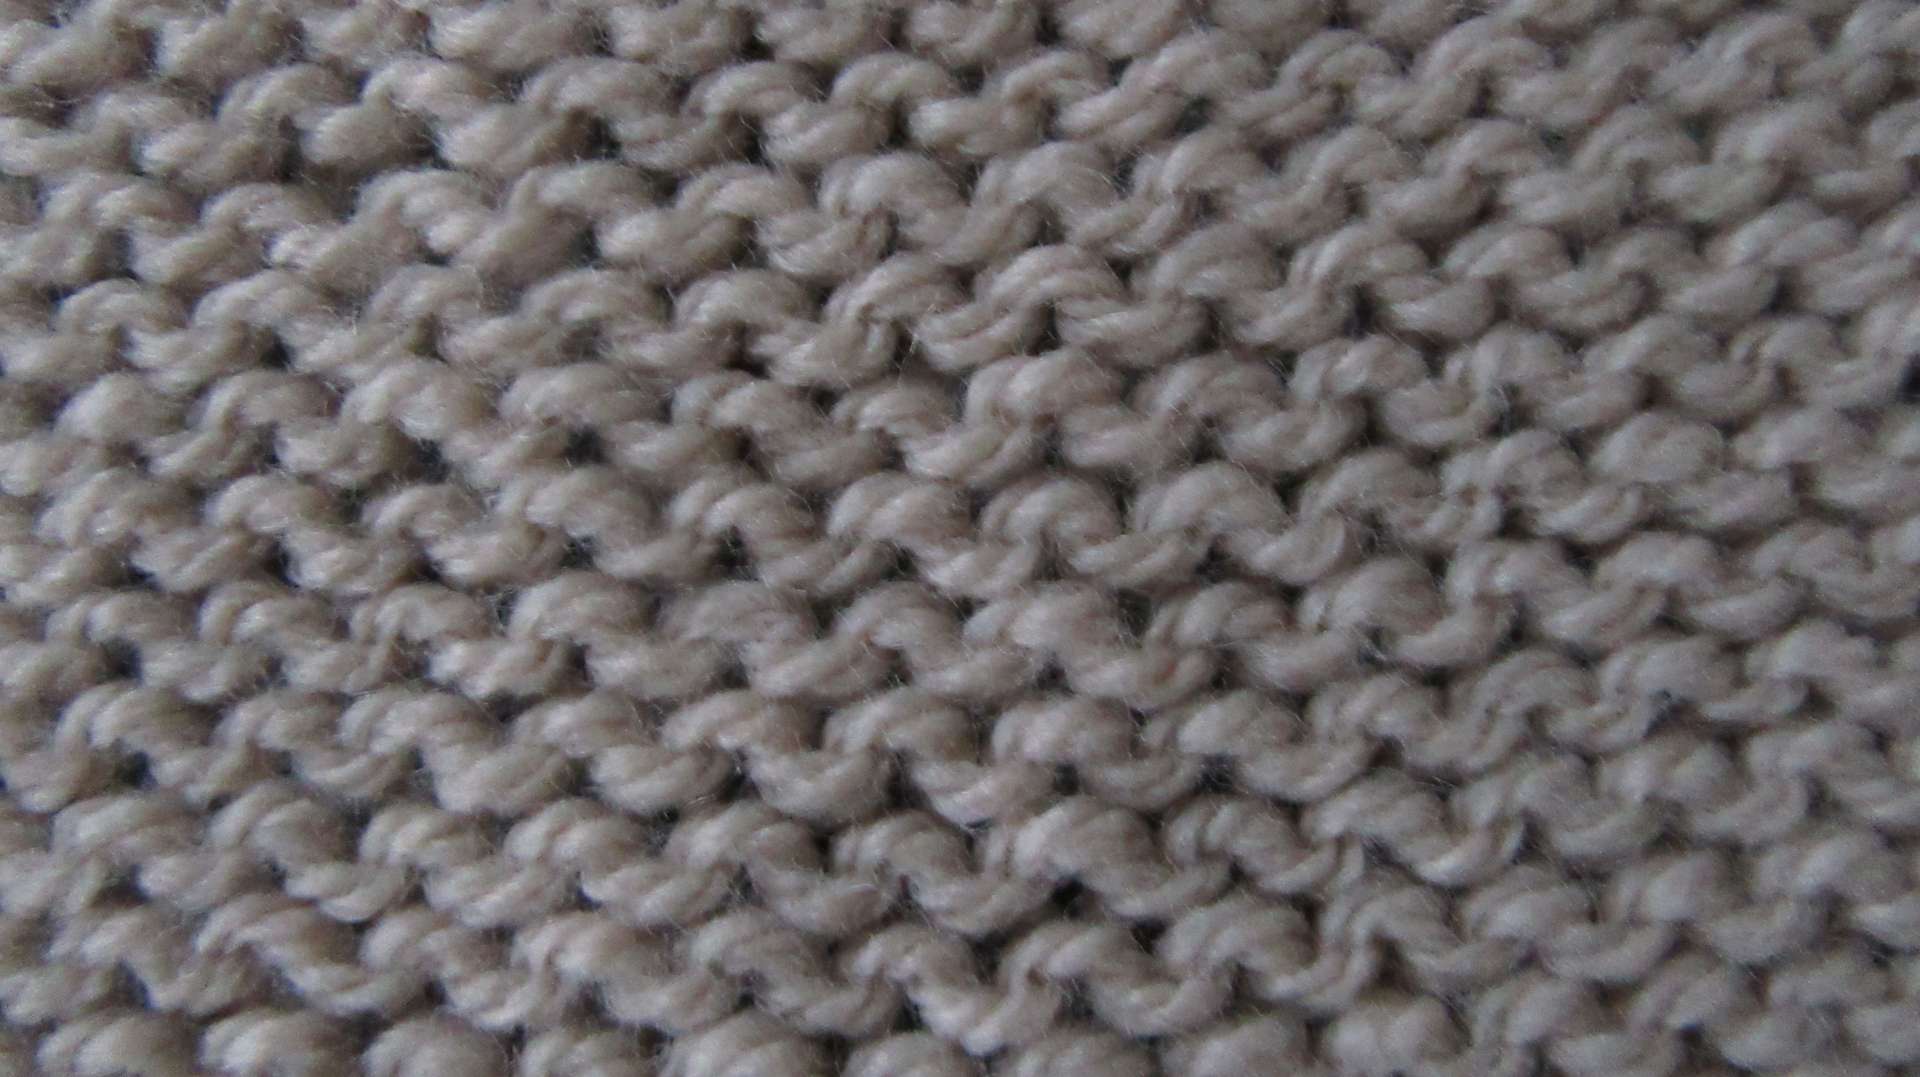
Knitting in the round, you make stocking stitch by knitting every round.
Working flat, you knit one row, then purl the next. The knit side is smooth.
If you were to take your knitting off the needles after knitting a row of knit stitches, you would have something that looked like a line of people wearing collars – the collars wrapped round behind their necks. What you see is the new loop of yarn that was pulled through the loop below.
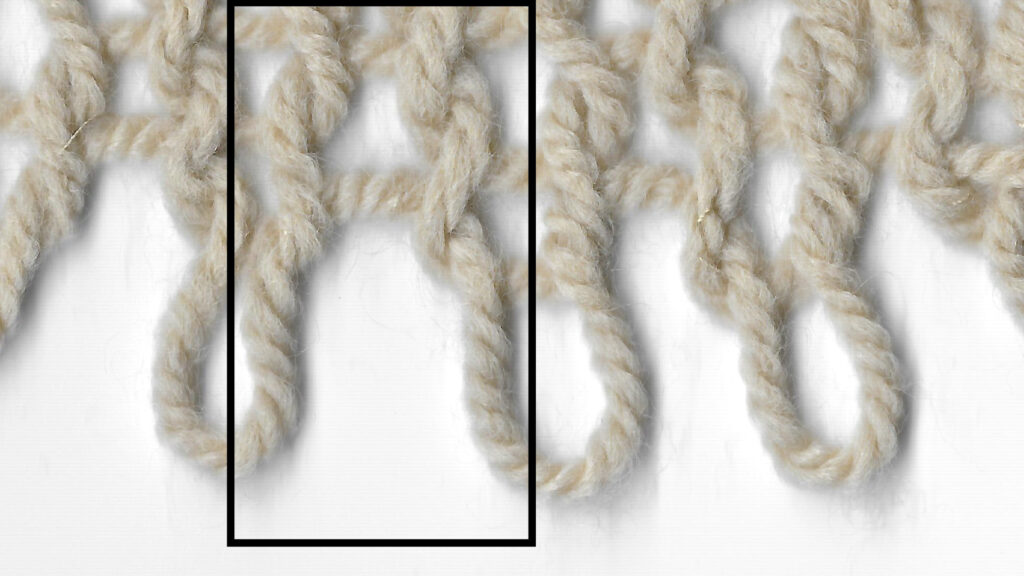
Structure of knit stitches

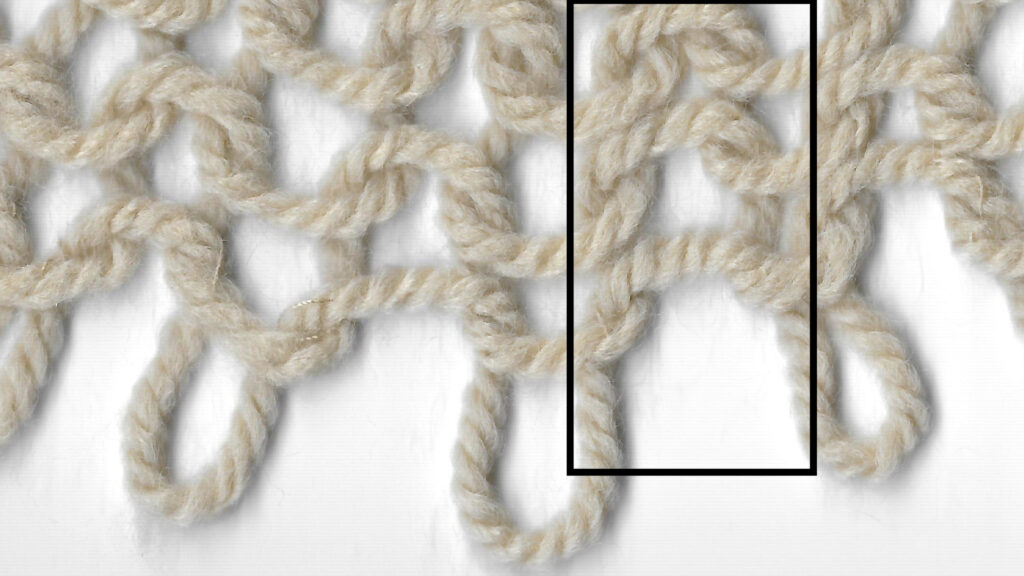
It is easier to see how knit stitches are formed if you look at loosely-knit fabric.
Look carefully at the highlighted central column of stitches and you can see how the characteristic “V” shape of a knit stitch is formed.
The open loop at the top would normally be sitting on a needle. It has not yet been made into a complete stitch. The top of the stitch below is being pushed apart by the two legs of the loop, but at the bottom it is being pulled together by the loop of the stitch below. This is what makes the “V”.
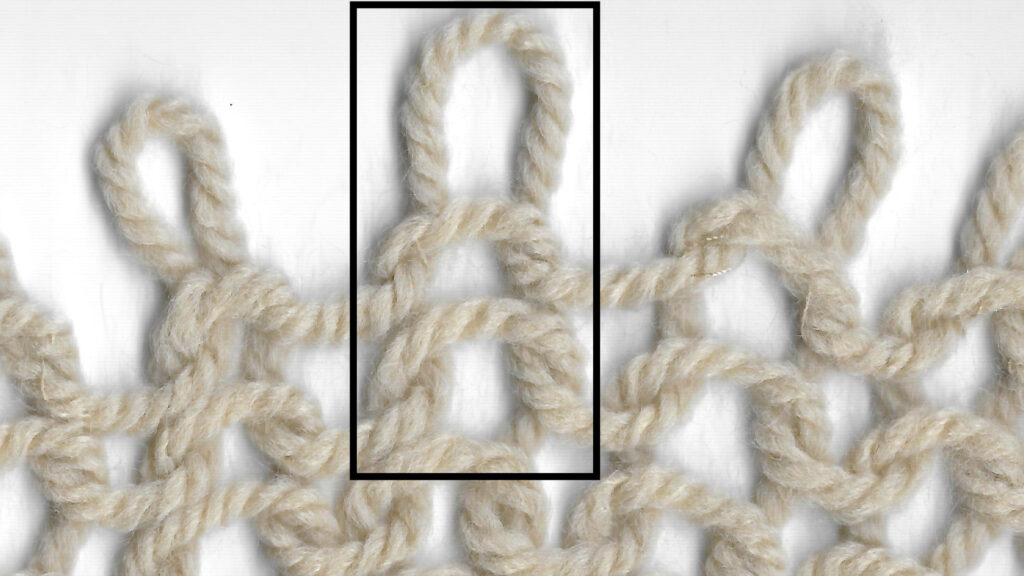
Stockinette is almost the same upside down
The image to the left shows the same area of knitting as the one above – but it has been rotated by 180 degrees so that the cast-on edge is now at the top of the picture. “Gaps” between the highlighted stitches lie just to the right of the area highlighted in the previous picture.
Cover up the open loops with a piece of paper and you will not see any difference between the “gaps” and the “stitches” in the previous picture. So, just looking at the centre of a piece of stockinette does not tell you which were the cast-on and cast-off edges.
Note. A provisional cast-on is a special type of cast on that lets you make fabric in both directions. Look back at the photographs of the structure of knit and purl stitches. The loops at the tops of the photographs are half a stitch to the side of the loops at the bottoms of the photographs. This means that when you use a provisional cast on, the fabric that you make in the “up” direction will be offset by half a stitch from that you make in the “down” direction. You may not notice this if the stitch patterns on either side of the provisional cast-on are different – but it is likely to be obvious if each side is stockinette or ribbing.
Purl stitches

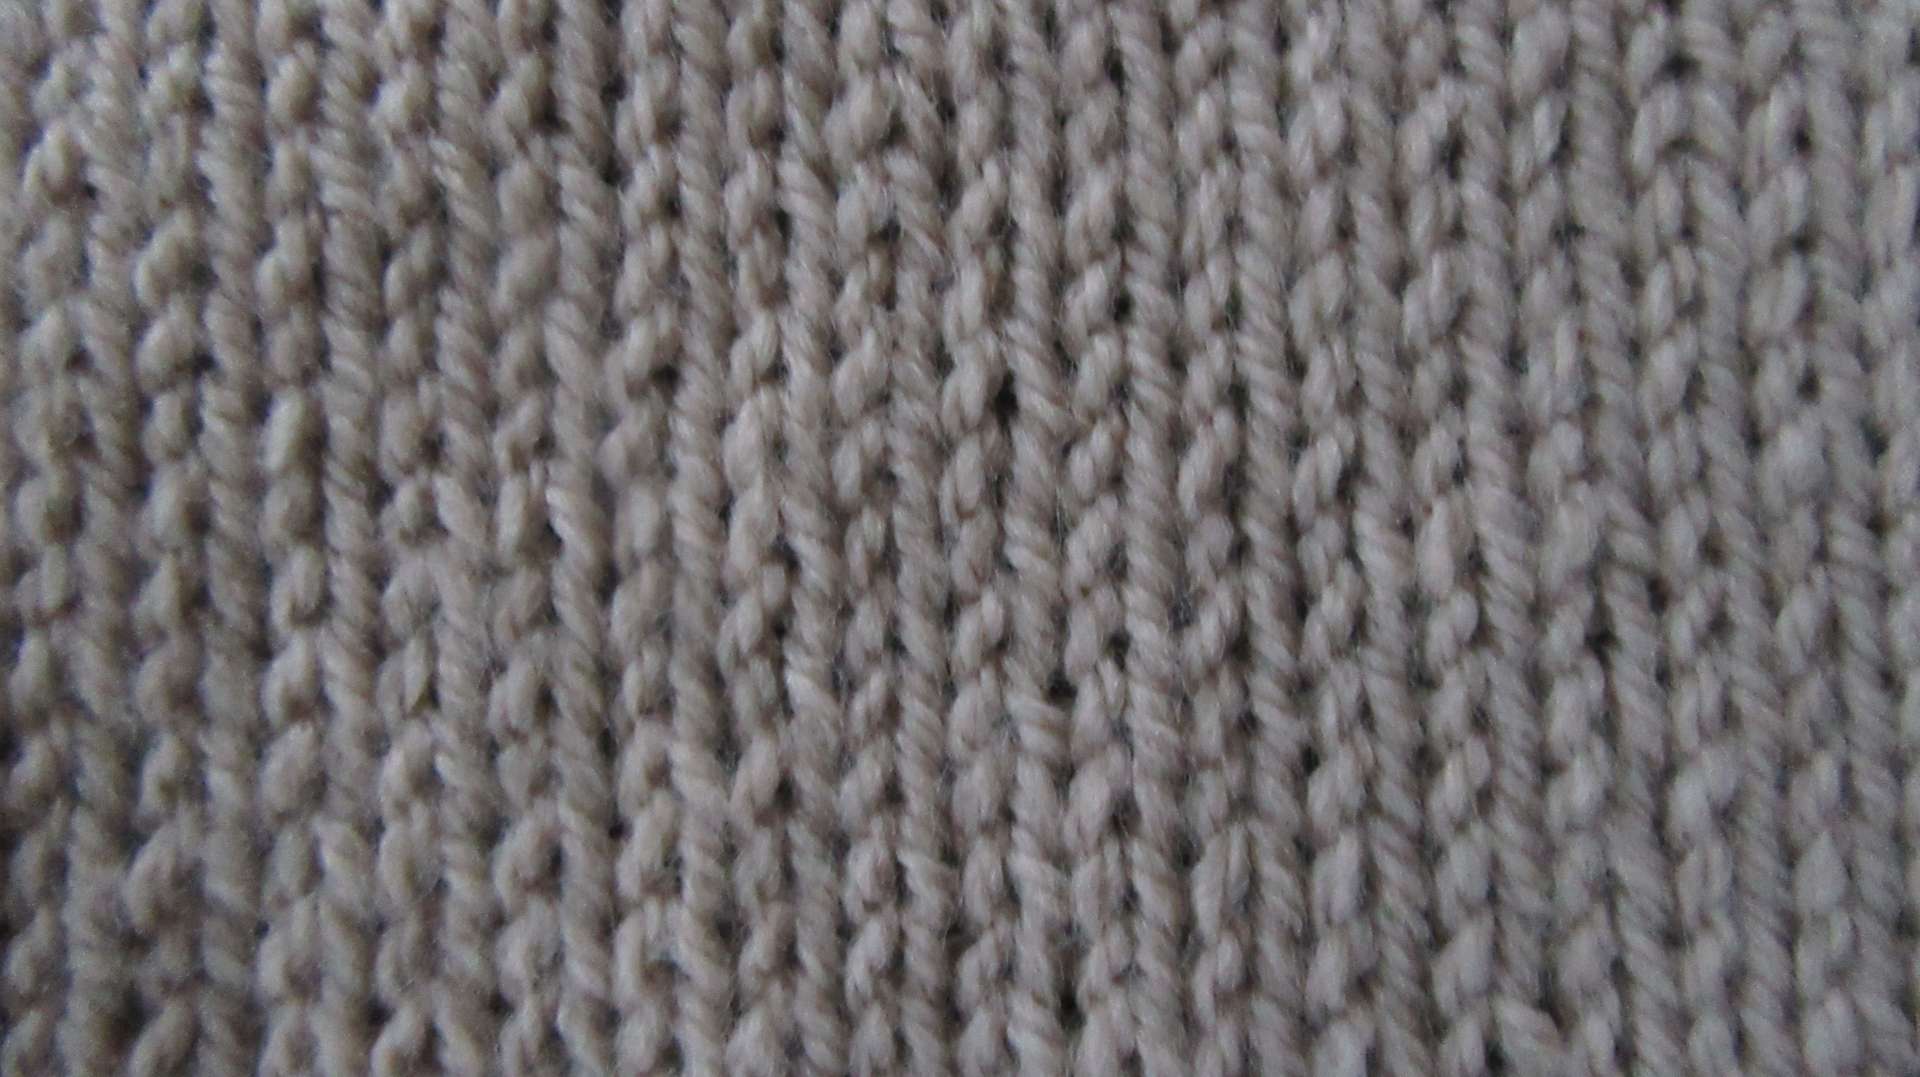
Knitting in the round you make reverse stocking stitch by purling every round.
Working flat you purl one row then knit the next. The purl side is bumpy
Purl stitches are very different, and create a rougher texture. They look more like a series of waves. The top of a wave (that looks like a “frown”) is the loop that has been pulled through the loop of the row below. Yarn between the stitches forms the wave bottoms (that looks like “smiles”). Other terms for that piece of yarn are the “bar between the stitches” or the “running thread”.
Structure of purl stitches
This picture shows an area of purl stitches with one column highlighted.
You can see how the loops are pulled “under” the previous loop, making the characteristic “collar” (or “frown”) of purl stitches. When knitted at a tighter gauge, the collar hides the remainder of the stitch.
Reverse stockinette is almost the same upside down
This picture shows the same area of knitting as the previous one. In this case, the picture has been rotated so that the cast-on edge is at the top, and the rectangle highlights the “gap” between stitches.
Just as for knit stitches, the “gaps” between stitches cannot be distinguished from the “stitches” themselves. The “frowns” of the stitches appear as “smiles” when you rotate the work by 180°. Just as for knit stitches, you cannot tell which is the cast-on edge just be looking in the middle of a section of fabric – you need to look at the cast-on or unworked edge to know “which way up” it is.
Looking at the back of stocking and reverse stocking stitch
Back of stocking stitch
Back of reverse stocking stitch
Why does the private face (back) of stocking stitch look like the public face of reverse stocking stitch? Because a knit stitch on one face is a purl stitch on the opposite face. That is why when you cannot see which row of stockinette you knit and which you purled.
What does that mean for reading your knitting? If you don’t recognise what is happening on one face – look at the other one to see if that is more familiar.
Garter stitch
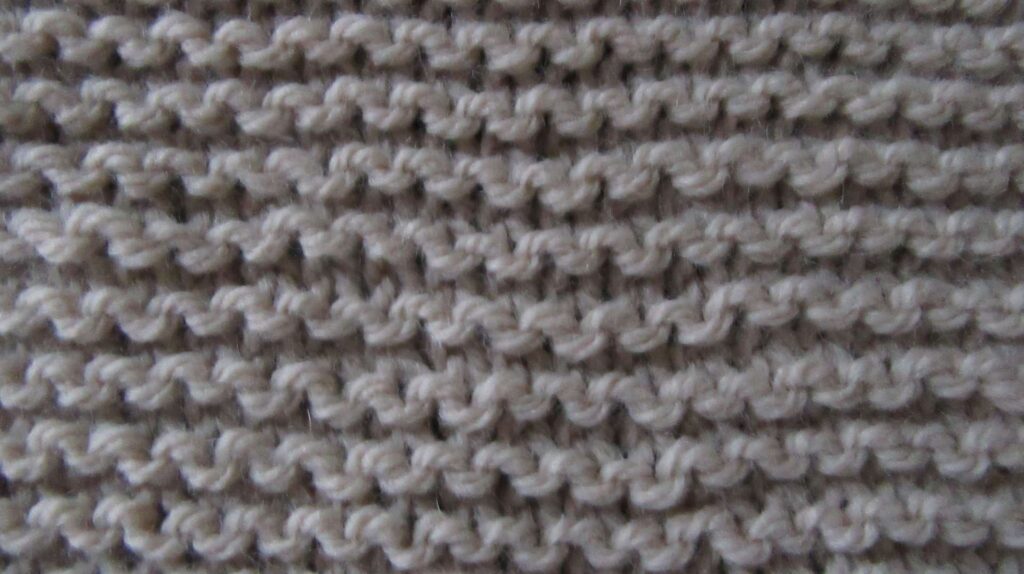
Working flat, garter stitch is made by knitting every row
Working in the round, one round is knit and the next purled.
Garter stitch looks the same from both sides.
Although garter stitch looks the same from both sides, you still need to know which is the private side and which is the public side.
Tip. Hang a removable stitch marker on the public side of any garter stitch item that you make.
Rib
Whereas garter stich alternates rows of knit and purl stitches, rib alternates these within a row.
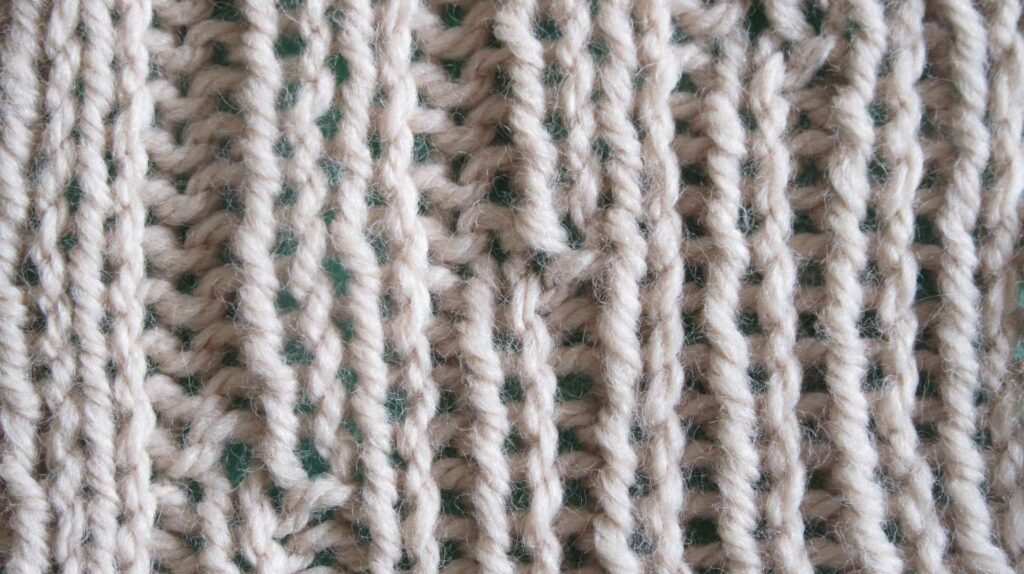
This picture shows two typical rib patterns. Top left is 2×2 rib, made as a repeating sequence of two knit then two purl stitches. Bottom right is 1×1 rib in which the repeated sequence is one knit then one purl.
Rib pulls in so that the columns of purls partly (sometimes totally) hide behind the columns of knit stitches. Sometimes rib uses different numbers of knit and purl stitches in a repeat (for example k3 p2). You can count the individual knit stitches quite easily. Knit stitches hide the purl stitches. You may need to spread the fabric to count the purls – or just count the knit stitches on the other side.
Other stitch patterns using only knit and purl
Many textured fabrics combine knit and purl stitches to create intricate patterns. Search the internet for images of “ganseys” to see how impressive these combinations can be. Now think of how much rework you would need if you could not recognise knit and purl stitches as you make them.
Cables
Though looking complex, cables are only groups of knit and purl stitches. You make them by crossing one group of stitches in front or behind another group.
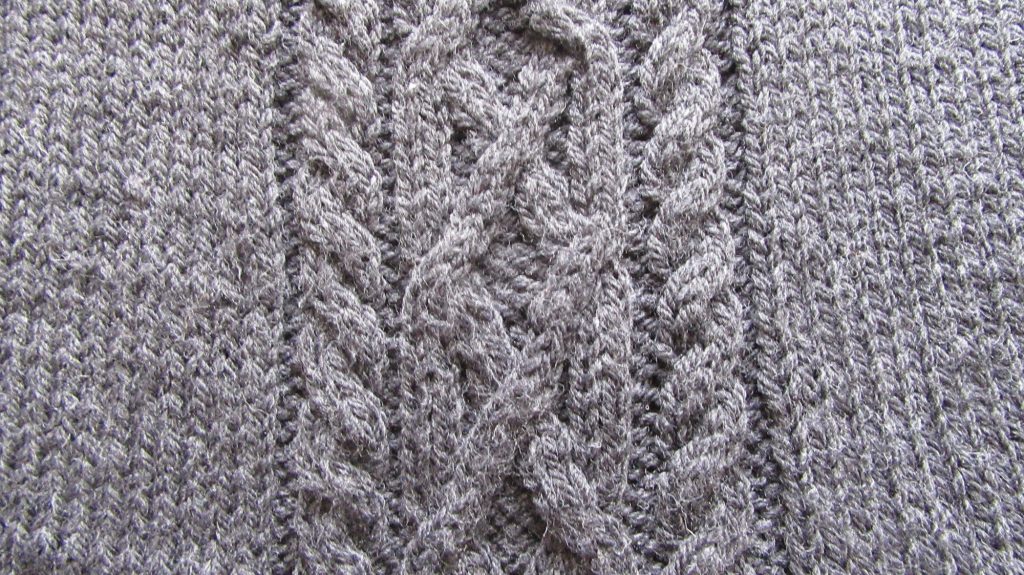
The photograph shows an area of cables. Each cable has two stitches crossing over two stitches.
In the “ropes” at the sides of this cabled area, half the knit stitches cross in front of the other half. Cables in the central area are knit stitches crossing in front of background purl stitches.
Particular things to look for when reading your knitting to find mistakes with cables are:
- Do the stitches from the left pass in front of the ones from the right, or the other way round? Look carefully at the photo above to spot which of the crossings on the central panel goes the wrong way.
- Are some crossings closer to the next than others?
- Are there purls in your cable columns?
- Is the background to the cables consistent?