
Also known as: Trapping floats, Weaving-in floats, Avoiding long floats
You may want to avoid long floats when there are several stitches of the same colour together in a stranded knitting project . This t-torial explains one way of doing this by catching (or trapping) the floats.
Catching floats in stranded knitting
There are several reasons why you might want to avoid creating long floats in your stranded project. In addition to being traps for fingers, if long floats are pulled they will take yarn from the surrounding stitches of that colour, causing those stitches to disappear from the motif. Long floats also make it more difficult to maintain an even tension.
You can avoid long floats by trapping (catching) the yarn that forms the float so that it is held close to the fabric. This t-torial describes one method of doing this.
This t-torial refers to the left-most and right-most colours. If you hold the two yarns in different hands, or on the same finger on one hand, the left-most is the yarn held on the left. If you work with the yarns held on different fingers of the same hand, the “left-most” yarn is the one held on the finger furthest from the needle.
Working on the public (knit) side
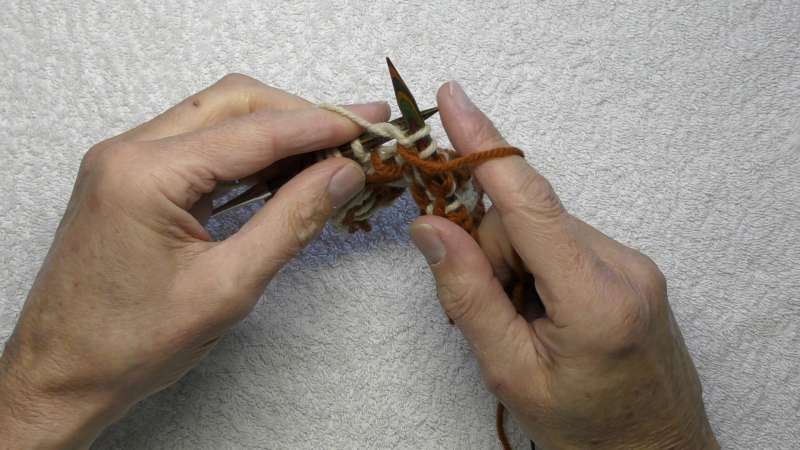
Floats of left-most colour
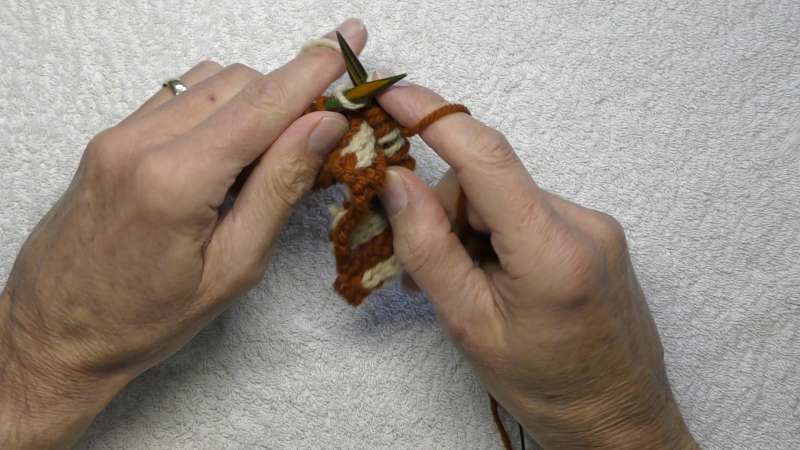
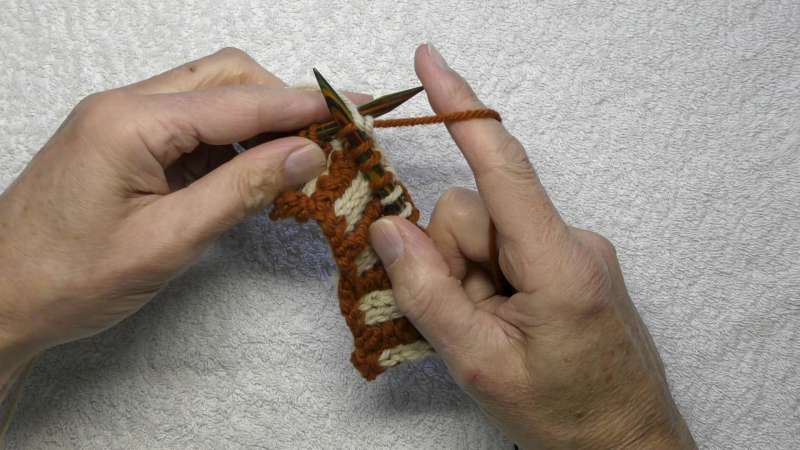
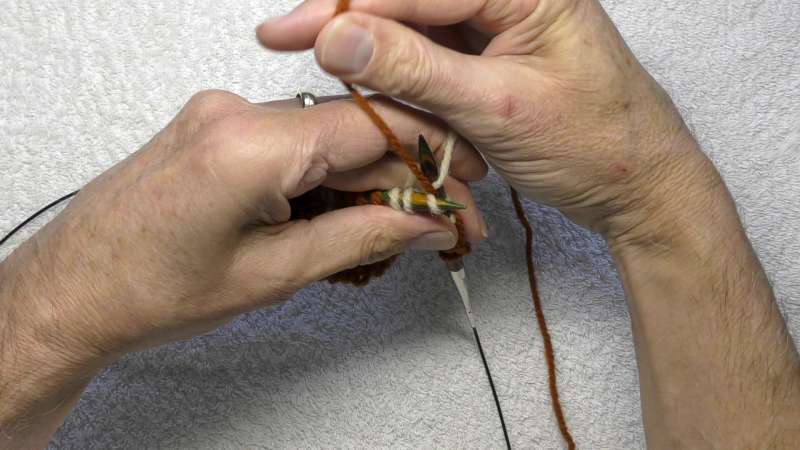
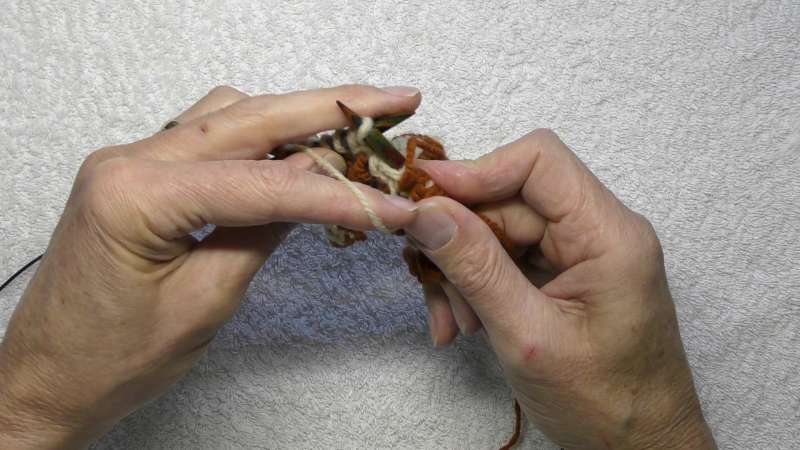
Work with the yarns held on the far side of the fabric. Insert the right needle knitwise into the next stitch.
Lay the yarn held in the left hand over the right needle (passing from right to left).
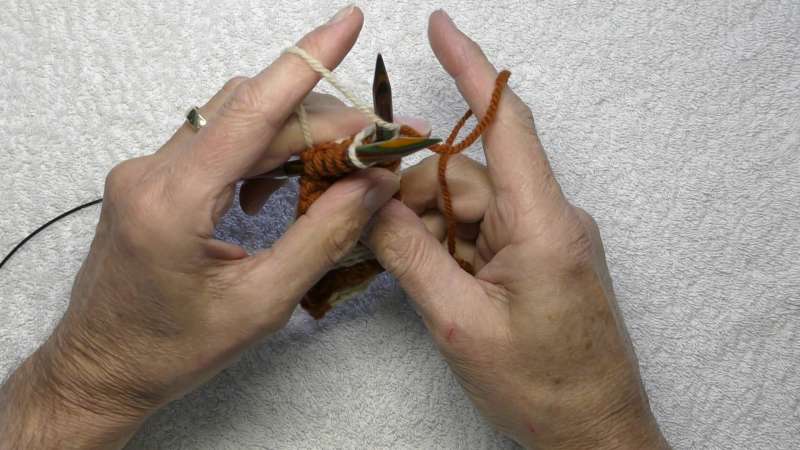
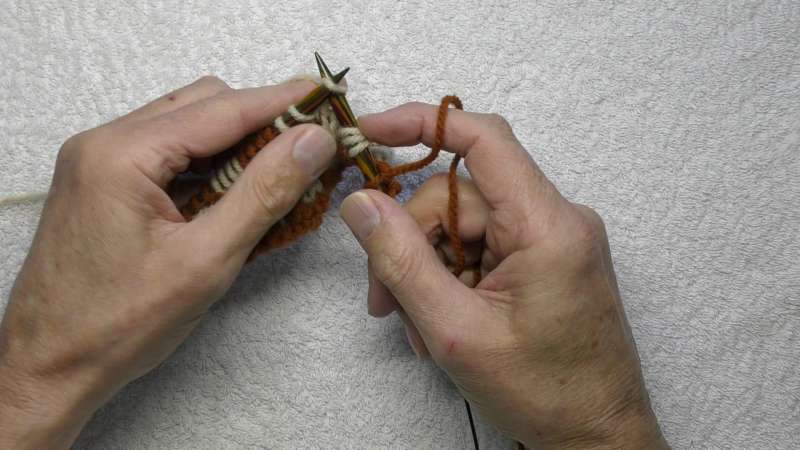
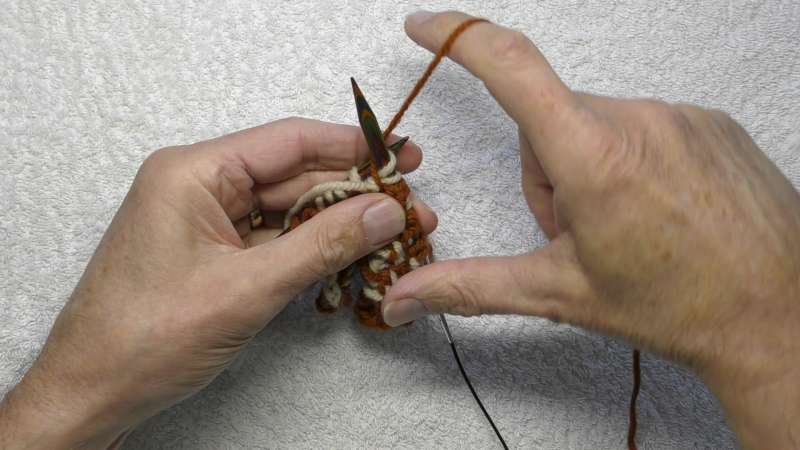
Wrap the yarn held in the right hand round the right needle as if to knit.
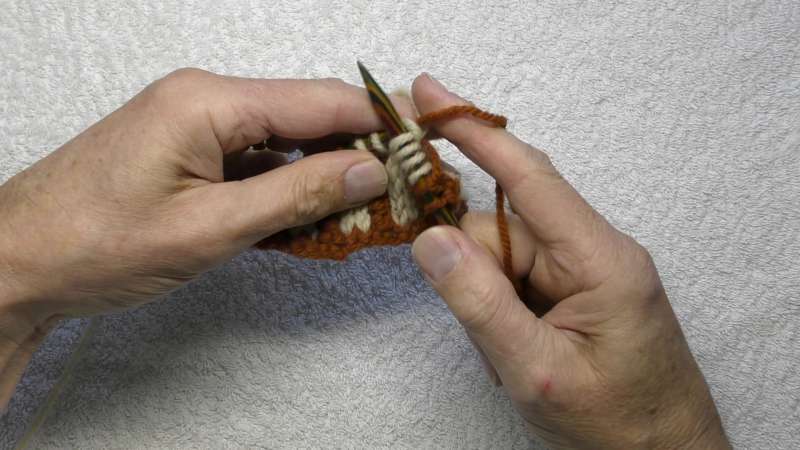
Unwrap the yarn held in the left hand.
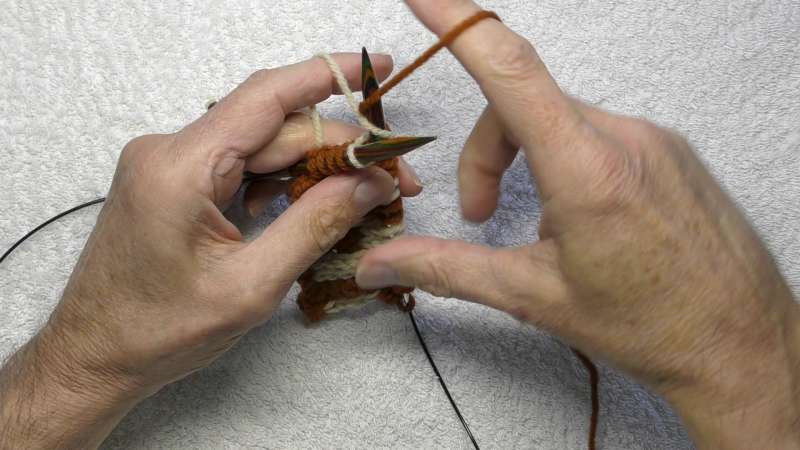
Complete the knit stitch.
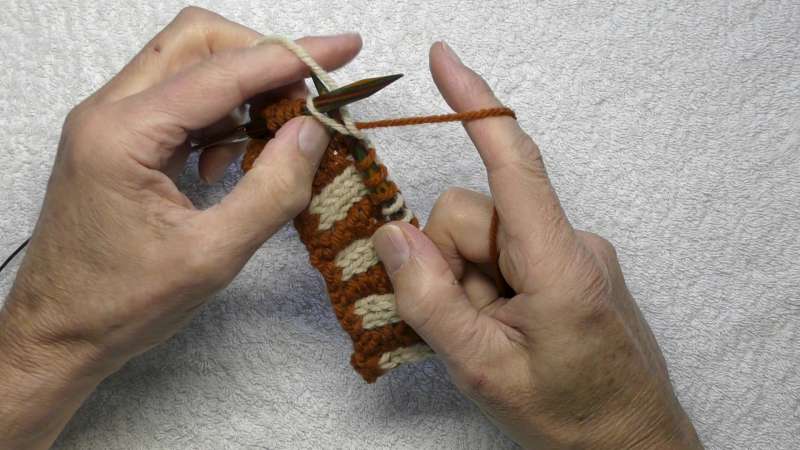
Floats of the right-most colour
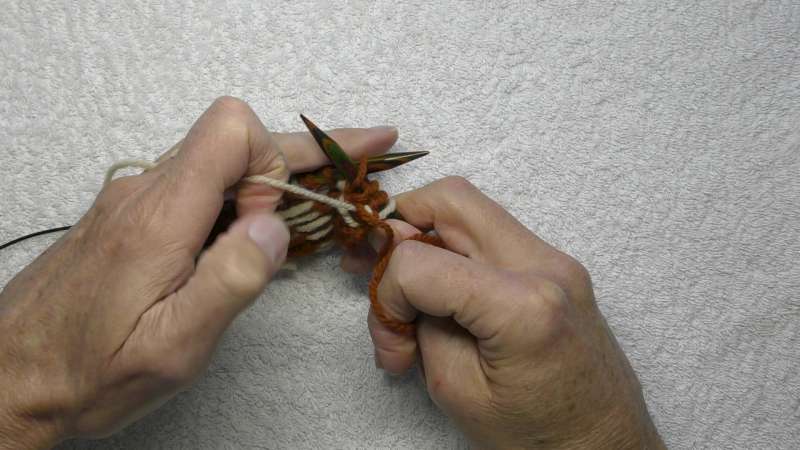
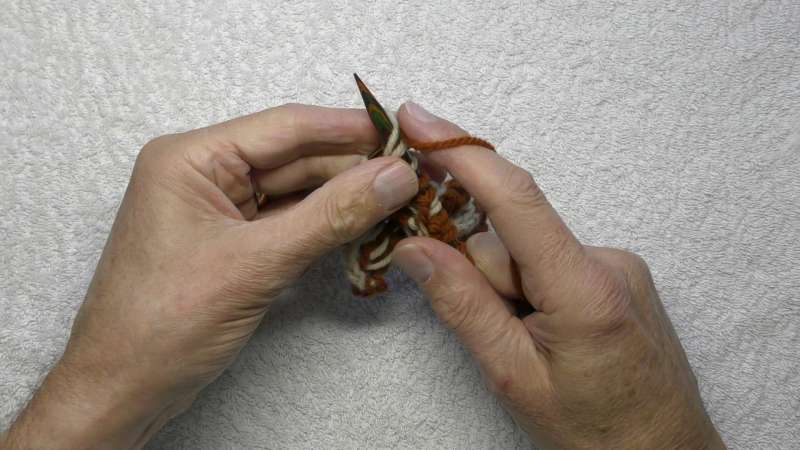
Work with the yarns held on the far side of the fabric. Insert the right needle knitwise into the next stitch.
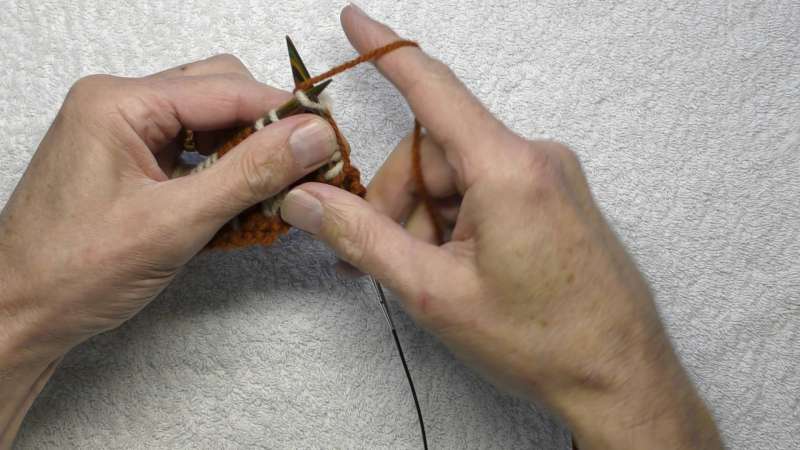
Wrap the yarn held in the right hand under and round the right needle anticlockwise.
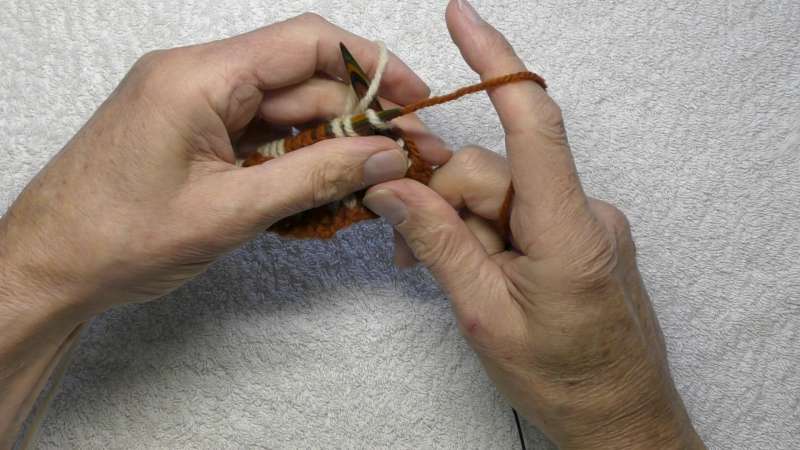
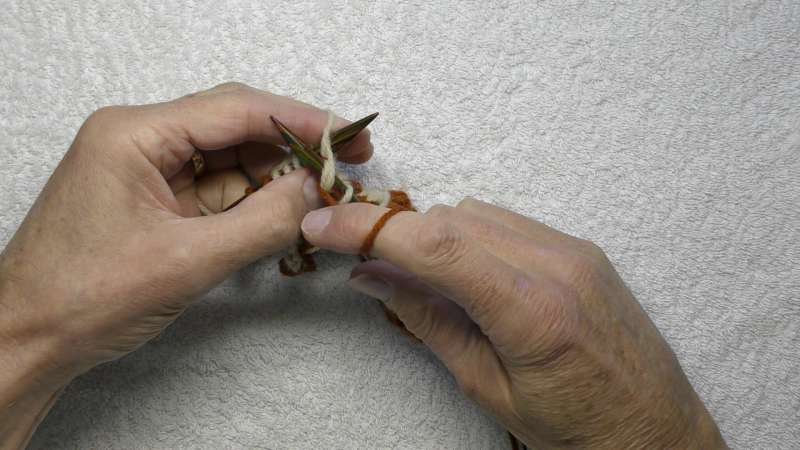
Wrap the yarn held in the left hand round the right needle as if to knit.
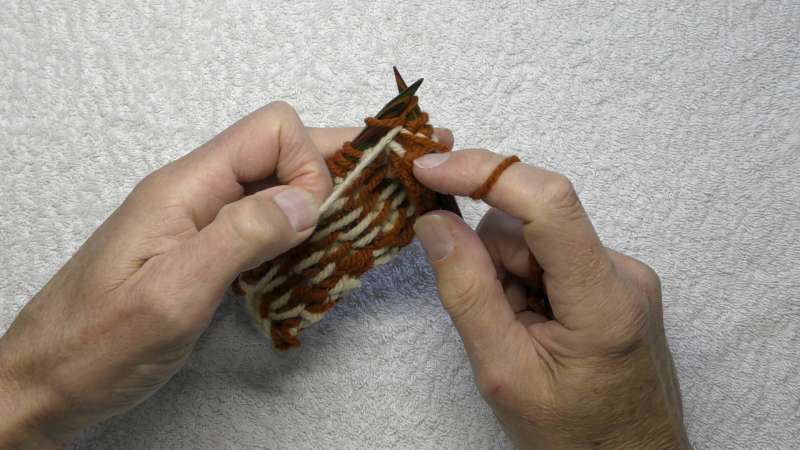
Unwrap the yarn held in the right hand.
Complete the knit stitch.
Working on the private (purl) side
Floats of the left-most colour
Work with the yarns held on your side of the fabric. Insert the right needle into the next stitch.
Lay the yarn held in the left hand over the right needle (passing from right to left).
Wrap the yarn held in the right hand round the right needle as if to purl.
Unwrap the yarn held in the left hand.
Complete the purl stitch.
Floats of the right-most colour
Work with the yarns held on your side of the fabric. Insert the right needle into the next stitch purlwise.
Wrap the yarn held in the right hand under and clockwise round the right needle.
Wrap the yarn held in the left hand round the right needle as if to purl.
Unwrap the yarn held in the right hand.
Complete the purl stitch.
General considerations when managing floats
There is no fixed rule as to how long a float has to be before it has to be caught. Traditional Fair Isle designs seldom use floats longer that five stitches, but they are also knit with fingering weight yarn – five stitches of aran weight yarn would leave a far longer float. A rule of thumb is that a float longer than about 2cm or four stitches might need to be caught.
Your pattern may result in long floats appearing above each other in adjacent rounds (or rows). Take care when catching these not to stack the catches in a column of stitches – this would result in a systematic distortion of the fabric that would allow the colour of the floats to show through to the public side.
Inevitably you will occasionally forget to catch a float. This is not a problem – just catch it when you are knitting the following round (row).
Useful links
- T-ref: Catching floats
- T-torial on how to catch floats in stranded knitting.
- T-reference article on catching floats