
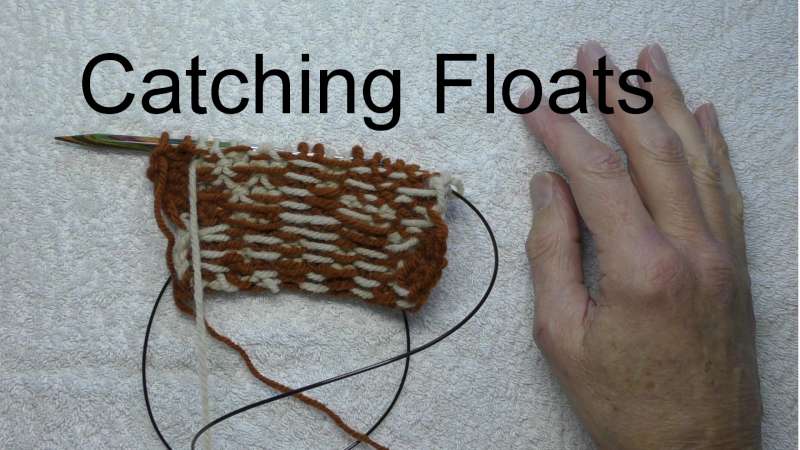
You may want to avoid long floats when there are several stitches of the same colour together in a stranded knitting project . This t-torial explains one way of doing this by catching (or trapping) the floats.
Show notes for the video t-torial
The underlined headings below are links that take you to that section in the YouTube video for this tutorial.
Introduction
Hello I’m Steve, also known as TeabreakKnitter on social media.
In this t-torial I will be showing you how I trap, or catch floats, when I’m doing stranded colourwork. The reason I want to catch the floats is to avoid very long floats that can get caught in your fingers when you wear the clothes and pull stitches out of shape. The other reason for catching floats is that with very long floats you can get tension issues.
Working on the public (knit) side
I have a piece of knitting here, and I’m ready to start an area of knitting that has an area of 7 stitches of one colour, and so I need to trap the floats in that area. I’ll just start off the row to give myself some margins on the edge.
Public side – working yarn from the left
Now I’m going to do a row of 7 [6!] stitches in this lighter colour. And I’m going to catch the floats. I’ll catch a float in the middle of that area, so on the 4th stitch. One, two, three. I want to catch the float on this fourth stitch. I’m working with the yarn in my left hand to make the stitches, and I want to trap, or catch, the yarn in my right hand. I start the stitches as usual, but before I wrap the yarn, I take the yarn from my right hand, wrap it around the end.
I’ll do that from the other angle. Yarn from my right hand, wrap it around the end, and then I wrap the stitch as normal.
I’ll show you that again. The yarn from my right hand round the needle and wrap the stitch as normal. You then unwrap the yarn from the right hand, and make your stitch.
Once more – and I’ll show you this end on. Insert the needle, wrap the right-hand yarn, wrap the stitch as normal, unwrap the right hand yarn and make the stitch. There are 3 [2!] more stitches in this run.
Public side – working yarn from the right
Now I’ll do a run of dark coloured yarn from my right hand. The way you wrap is slightly different.
One, two, three stitches. I’m going to wrap the fourth, and the float is in the lighter colour this time this time. You just lay the float across [the needle] and then wrap the stitch as normal.
[Looking at that] from the top. Lay the float across the top of the needle, wrap as normal and bring it [the stitch] down. Then the extra three stitches.
Working on the private (purl) side
OK, I want to show you this from the back, on the purl side. Because the principle is the same, bu the wrapping is slightly different. An edge stitch.
Private side – working yarn from the right
I don’t want to stack the the catches on top of each other, so I’ll just do two stitches this time, and then catch the float twice.
Two stitches – I’m going to catch it on the 3rd stitch. Once again, insert the [needle]. I’m working with the light yarn. Put it over the top, and as I cross the working yarn to wrap it you can see it’s caught it underneath.
I’ll do that again. (That’s undone that). Insert the needle, lay the [float] yarn across the top, work the stitch, and unwind that yarn, and make the stitch. I’ll do that once more. Because, I’m catching it twice to avoid stacking the floats on top of each other. Put the needle in, and you can see it’s naturally lying under that yarn at the moment, wrap it around, pull the yarn back, and carry on.
Private side – working yarn from the left
I’m getting to the run in the other colour now, to here. (I’ve only done 6 stitches [in the next run]) Knit one as normal, and I will catch the second stitch.
You put the needle through. This time we want to trap the right-hand yarn and it’s slightly different. This time you wrap the yarn the “wrong way” round the needle, so round clockwise. You then wrap the working yarn the same way as before, the same way as normal, and then unwind the float yarn and make the stitch.
I’ll show you again. Insert the needle, wrap the float yarn the “wrong way” round the needle, clockwise, then anticlockwise with the working yarn, take the float back, and you have now trapped the stitch.
Review of catching floats
I’ll show you the same thing again. I’ll create the the long floats in exactly the same positions. This time I’ll show you what is actually happening when we trap the float. Work our way to where the long floats are. I’ll just stitch again working on the knit side. Reach the long float.
Here we are now ready to go again. The stitch is being made with the left-hand yarn, so we take the float yarn, take it round the back, you can see see this working yarn is completely free from the float yarn at the moment, I wrap that [the float] round and as I pull it back, you can see it’s now catching at the back here, it’s under the yarn like that. We’ve now caught this yarn underneath the working yarn so that holds it close to the fabric.
I’ll just do the last one. Once again, take the float. Lay it over the top, because the float is of the left-hand yarn, and you can see as I bring this working yarn round it’s already caught the float between the working yarn and the body of the fabric.
And that’s how catching the float works – it catches the float yarn between the working yarn and the body of the fabric.
I’ll show you on the other side again to remind you. (Pull the yarn tight).
OK. We’ve got the float held in my left hand. I insert the needle, lay the float over the top, make the stitch as normal, and you can see here again that the float yarn is now underneath the working yarn and held and trapped next to the fabric.
Once again. Across the top, wrap the yarn and pull it back. Move along to the next long float. And off we go again. This time, because the float is from my right hand and I am working with the yarn on my left, take take the [float] yarn round needle the wrong way (clockwise). You can see now that it’s trapping the float yarn, holding it next to the fabric. Undo the float yarn, and you’ve now got a stitch. Around clockwise, make a stitch, pull it around the back, and that has trapped that float. I’ll just finish the row (like that).
How the floats look
That’s the front side. You can’t see the caught floats, and on the back, on the long runs, here, you can see how the floats have been trapped in the middle of those runs to stop them pulling loose.
Ending
That’s how I catch floats for stranded knitting.
I hope this has been useful.
Until next time, happy knitting!
Useful links
- t201907 - Catching floats
- T-torial on how to catch floats in stranded knitting.
I’m so glad I found you. Your tutorial on Catching Floats helped me so much.
Now on to finishing my hat!