
Knitting backwards (or mirror knitting) is a technique that allows you to keep the public (right) side of your work facing you while you knit. This T-torial shows how to make knit and purl stitches while taking stitches from the right hand needle to make the new ones on the left hand needle.
Show notes for the knitting backwards T-torial
The underlined headings below are links that take you to that section in the YouTube video for this tutorial.
Introduction
Hello. I’m Steve, also known as TeabreakKnitter on social media.
In this T-torial I want to show you how I go about knitting backwards.
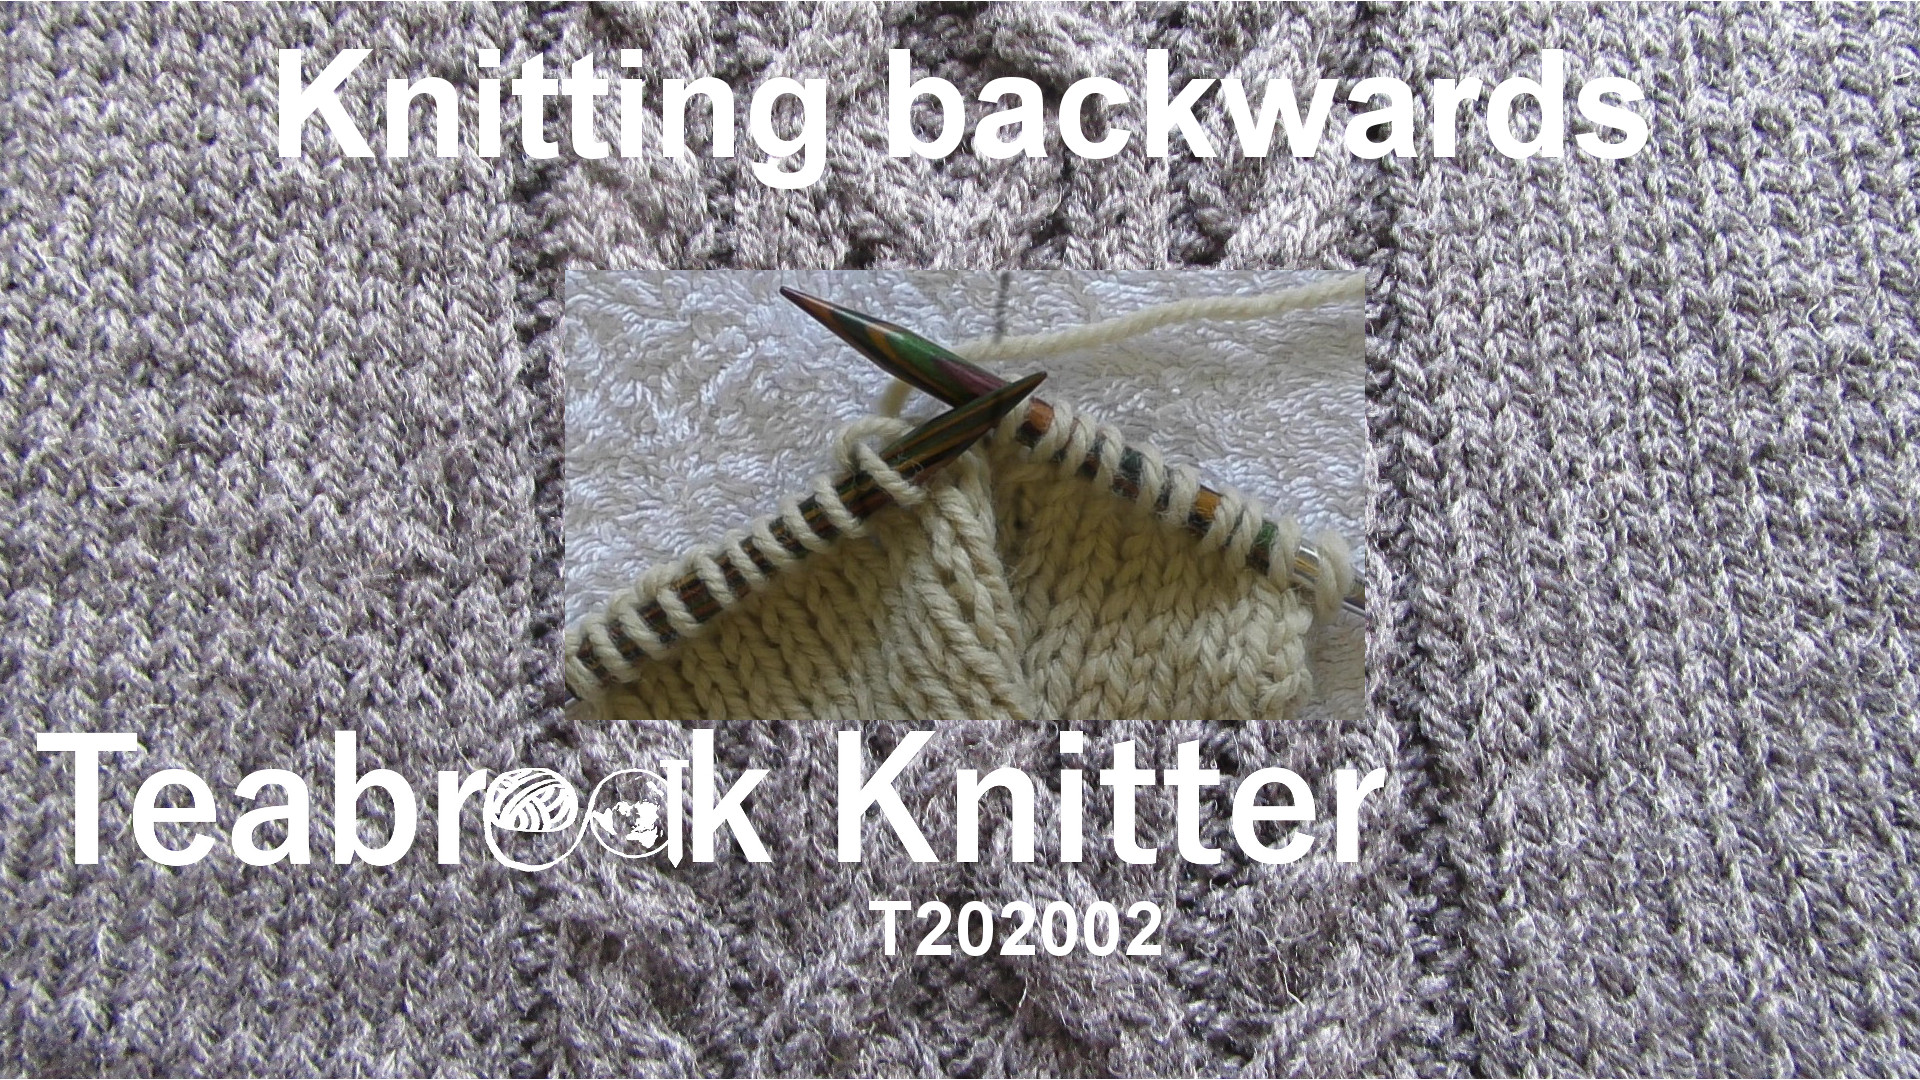
Knitting backwards is when you have reached the end of a row, having knit across on the public [right] side and instead of turning around and purling the private side you keep the public side facing you and you work back so the stitches transfer from the right hand needle to the left hand needle, knitting stitches as you go along.
I’ll show you how I do that in close- up and then I’ll come back and talk a bit about it later.
Knitting backwards – English style
Here is a [stocking stitch] swatch and I’m going to show you how I knit backwards.
The first way I’m going to show you is how I knit backwards in the equivalent of the English style. This means I’m going to hold the yarn in the same hand as the needle that receives the stitches.
I am going to wrap my yarn around the little finger and put it over my index finger.
I insert the needle through the back of the loop knitwise, wrap the yarn, and I have knit the stitch.
Again. Left-hand needle through the back loop of the [stitch], wrap it [the yarn] round the needle from the back left, round the front to the top right, and you form the stitch. You are wrapping it in the same direction as you would if you knit normally.
So again. Into the back. Wrap round and form the stitch. Into the back. Wrap round. Form the stitch.
1, 2, 3, 4, 5. I’ll keep going until I have done 10 stitches. 6. Into the back of the loop, round, make the stitch. Two more. In, round, off. Into the back, round and off.
That’s 10 stitches on the needle. 1, 2, 3, 4, 5, 6, 7, 8, 9, 10.
Knitting backwards – Continental style
I’ll now show you how to do that continental style.
Continental style is when you hold the yarn in the opposite hand to the receiving needle.
If I was knitting normally I’d be knitting from left to right. Now I’m knitting from right to left.
Once again, insert the needle into the back of the stitch [pointing towards the back] move the yarn round the needle from back left, cross the front to the right.
Again. Insert the needle at the back of the loop [in front of the back leg] wrap the yarn round the needle, and knit.
I’ll now do that using the Continental picking technique.
You can see most of the movement is being done with my left hand. In through the back, round, but taking [the stitch] off the needle I’m doing with right needle. That’s probably because I’m right-handed.
Into the back loop, wrap by picking, take it off the front. Into the back loop, off.
That’s the end of that row.
So I’ve now got a knit row that was knit English and Continental.
Purling backwards – English style
Now, I would normally just knit back, but what I want to show you is how you can actually purl backwards as well.
I’ll turn the [work] around so I’m working on the [private] side. I’ll be transferring the stitches from the right needle to the left needle.
Again, I’ll start by showing you the English method.
Yarn held in the hand that’s going to be receiving stitches.
This time I insert the needle through the back leg, but coming in from the back of the back leg [from behind it]. Wrap that [the yarn] round the front, and take it off [back through the loop].
Bring it from the back to the front through the back leg and wrap it round, across the front and back on the right hand side of the needle, and in.
In the back leg, wrap the yarn round the front, so it passes off to your right round the back, and take it off.
In behind the back leg, through the centre of the loop, bring the yarn forward, and down.
In through the back leg, bring the yarn forward, and down.
In through the back leg, bring the yarn forward, and down.
I’ll do a few more stitches like that. And one more.
Purling backwards – Continental Style
That’s purling English Style. I’ll show you continental style.
Continental style is where you hold the yarn in the opposite hand to the hand that holds the needle that is going to receive the stitches.
I’m tensioning the yarn round my fingers. Making sure that its at the front as I’m purling.
Bring it in through the back leg. So, in through the back leg, through the loop, catch the yarn, and take it out. In through the back leg, catch the yarn, and take it out.
In from behind the back leg, poke out through that loop, catch the yarn and pull it out.
In through the back, catch the yarn, and pull it out.
In through the back, catch the yarn, and pull it out.
A few more stitches. In the back, round the needle, and pull it down. In the back, round the needle, and pull it down.
And the last one for which, you have to remember, you keep the yarn at the front because we are purling, round, and down.
I’ve now got a row of purl stitches.
Other considerations
If you turn that round so that you can see the right [public] side we now have stocking stitch there, with the knit backwards knit stitches and the knit [backward] purl stitches.
So that is knitting backwards.
There are a few things to remember.
The first thing is you are working on the right [public] side of your fabric so if you are following a chart you work the chart from left to right in the same direction that you are moving with the stitches.
If you’re reading written instructions, you follow those instructions in the same order [as they are written] but you have to remember that when your instruction says to knit you have to purl, and when it says to do a left leaning decrease you do a right leaning decrease. You’re reversing the instructions, so that the fabric appears on the right [public] side as it was intended.
So the instructions for written instructions have to be interpreted if you are knitting backwards.
The other thing you need to remember about knitting backwards is that you need to practise it. Practise, practise, practise. Because, when you first start you will find that you row out, so the tension as you knit conventionally from the left needle to the right needle, which have been doing for a long time, is different from the tension when you are going from your right needle to your left needle knitting backwards. It is similar to the way that people often have issues with different tension for knit rows and purl rows. Even though you are knitting in both directions, you can’t guarantee that knitting backwards will solve that for you because you are using different movements, different techniques for knitting in either direction.
Practise before you knit backwards in a real fabric.
Knitting backwards is an alternative to knitting one row and then purling on the wrong [private] side on the way back. It’s up to you whether you want to use it. I’ve shown you how to do it if you do want to.
Until the next time,
Happy Knitting!
T-Reference
You can see a pictorial tutorial for the basic stranded cast-on in the T-reference section of this website.
Helpful links
- T-ref: Knitting Backwards
- Description of knitting backwards, knit and purl, English and Continental styles. Show notes for Knitting Backwards (T202002) on YouTube.
- Video on knitting backwards.