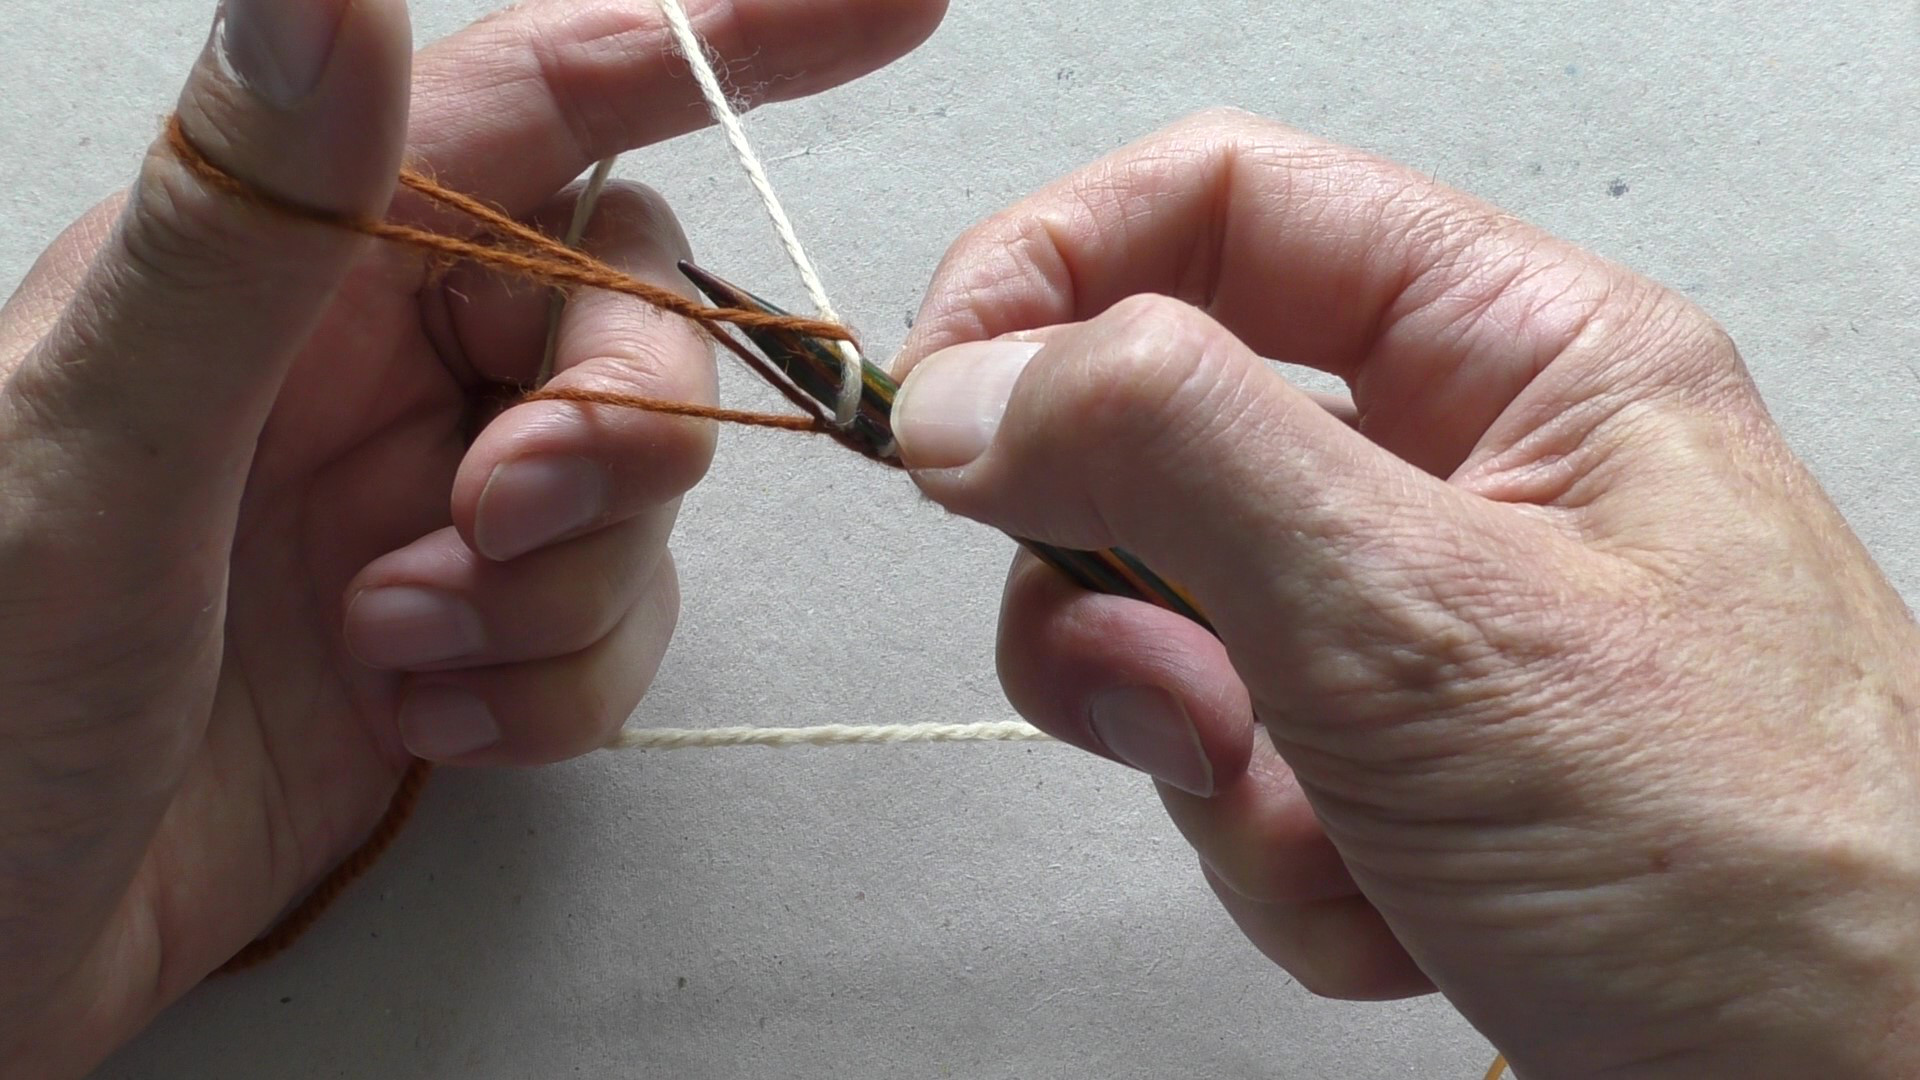
Show notes for the twisted knit half-hitch cast-on tutorial
The underlined headings below are links that take you to that section in the YouTube video for this tutorial.
Introduction
Hello. I’m Steve, also known as Teabreak Knitter on social media.
In this T-torial I will show you how I do the twisted knit half-hitch cast-on. This is also known as the twisted German cast-on and the Old Norwegian cast-on.
I first came across it in a Fair Isle pattern which suggested it was a good cast-on to use with corrugated rib. Corrugated rib has the knit stitches in one yarn and the purl stitches in another yarn, so the twist in the cast-on can help stabilize the first row of the pattern.
This is how I do the twisted knit half-hitch cast-on.
The first method
I’d like to show you the twisted knit [half-hitch] cast-on. Use one piece of yarn. One end (this is the [free] end of the yarn) is the tail end, and you want 3 or 4 times the width of your garment for your tail end. The other end is the yarn that is attached to your ball and becomes the working yarn for the rest of the garment. I just tied together two different coloured yarns here so that it is easier for you to see in the video which is the tail end and which is the working yarn.
You start off by putting the tail end over your thumb, the working yarn over your forefinger, and holding the ends in your palm with the other fingers.
For this very first cast on stitch you come up underneath the strand, bring it forward in front of the tail end, back past the other side of the tail end through the middle, bring your needle up, bring it forward, put it through the loop (still working on the tail end), and turn it round so it is now pointing towards the back. Put it under the working yarn, and now, with the tip of your needle underneath that little cross of the tail end – through that little cross there. And now you can leave go. And pull it.
Again. The tail end, catch it on your thumb, needle to the front, under the tail end nearest you, up the middle, over the tail end farthest away from you, keep it going round in a circle, under the working yarn, and back through and under that little cross at the bottom.
[Again] Forward, under, back, up, through the loop, back, under and through the loop under the cross.
The second method
There is an alternative way of doing it [the cast-on]. It starts off the same, but I find it a little bit easier at the end.
So, again, keep going forward, back, up, through the loop (just exactly the same at the moment), under the working yarn. Instead of going through that little cross there, you undo that loop by rotating your thumb, so there is just a plain straightforward loop. You can just throw [the loop] over the end of the needle.
So, forward, back, through, back, around, undo the cross, and loop over the needle like that. So, forward, back, forward, through, round the back, undo the loop by turning your thumb around, like that.
Compare the two methods
Comparing the two again.
The first way: forward, round, through the hole, round the back, under the working yarn, and through that little cross bit at the bottom.
That way again: under, back, through the hole, under, over, and through the hole beneath the cross.
And the second technique: forward, back, through the loop, under, rotate your thumb, and drop the loop over the end.
[Again] Forward, back, through the loop, pick up the working yarn, rotate your thumb, and drop the loop over the end. (That one slipped off the top of the screen, didn’t it!) Like that. So, two ways of doing the cast-on.
Both of them produce the same result.
And that is a twisted knit [half-hitch] cast-on.
Summary
So that’s how I do the twisted knit half-hitch cast-on. I hope you found this useful.
You can find the show notes at the URL that is shown on the screen. Until the next time, Happy Knitting!
T-Reference
You can see a pictorial tutorial for the basic stranded cast-on in the T-reference section of this website


