
Context
Picking up stitches allows you to create a continuous fabric by knitting new stitches onto existing ones. Exactly how you pick up the stitches depends on where on the fabric you are picking up the stitches, where the new row of stitches will lie relative to the original fabric, and the stitches used in the original fabric and the new fabric to be created from the stitches you have picked up. This article describes how to pick up stitches from the middle of a fabric (for example to form a pocket).
You can find instructions for picking up stitches in other contexts in these related atricles.
- Pick up stitches at a garter stitch edge.
- Pick up stitches at a stocking stitch edge.
- Pick up stitches at a cast-off edge.
- Pick up stitches at a steek.
How to do it
Your pattern will usually tell you how many stitches you need to pick up, but may say “pick up stitches evenly”. If you would like help working out how to distribute your new stitches (or work out how many stitches you need to pick up), you can find more information in the article “Strategy for picking up stitches“.
This article describes how to pick up stitches from a stockinette fabric. The same principles apply to other types of fabric. You are unlikely to be asked to pick up stitches in a lacy area.
The original fabric is a light colour in the photographs and the working yarn is a dark colour.
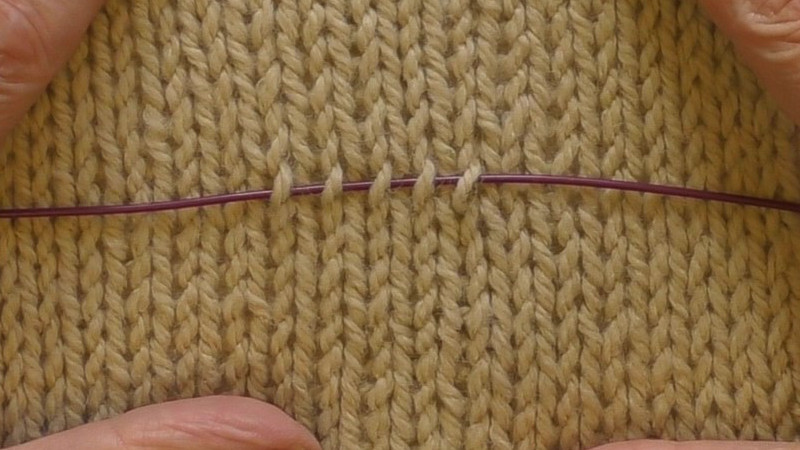
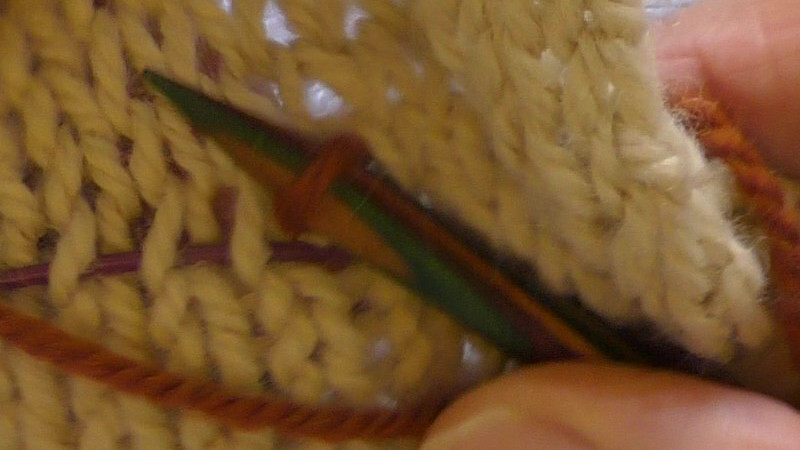
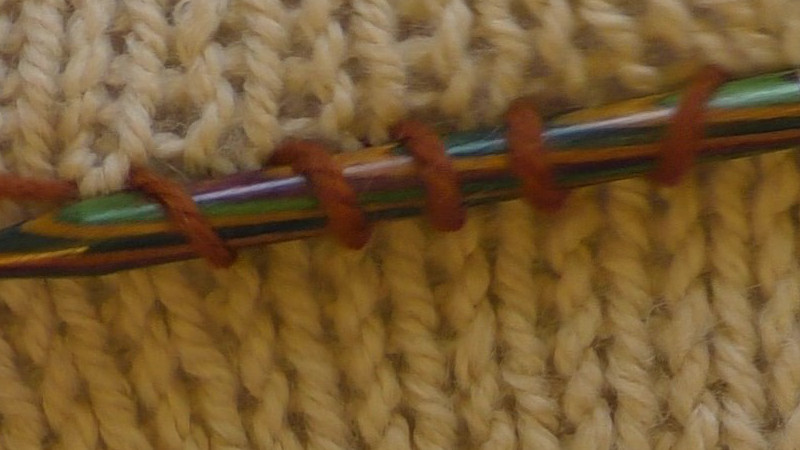
Mark the stitches that you want to pick up.
You could place stitch markers on the first and last stitches, or thread a running thread through the stitches you want to pick up. Here, I have threaded a cable needle under the right leg of every stitch I want to pick up. As the gauge of the new and original fabrics will be the same, I am picking up every stitch over the width of the new fabric.
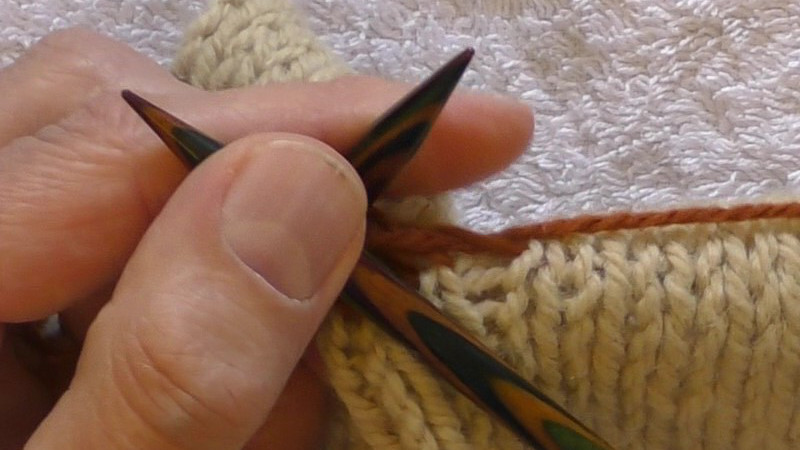
Thread the yarn onto an embroidery needle.
Insert the needle just to the left of the left-most stitch to be picked up.
Or, in more words: Put the tip of the needle into the gap between the left leg of the left-most stitch to be picked up and the right leg of the stitch to its left.
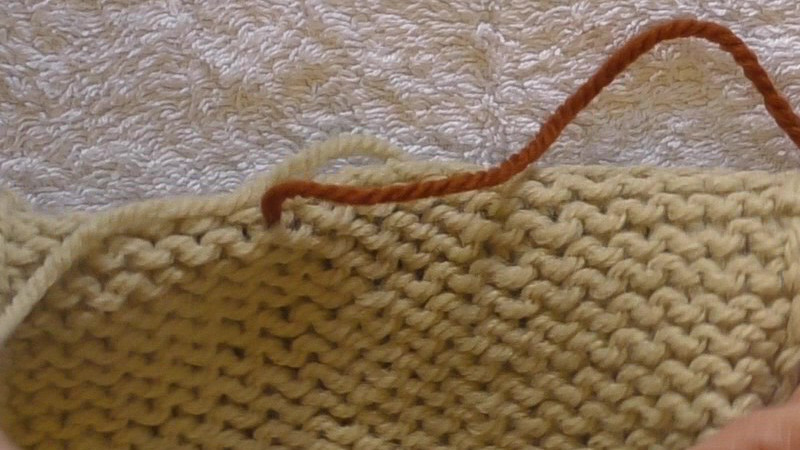
Push the needle through the fabric so that there is a tail of working yarn on the private (wrong) side of the fabric.
The length of the tail end should be the same length that you would allow to cast on the number of stitches that you want to pick up.

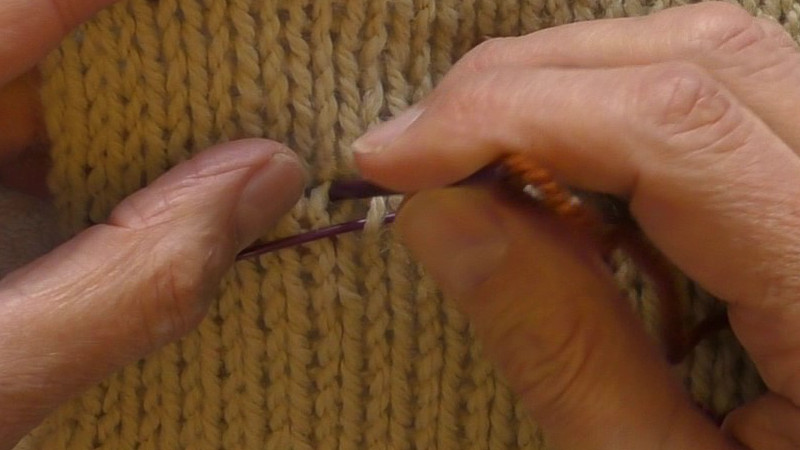
Start at the right hand stitch to be picked up.
Insert the needle into the middle of the stitch to be picked up.
Catch the working yarn on the private (wrong) side with the needle. Make sure that (when viewed from the top of the needle). The yarn should be at the top of the needle (when viewed from the top of the private side), with the free tail end to the right and the yarn passing through the fabric to the left of the needle.
Swing the needle through the gap to the public (right) side of the fabric, bringing the loop of yarn from the private (wrong) side with it. This forms a new stitch.
Continue until all stitches have been picked up.
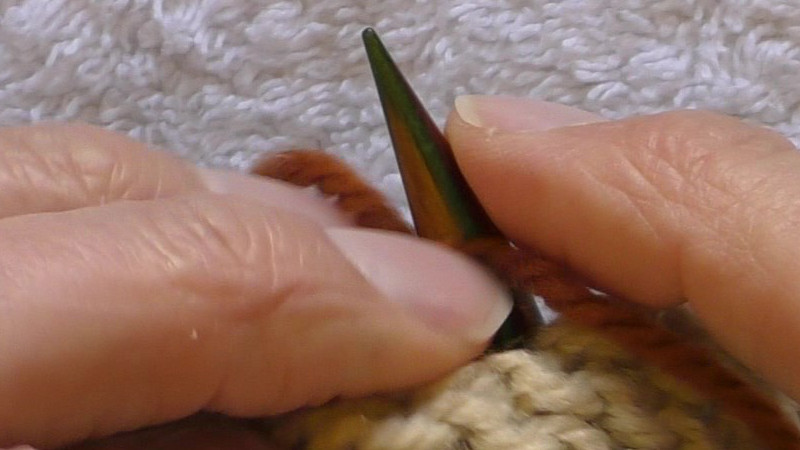
Tighten the stitch at the tip of the needle by pulling on the working yarn at the public (right) side of the fabric. Work the first row of the new fabric (working from right to left when viewed from the public [right] side). Use the yarn that is at the front of the fabric.
When you reach the final stitch, the picked-up stitch below it is likely to be loose. Tighten that by pulling on the tail end on the private (wrong) side of the fabric.
Then continue working your fabric.
Helpful links
- T-ref: Pick up stitches.
- Roxanne Richardson Techniques Tuesday video on the meaning of "pick up stitch" terms.