
A steek is an area of knitted fabric that is designed to be cut. This allows, for example, a sweater to continue to be knit in the round (circular knitting) after the start of the armholes. The last step in making fabric with a steek is to cut the central stitches of the steek. This T-torial shows you how to make that cut for steeks that have an even number of stitches, and for steeks that have an odd number of stitches.
Show notes for the “Cutting a Steek” T-tutorial (T202004)
The underlined headings below are links that take you to that section in the YouTube video for this tutorial.
Introduction
Hello I’m Steve, also known as Teabreak Knitter on social media.
In this T-torial, I’d like to talk about how I cut my steeks.
To get to this stage I have already knit the item with either an even or odd number of stitches of stitches for the steek.
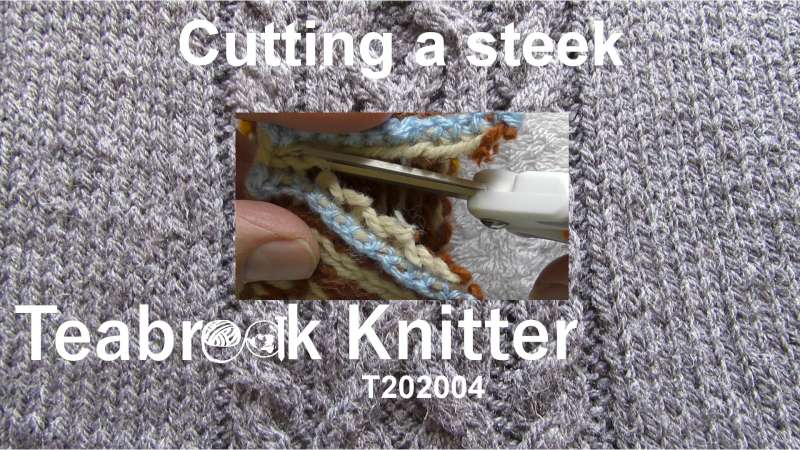
I have reinforced the steek to help stop those ends pulling apart until the wool has felted through use, and now the time has come to take the scissors and cut the steeks.
I will show you how I do it for an even number of stitches in the steek, and also how I do it if there is an odd number of stitches in the steek.
I will start off by showing you how I cut a steek that has an even number of stitches.
Cutting a steek with an even number of stitches
I have here a steek with an even number of stitches. Here are the edge stitches, and here is the centre line along which I’m going to cut.
Now, I have already reinforced the steek. If this were a real piece of knitting I would probably be joining a button band, or sleeve, or something like that, to this line of edge stitches. And, because joining something like that involves picking the stitches up, that puts quite a lot of stress on the stitches nearby, so I would actually pick up those stitches before I cut the steek. But this is a swatch just to show you how it works, and it’s a lot easier for you to see without anything on the edge there to hide what I’m doing.
This is is the swatch with a steek with an even number of stitches, and what I want to do is cut between the two central stitches, to cut up along this line here. I’m going to use a pair of sharp scissors.
And here we go. There’s the line I want to cut up. I cut up the middle [between] those stitches.
And there we are, there is the steek cut. And you can see a few ends on there because the whole stitch [was left behind] on either side. So that line of reinforcement is going to hold those stitches and stop them pulling out.
So, I have now cut my knitting. I’ve cut down a steek with an even number of stitches.
Cutting a steek with an odd number of stitches
And I will repeat that to show you how I cut down a steek that has an odd number of stitches.
Here I have a steek that has an odd number of stitches. Here are the edge stitches, and they would normally be used to pick up a button band or something like that. If I am going to pick up the stitches I would do that before I actually cut the steek.
I have reinforced the steek and I’m going to be cutting up the middle here between the two rows [columns] of reinforcement. So right up the centre of that middle stitch.
I need some sharp scissors. A bit of tension on so I can see where the middle is, and just cut up the middle of those stitches.
And there we are. That steek is now cut. The reinforcement is right on the edge and it is holding those stitches in place.
Summary
And that is a steek with an odd number of stitches that has been cut.
In this T-torial I have shown you how I have shown you how I actually cut a steek that has got an even number of stitches, and a steek that’s got an odd number of stitches.
I hope you have found this useful.
Until the next time, Happy Knitting!
T-Reference
You can find out more about steeks in general and also a pictorial tutorial for cutting steeks in the T-reference section of this website.
Helpful links
- T-ref: Cutting a steek
- Video tutorial by Very Pink Knits on steeking.
- T-reference article on reinforcing a steek.
- T-reference article on steeks
- Tin Can Knits tutorial on steeking for their Strange Brew range.