

Activity 11: Pick up stitches for the armhole edging and button band
You should have completed Activity 10: Reinforce steeks. The instructions for this activity are on page 21 (Activity 11) of the handout.
Pick up stitches at a steek edge
The video shows you how to pick up stitches at a steek edge.
The method used in the video causes the steek stitches to fold back flat against the fabric.
Pick up stitches for the button band
Pick up stitches for the button band using the (background colour) edge stitches. The new stitch will pass onto the needle from one side of the edge stitch, with the loop of the new stitch coming from one side of the edge stitch, while the working yarn emerges from the other side of the edge stitch.
Knit three rows of stranded rib. You will be knitting flat (backwards and forwards). The pattern places button holes on both sides of the opening. When you have finished the waistcoat, you can sew the buttons over the button holes on one side, closing the up and perfectly aligning the buttons with the holes on the other side.
Then bind-off in the background colour.
Tip. Do you follow the tradition of not knowing whether a baby is a boy or girl until it has arrived? And do you follow the tradition of buttons on the right for a boy and on the left for a girl?
This method of creating a button band with button holes on both sides is ideal for a cardigan for a newborn. You can finish the cardigan, leaving only the buttons to be sewn on. It only takes a few minutes to sew the buttons on when you know which side they should be on.
Pick up stitches for each of the armholes
Pick up stitches for each arm band in turn. Then knit three rounds of vertical stripe rib, finishing by binding off using the background colour.
Tip. If you find that the turn at the top and bottom of the armholes is too tight to be able to continue knitting in the round, you can cut the steeks (Activity 12) after picking up the stitches and before knitting the vertical stripe rib. Most of the strain and stretching of the steek stitches comes while you are picking up the stitches, and you have now done that.
You are ready for the next activity
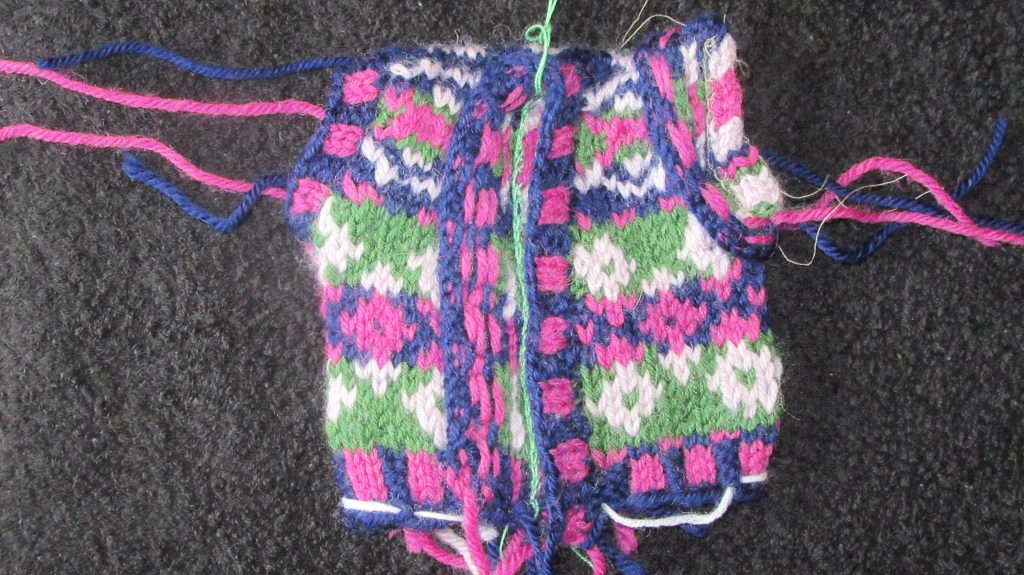
Your work should look something like the photograph.
You are ready to move to the next activity: Activity 12: Finishing.
Additional links
- T-shop - Introduction to stranded colour work tutorial
- Excerpt from a seaming video by Roxanne Richardson.
- Playlist of the series on videos on how Teabreak Knitter made the Nahanni river vest.
- Very Pink Knits video "Knitting Help - 3 Ways to Join In-the-Round"
- How to bind-off when you have finished knitting. By Very Pink Knits.