
Activity 2: Knit stranded colour work in the round
You should have already completed Activity 1: Vertical stripe knitting and have 3 rounds of vertical stripe ribs.
In this activity you will learn how to read a chart for colour knitting and practice knitting with two colours at a time to create a motif.
You will use the chart on page 5 of the handout. The instructions of this activity are on pages 7 and 8.
Change to the larger needles.
You need to use your 4 mm needles for this activity. Working with double pointed needles (DPNs) or with fixed circular, you make the change by knitting onto the larger needle from the smaller one.
Tip. If you are using DPNs, remember to put each smaller needle out of reach when you have knit the stitches from it.
If you are using an interchangeable circular needle, you should change the tip at the receiving end of the cable to 4mm. Remember to change the other tip at the end of the round.
Tip. Place a lockable stitch marker around the first stitch you knit with the 4mm needle. This will make the stitch difficult to knit on the next round, reminding you to change the second tip.
Reading charts for colour knitting
The video explains how to read charts for stranded colour work.
The key information is on the T-reference web page Reading a chart.
This tutorial uses a black-and-white chart where a black square represents the motif (contrasting) colour and a white square represents the background (main) colour. The key to the right of the chart tells you the motif and background colours to use in that round. You start at the bottom right of the chart and knit towards the left. You repeat a line on the chart as many times as you need to finish the round. When you have finished the round, you move up to the next line and start again from the right.
Tip. You might want to mark the chart to remind you which rounds the colours change.
Knit two rows of the chart
This project starts and ends each round with stitches for a steek. These stitches are not included in the chart. The written instructions in the handout tell you how to knit these.
Hold the yarn in the same way that you used in Activity 1.
Controlling your floats
You learned in Activity 1 that it is important to control the length of floats. Here are some suggestions on how to do that.
In stranded knitting, you are aiming to produce a smooth fabric with even stitches. You also want the colours to show up equally. Making sure that you consistently hold the motif colour to the left and the other to the right contributes to helping both colours being equally prominent, but how you form the floats also has a strong influence.
I use three techniques to help me keep my fabric smooth and the colours even.
- I make sure that I push each stitch off the tapered section of the receiving needle as I finish it. Especially when I am knitting a run of stitches in the same colour, I am tempted to knit them on the tapered end. That would be a disaster – the stitches would be smaller, and so the colour less obvious, that stitches that were finished on the barrel of the needle. So, I make sure that I move each stitch onto the barrel of the needle before I start the next.
- After I have knit a run of stitches in one colour, I spread them out on the receiving needle before I start knitting with the other colour – and leave them stretched out until I have knit a few stitches with the new colour. This automatically gives me a long enough float to prevent the stitches puckering.
- When I knit the background stitches (English style), the yarn motions in knitting a new stitch make me want to pull on the new stitches already on the needle. This makes the stitches smaller (and so less prominent) and/or the floats shorter (puckering the fabric). I try to be careful to keep the yarn slightly loose between the new stitch and those I have just made.
Unevenness in your stitches is inevitable. Blocking is a key part of stranded knitting. Known as “dressing” in the Fair Isle tradition, soaking and laying your fabric flat to dry evens out the stitches and floats. You will see this in the last activity!
Beware!
Look carefully. The background colour in round 1 is different from that in round 2. Remember to change colours.
Tip. Look carefully at what is happening. You change colours at the start of the round. That will be in the middle of the steek. You will cut through the yarn at that point. So, to change colours, all you need to do is to stop knitting with the old yarn and start with the new one. There will be no extra ends to weave it! This only works because the steek spans the beginning/end of round – in most patterns that normally only happens for one of the armholes.
Avoiding mistakes
In the video on reading charts, I suggested that you made sure that you can see the chart for the row before the one you are working on. This is important to help you find and correct mistakes as you go along.
As you knit a sequence of stitches, look at the stitches that you are knitting into. Do they match the ones on the chart? If not, then you have a mistake in the current round or the one below. Fixing the mistake now is much faster, and less frustrating, that discovering it when you have knit several more rounds.
If the mistake is in the current round, undo your stitches to correct it.
If the mistake is in the previous round and only involves a handful of stitches, you can correct each stitch as you knit the new round. To do this:
- Slip the stitch with the mistake purlwise onto the right hand needle.
- Place the left hand needle knitwise into the stitch below that with the mistake, and pull the mistake stitch off the needle. Use the tip of the right hand needle to pull the yarn of the mistake to the back of the work.
- Place the tip of the right hand needle knitwise into the loop on the left needle and knit the float from the back that is in the colour the mistake stitch should have been.
- Return the stitch to the left hand needle and continue on your new round.
This approach works best when you have only one or two mistakes that use the same colour near each other. If you try to correct more than that, the floats may become too tight.
Even in circumstances where it would be possible to correct all the stitches a stitch at a time, it might be easier and faster to undo the knitting back to the mistake and re-knit.
You are ready for the next activity
Don’t worry if you are not yet comfortable knitting with two colours. The next activity will give you more techniques to help.
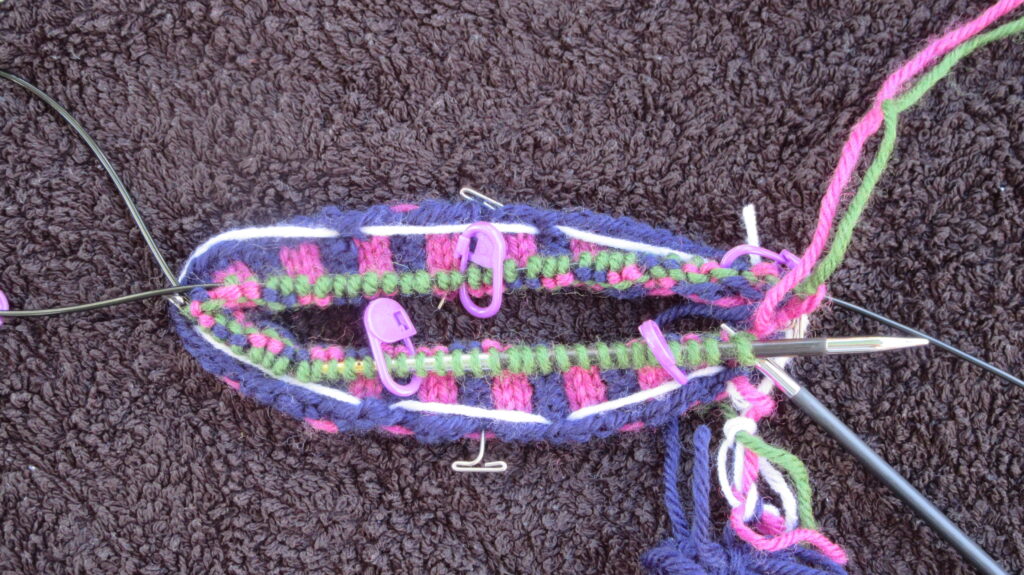
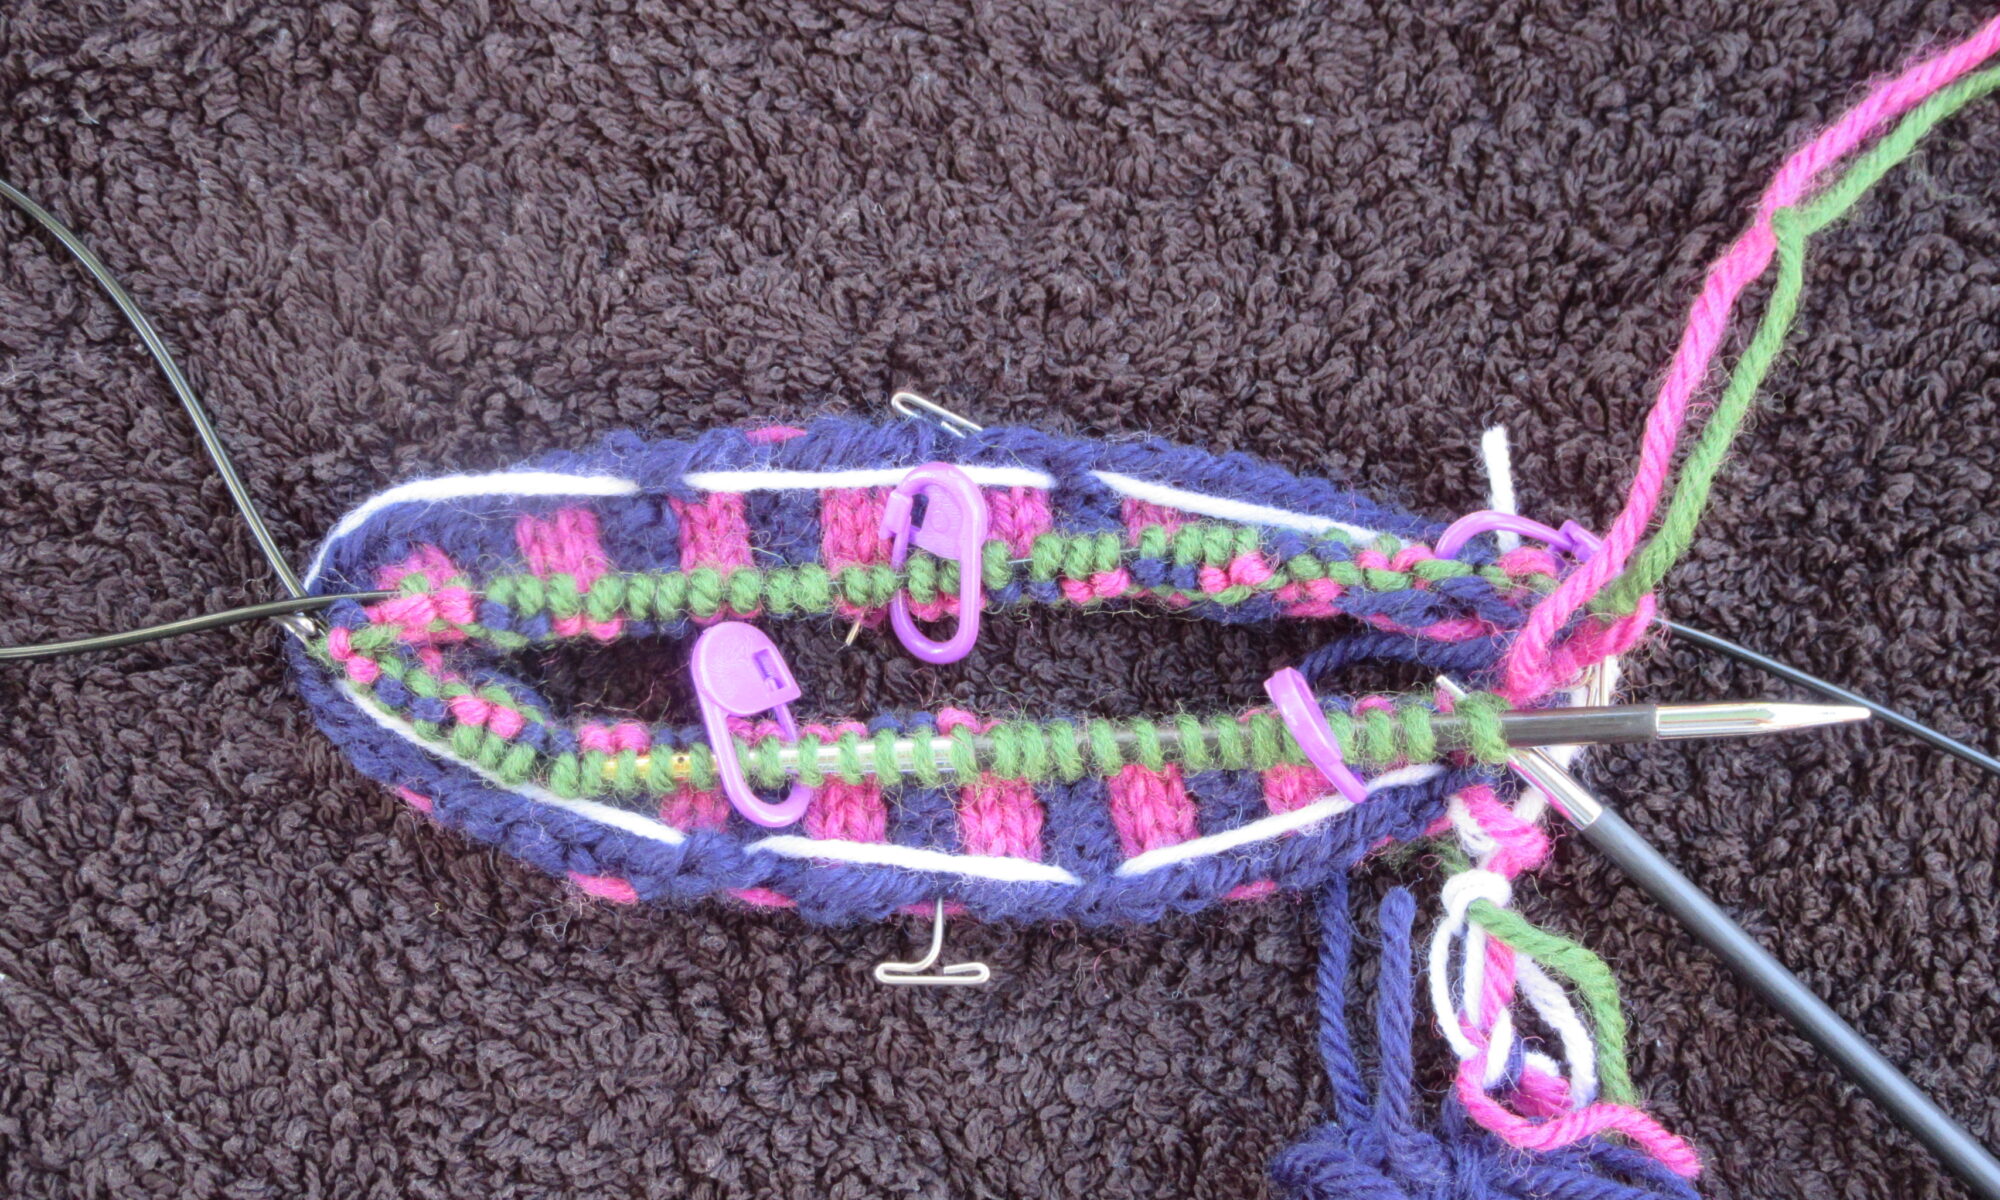
Your work should now look something like the photograph.
You are ready to move to the next activity: Activity 3 – Catch floats on the knit side of the work.
Additional links
- T-shop - Introduction to stranded colour work tutorial
- Excerpt from a seaming video by Roxanne Richardson.
- Playlist of the series on videos on how Teabreak Knitter made the Nahanni river vest.
- Very Pink Knits video "Knitting Help - 3 Ways to Join In-the-Round"
- How to bind-off when you have finished knitting. By Very Pink Knits.