Activity 3: Catch floats on the knit side of the work
You should have already completed Activity 2: Knit stranded colour work in the round and have competed 2 rounds of your motif.
In this activity you will learn how to catch (trap) floats when you are knitting on the public side of stranded colour work. Catching floats helps maintain an even tension. Shorter floats are also less likely to catch in fingers.
The instructions for this activity are on page 9 and 10 of the handout.
Knit rounds 3 to 5 of the chart
Once floats are longer than about 5 stitches they can cause problems with tension (or catching fingers). When the pattern contains runs of stitches of the same colour, as in rounds 3 to 5 of the chart, “catching” or “trapping” floats makes them shorter.
The video explains how to catch floats.
At the moment you need only watch the first 3m 50s.
Keeping track of where you are
Now that you are moving further into the pattern, you will need to keep track of where you are. The handout reminds you of the methods that you might use to do this.
With a black and white chart like the one used in this tutorial, it is not obvious where you change the motif and background colours. You changed the background colour in round 2. In round 3 you change the motif colour.
Tip. Mark the chart to make it clear where you have to change colours.
Remember to trap the long floats.
Rounds 3 and 4 both have floats longer than four stitches.
In round 3 there are floats of 7 stitches and 5 stitches.
I would catch the 7 stitch float at the third and fifth stitches. I would catch the 5 stitch float on the third stitch. That avoids catching the floats in the same column on successive rounds.
You are ready for the next activity

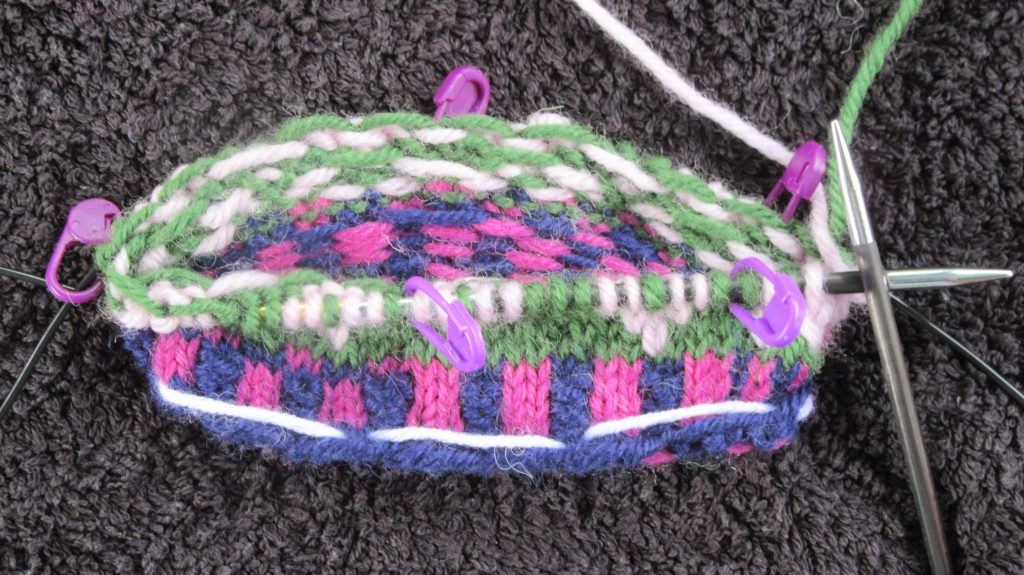
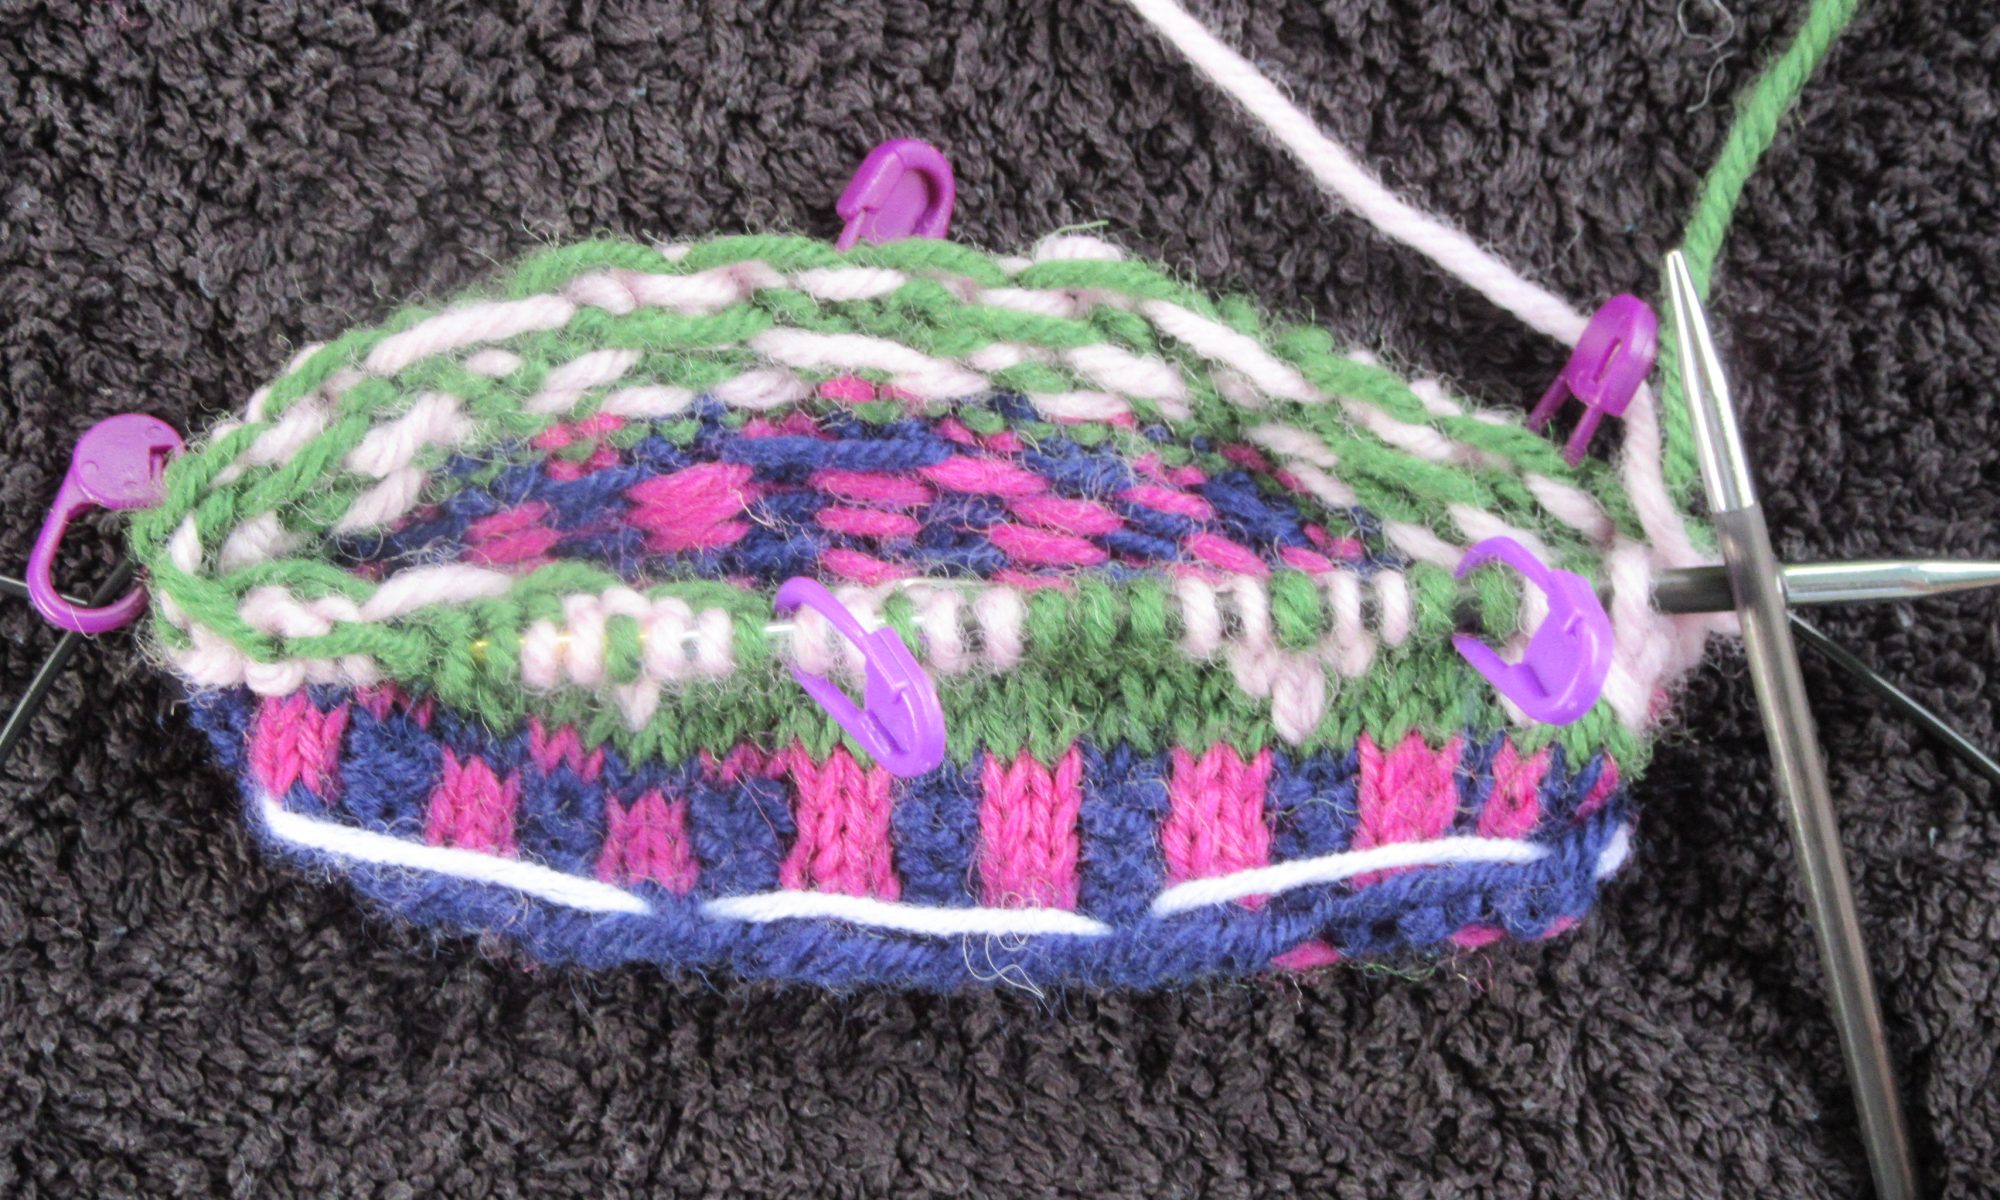
Your work should now look something like the photograph.
You are ready to move to the next activity: Activity 4: Knit stranded colour work when knitting flat.


