
Activity 4: Knit stranded colour work when knitting flat
You should have completed Activity 3: Catch floats on the knit side of the work and have knit 5 rounds of the motif.
Not all stranded colour work projects are knit in the round, and even those that are sometimes have elements that have to be worked “flat” (backwards and forwards).
Knitting on the private site of the fabric differs in how you handle floats and, of course, managing your yarn is subtly different when you are using purl stitches. This activity gives you practice in working on the private site of stranded colour work.
The instructions for this activity are on page 11 of the handout.
Catching floats
In activity 4 you watched the first part of this video.
Now you can watch the second part that shows how to catch floats when working on the private side.
Holding the yarn
In this activity, you knit on the public side and purl on the private side. You have the same options for holding yarn as when working on the public side. You need to be comfortable with purling in the style of knitting that is needed by the way you hold the yarn. Depending on how you hold the yarns, you need to be comfortable with purling continental style, English style, or both.
Tip. If you really dislike purling, you could knit flat by knitting backwards every other row.
Handling the end of row
In activities 1 to 3 you knit the document in the round, starting in the middle of the steek. You are knitting flat. The end of the row would have been the end of a round in previous activities. When you reach it, just turn your work and return, knitting or purling depending on whether you are on the public or private side.
Your knitting will have an opening in the middle of the steek. This is intentional!
You are ready for the next activity
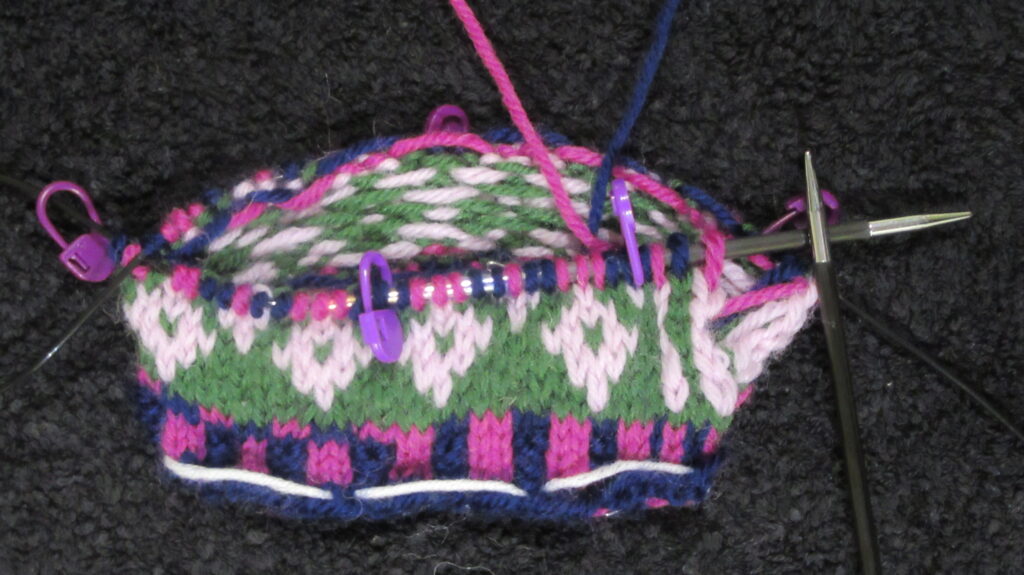
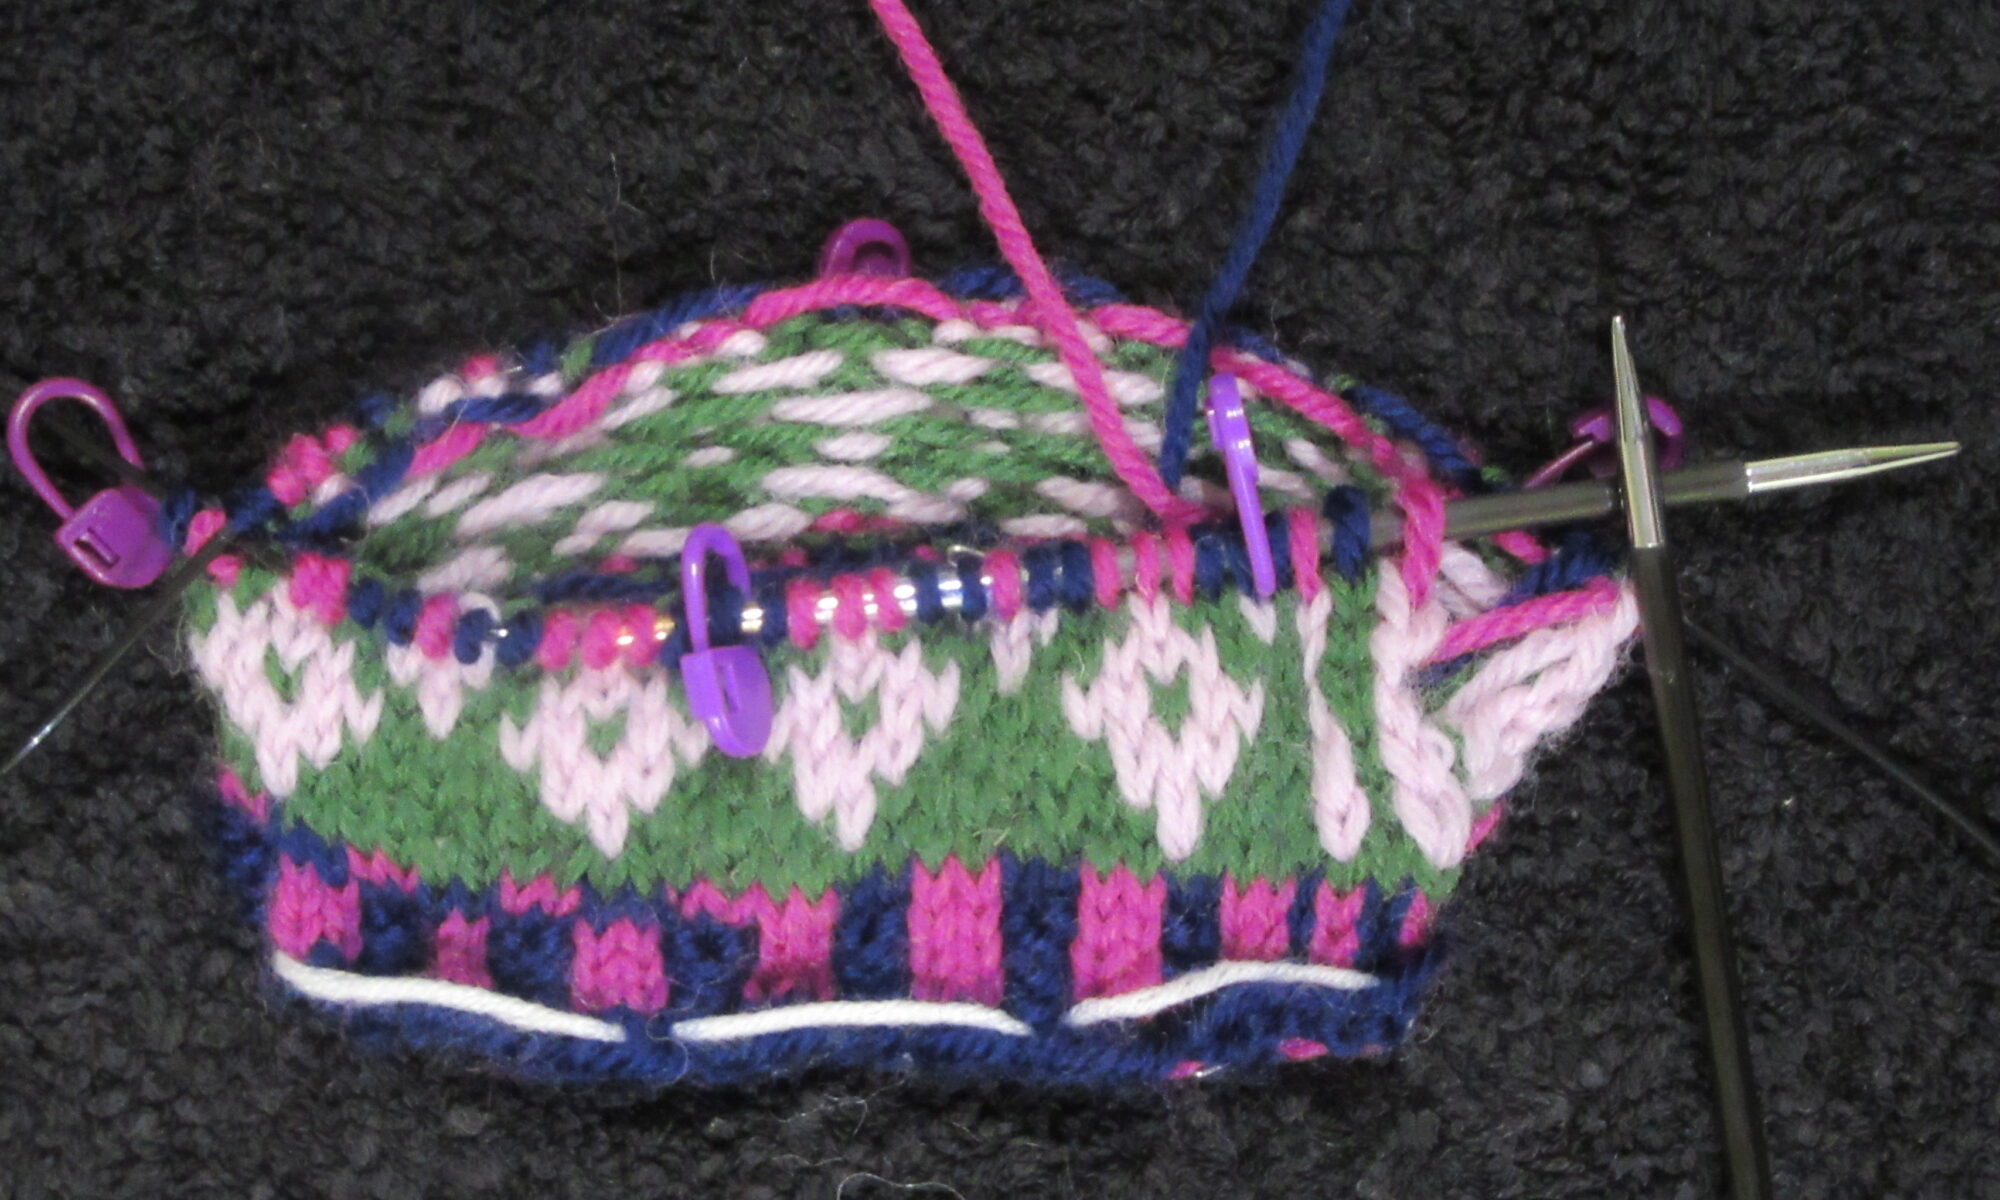
Your work should now look something like the photograph.
You are ready to move to the next activity: Activity 5: Reinforce first steek.
Additional links
- T-shop - Introduction to stranded colour work tutorial
- Excerpt from a seaming video by Roxanne Richardson.
- Playlist of the series on videos on how Teabreak Knitter made the Nahanni river vest.
- Very Pink Knits video "Knitting Help - 3 Ways to Join In-the-Round"
- How to bind-off when you have finished knitting. By Very Pink Knits.