Activity 5: Reinforce first steek
You should have completed Activity 4: Knit stranded colour work when knitting flat and have knit 8 rounds of the motif (three of these knit flat).
Rather than continuing to knit the motif, we will take a break and learn another new technique – reinforcing a steek. Normally, you would only reinforce the steek when you had finished knitting the garment. But this is a tutorial, so I will concentrate on teaching you new things, and then letting you go off and practice them.
Reinforcing a steek
The instructions for this activity are on pages 12 and 13 of the handout. You need to remember where you have put the crochet hook and the thinner yarn!
The video shows you how to reinforce a steek.
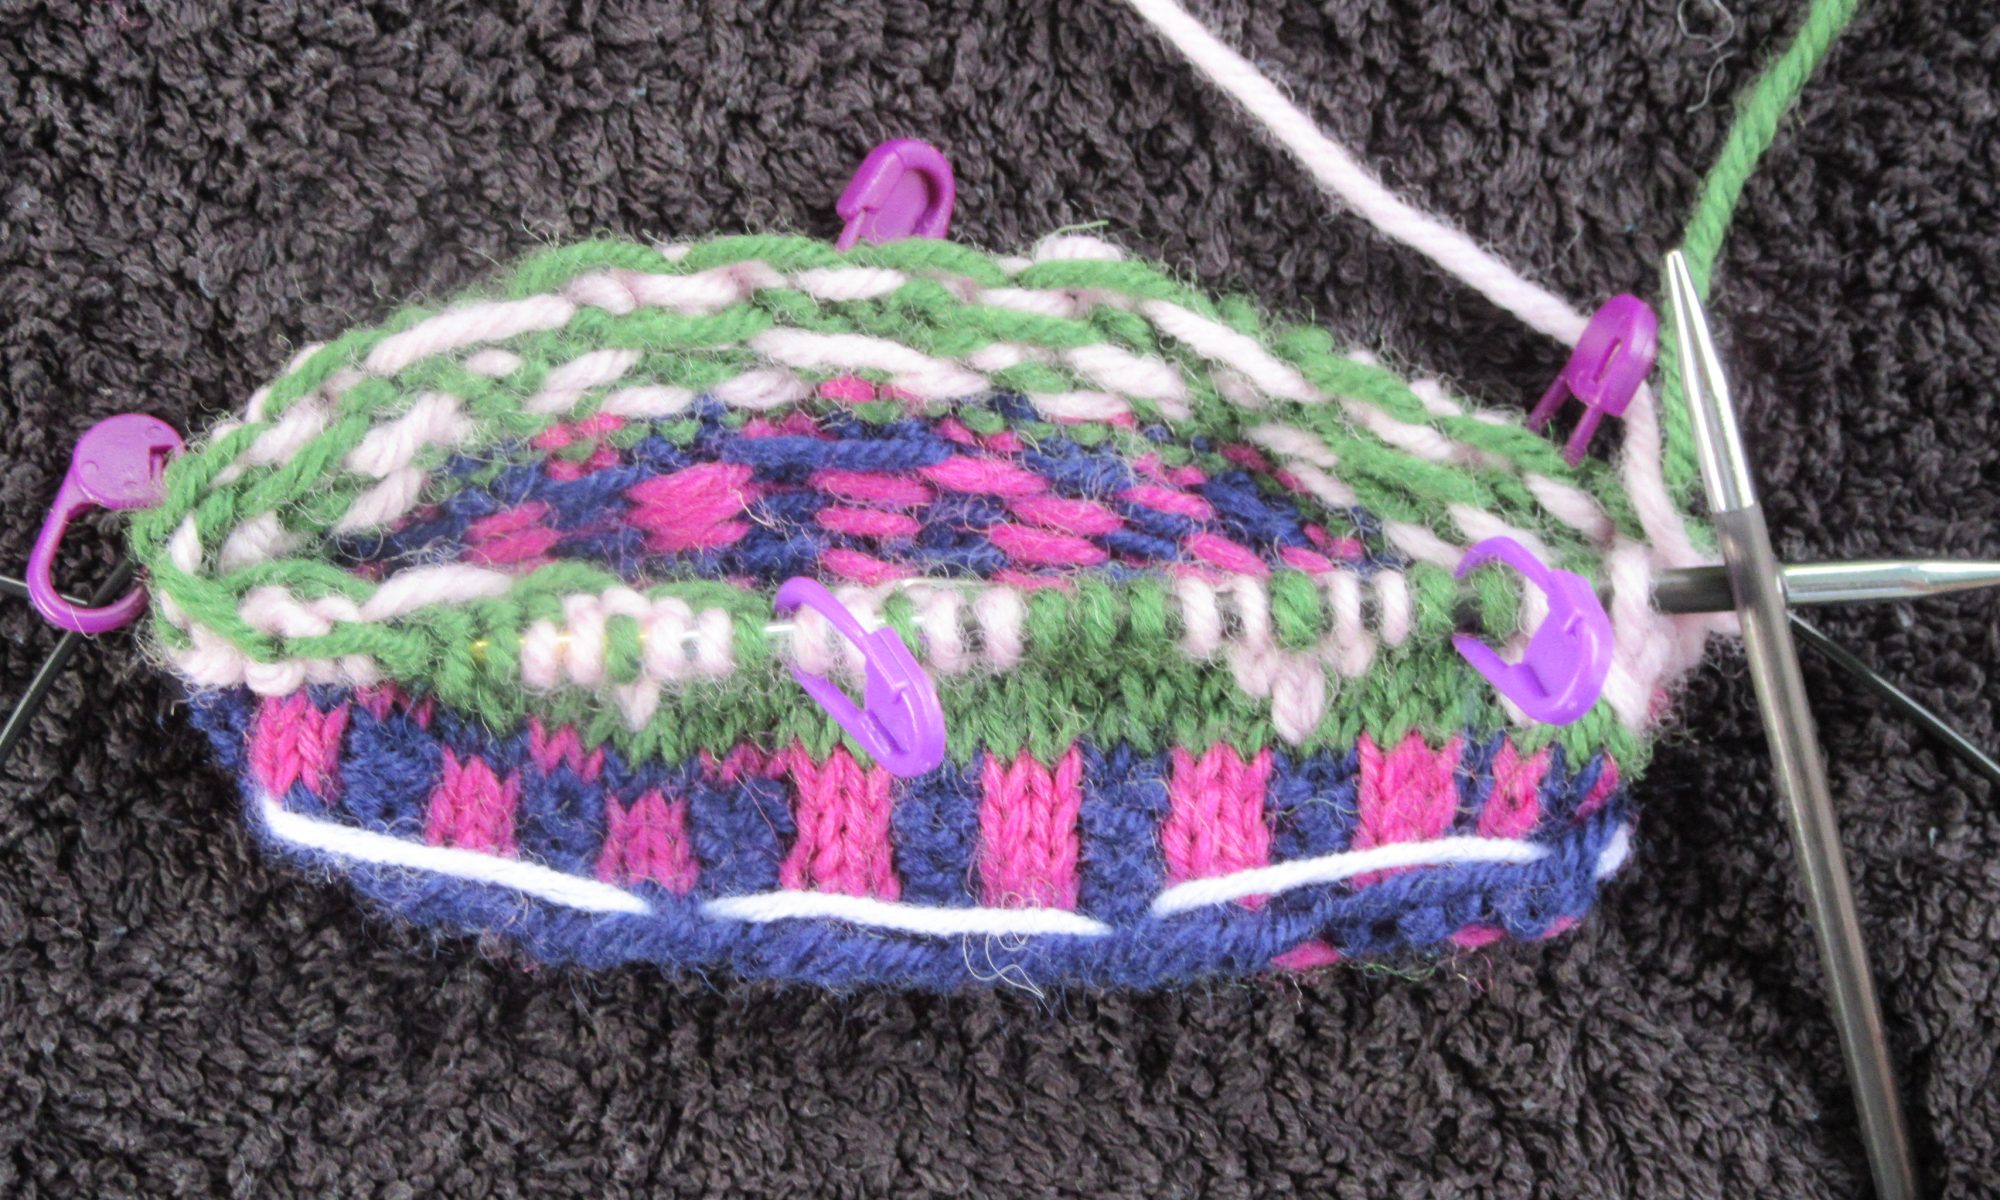
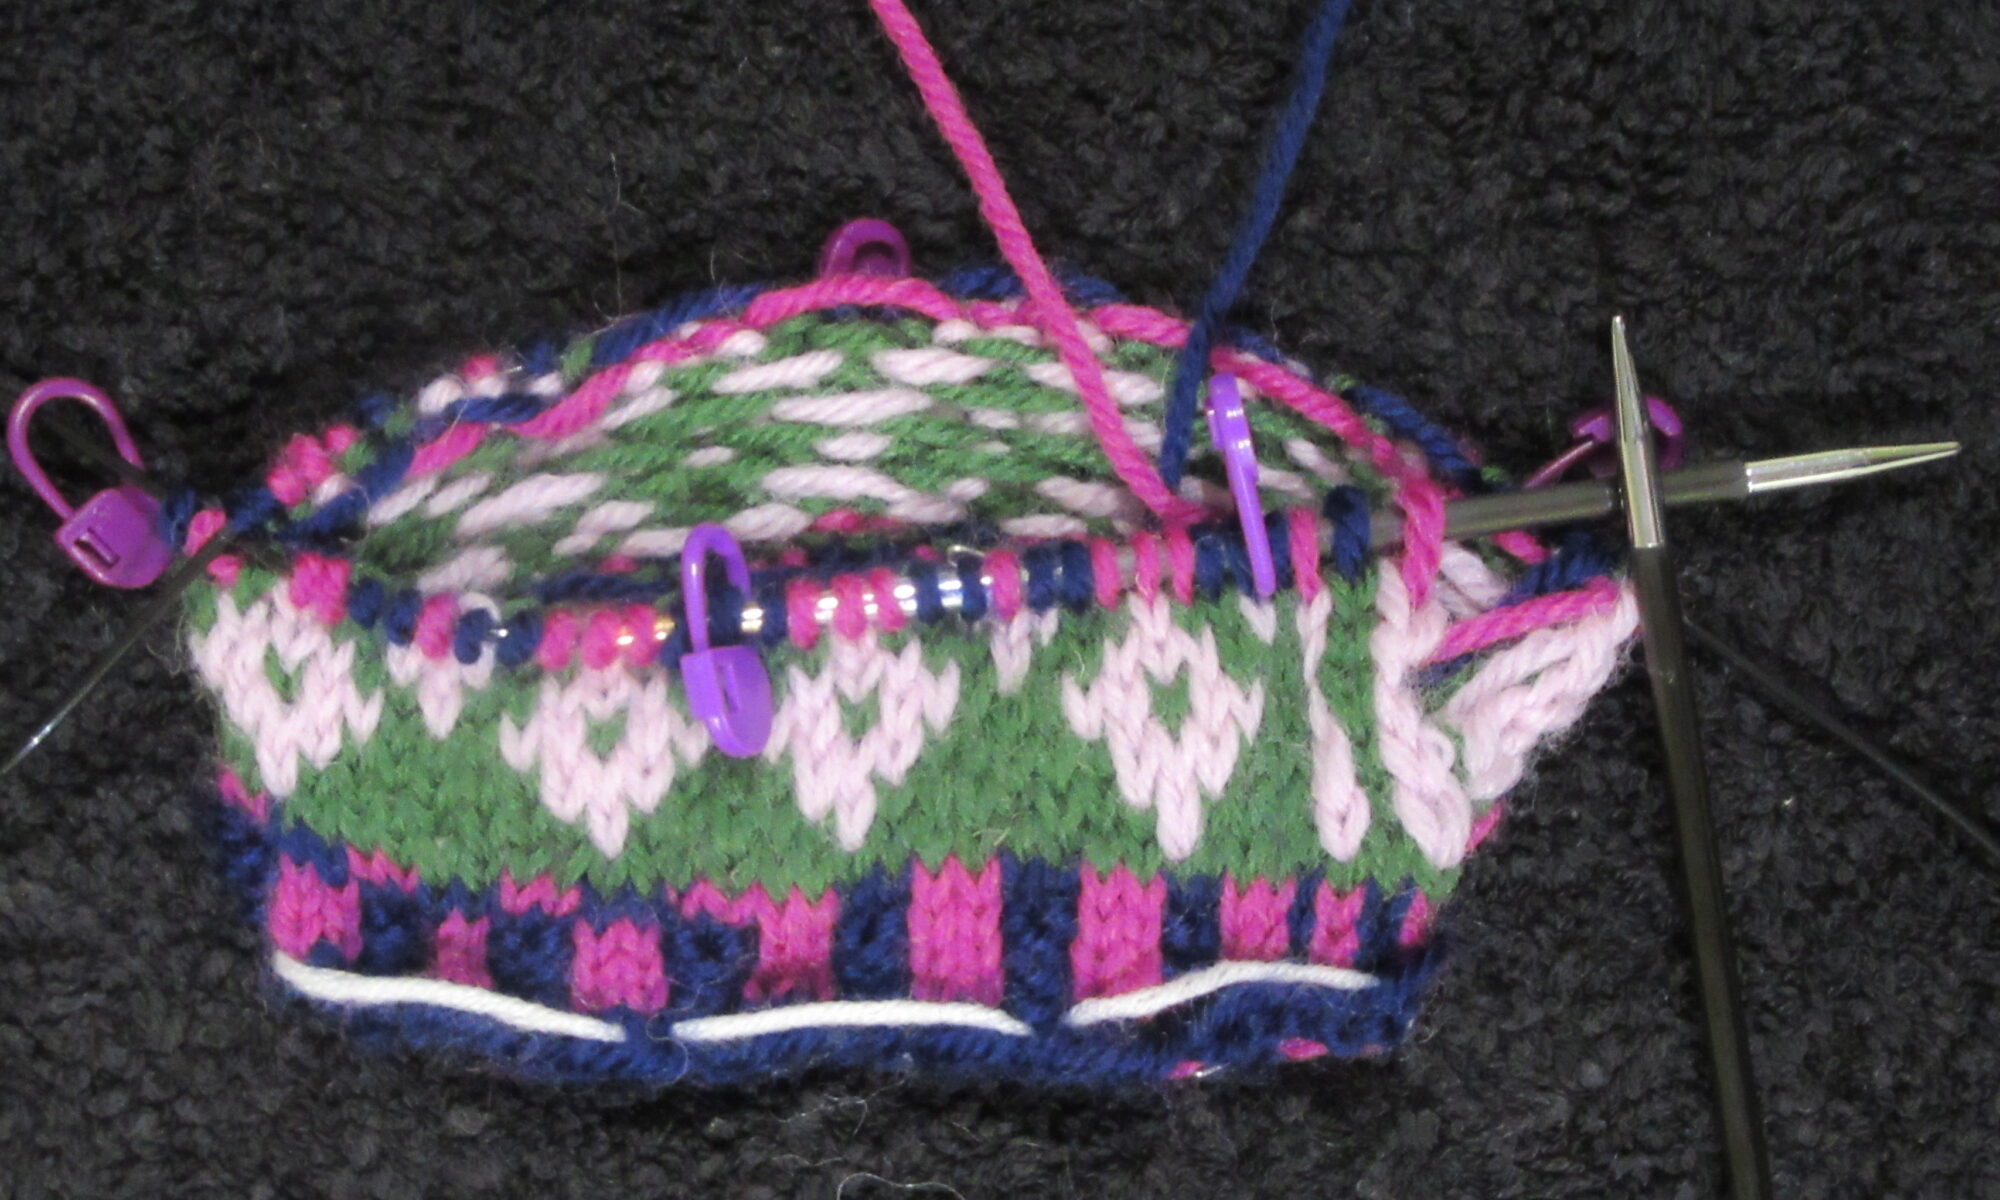
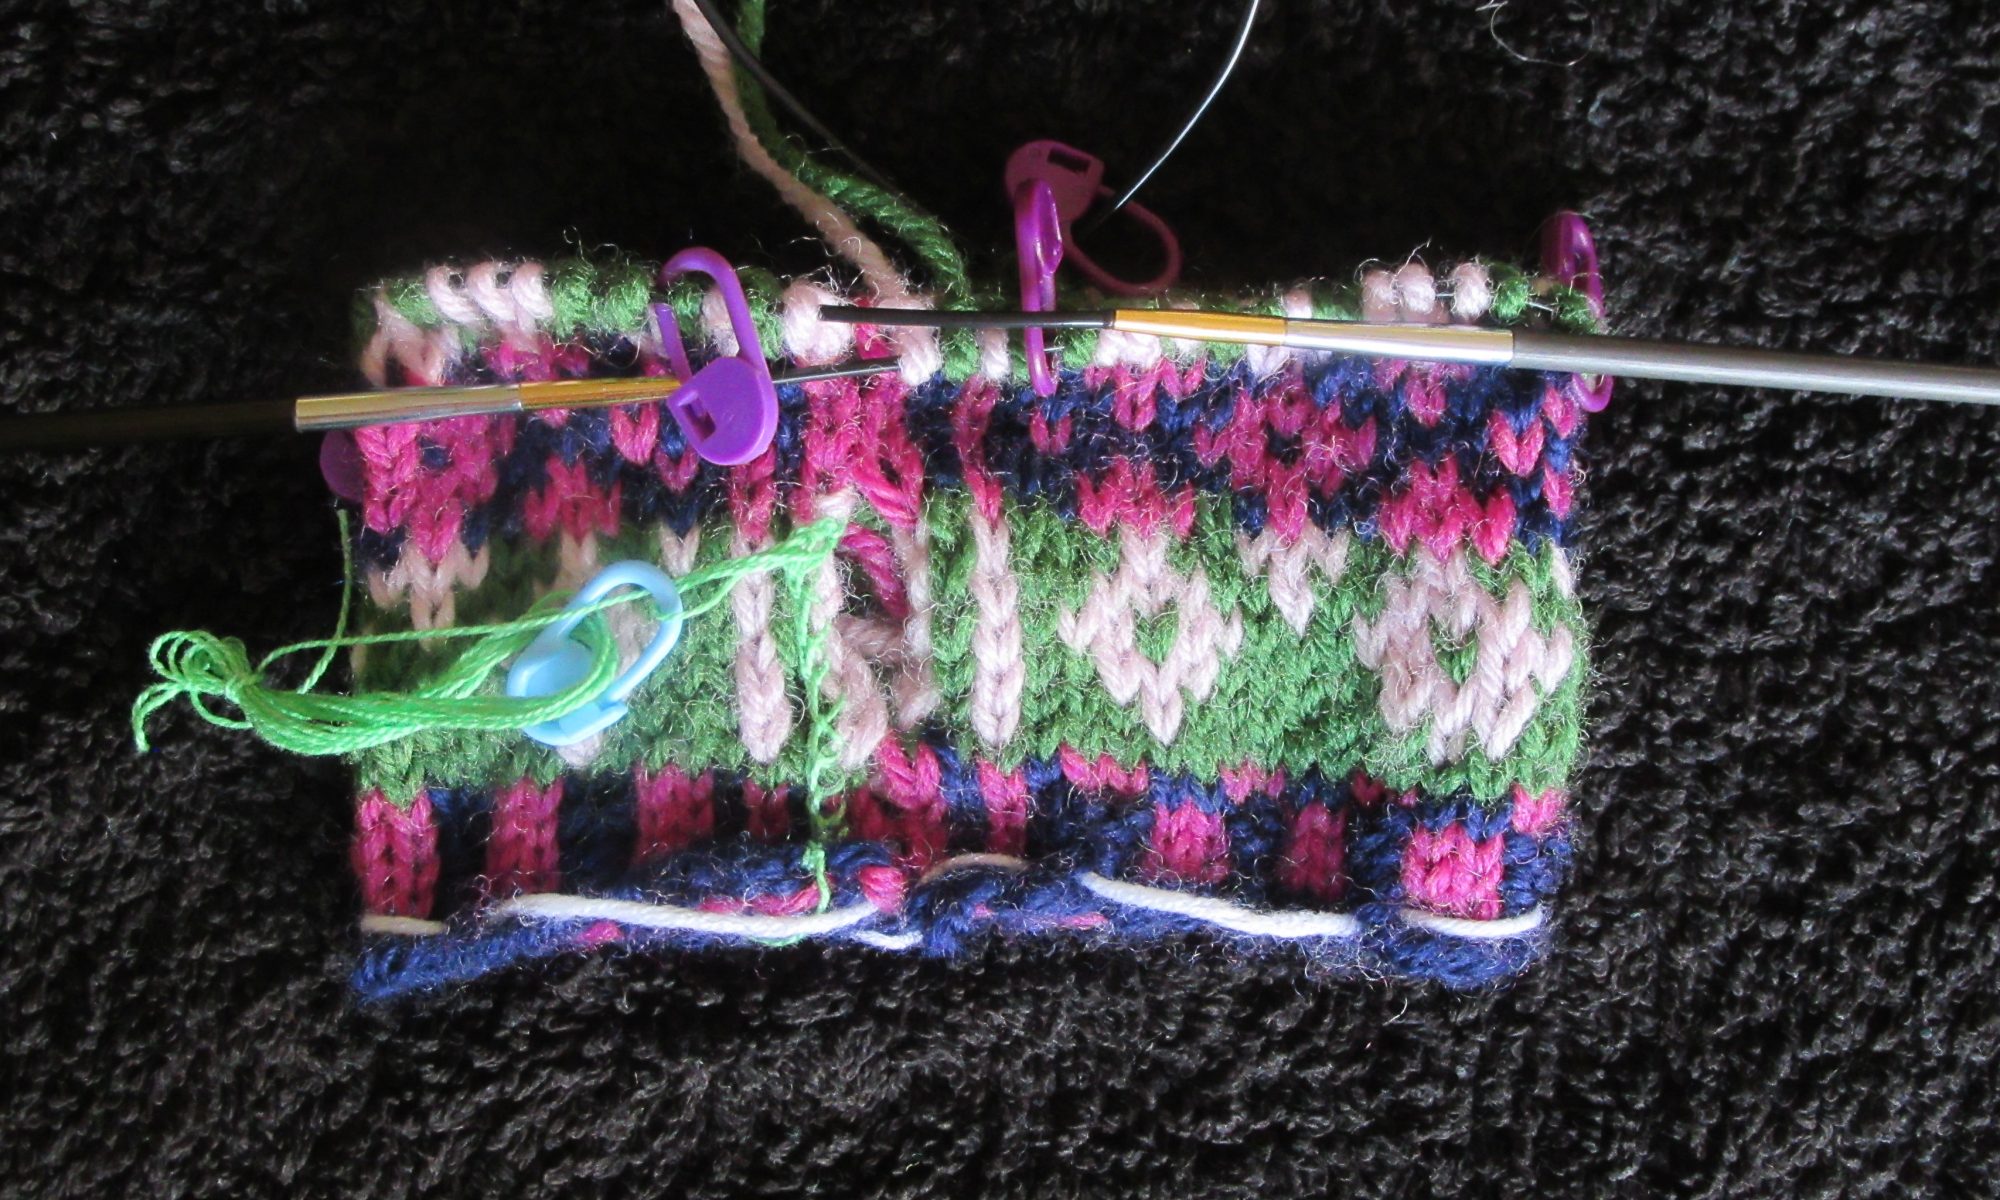
You have an even number of stitches in your steeks, so you will be joining the two central stitches of the steek to their neighbours.
Follow the instructions on pages 12 and of the handout to reinforce the steek at the ribbing and first five rows of the motif. This takes you from the cast-on edge to where the steek is split because you knit flat.
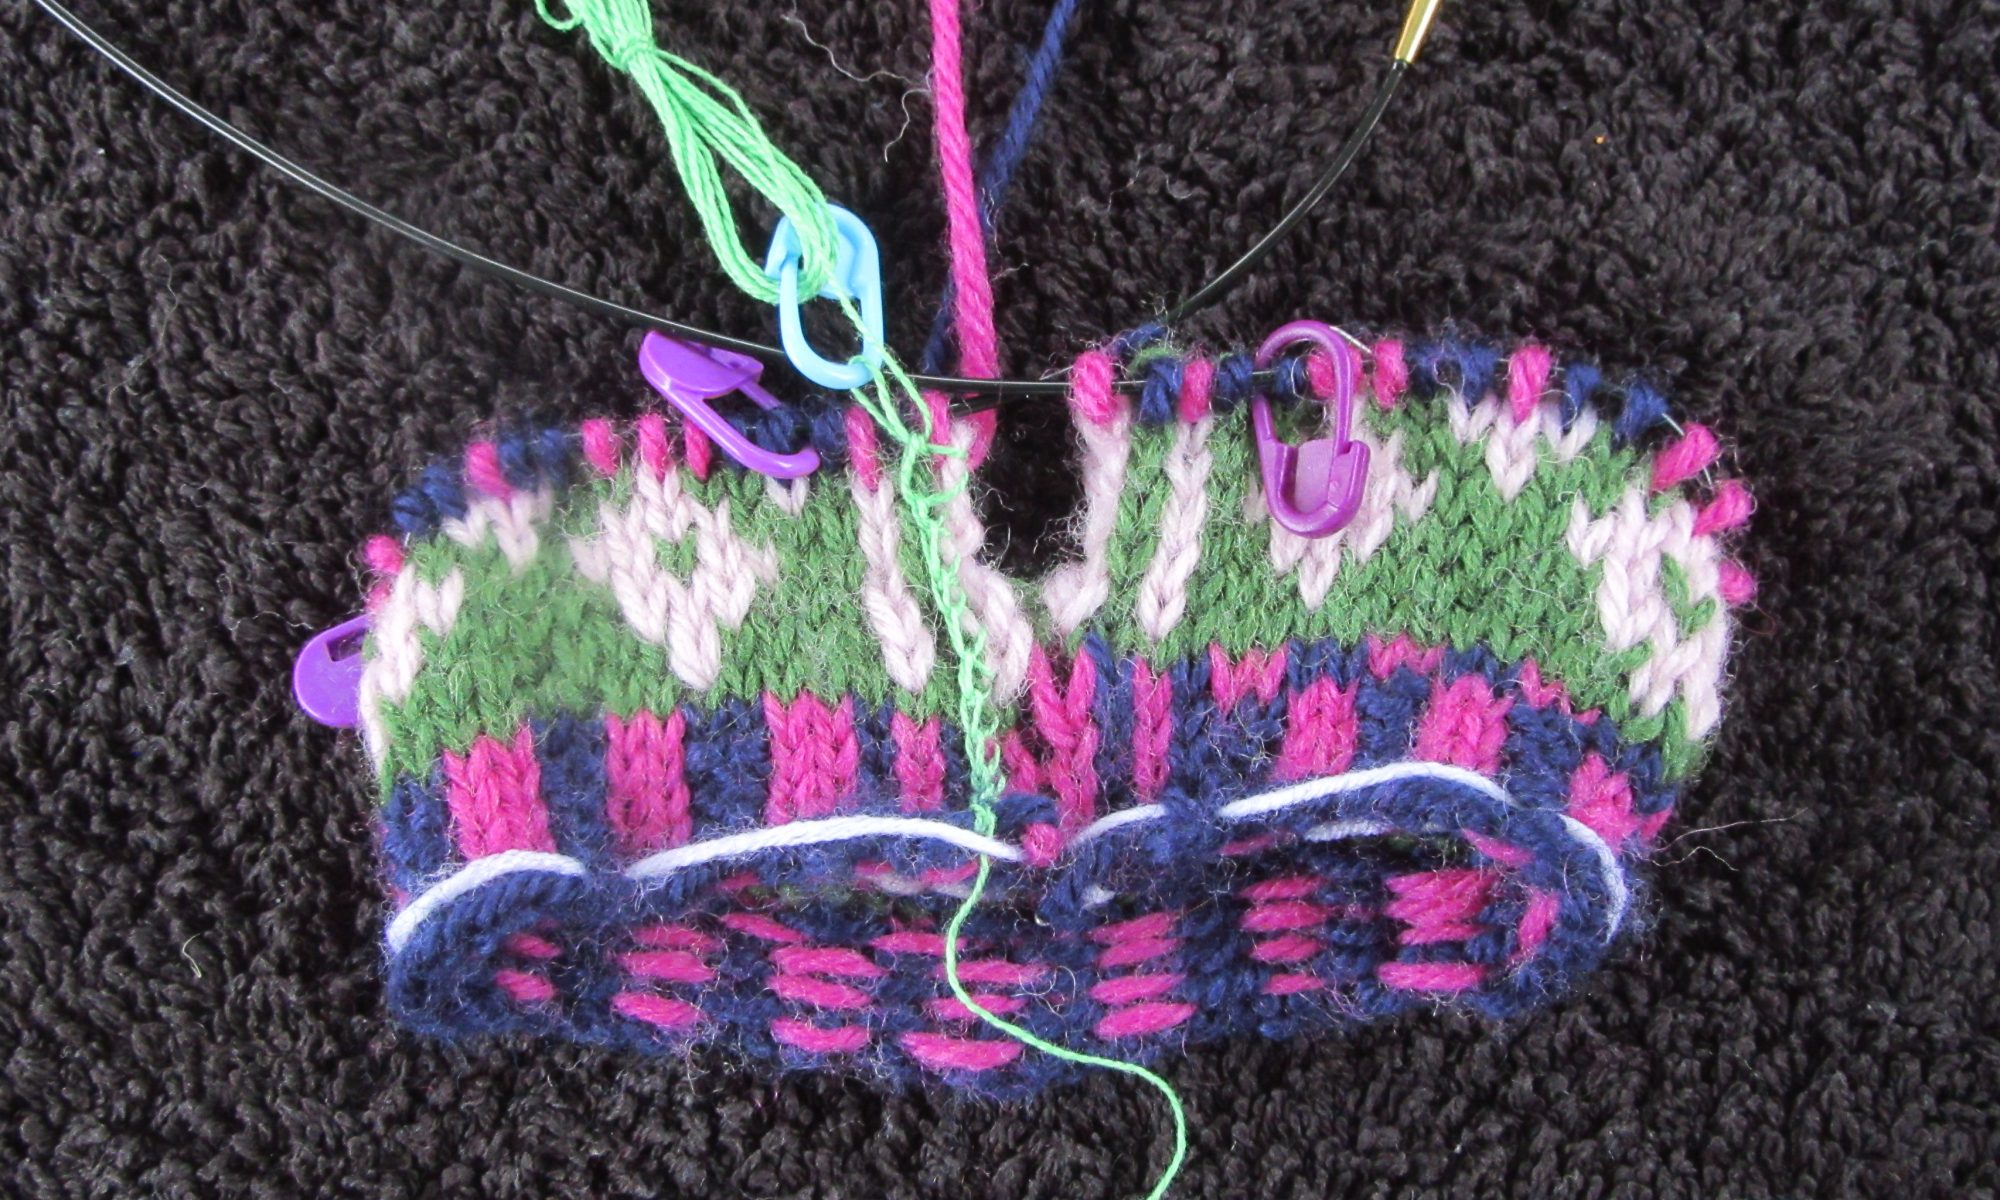
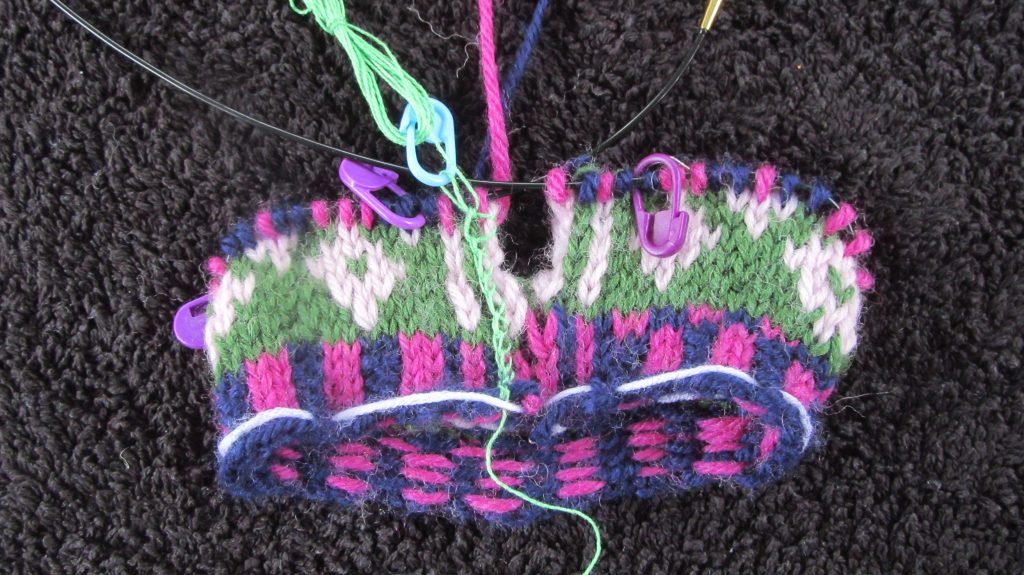
When you have finished you should see two neat crochet chains either side of the beginning/end of round.
Go on, give in to temptation
If this was a real project, I would strongly advise that you do not cut the steek until you have picked up the stitches to form the arm and neck bands. But this is a tutorial, and it’s only a small piece, isn’t it? If you want, you can cut the steek now.
You are ready for the next activity
Additional links