
Activity 8: Complete the main body of the waistcoat
You should have completed Activity 7: Start steeks for armholes.
This activities introduces decreases either side of the steeks to shape the neck line and armholes. You will find the instructions on pages 17 and 18 of the handout.
Tip. Mark-up your chart to show where to start and stop in the chart each side of the steeks. Try doing this yourself before checking the marked-up chart on page 16 of the handout.
Decreases in colour work
The video recommends how to decrease in stranded colour work to maintain the continuity of the motif.
When I knit in one colour, I prefer my decreases to slant in the same way as the edge they are creating. So, for an armhole at the start of the round (the left armhole), I would use the left-leaning ssk (slip, slip, knit). When using two colours, though, this places the stitch closest to the edge over the top of the stitch towards the main body. The result is that the motif is disrupted – so a simple pattern of alternating colours ends up with two stitches the same colour at the decrease.
When I am knitting with two colours, I use a decrease that slopes towards the edge. This places the stitch closest to the main body on top of the other one, keeping the continuity of the motif. So, for a simple pattern of alternating colours, the pattern continues up to the edge.
Tip. You can use symmetry to help you find where you should be picking up the motif again after a steek. This is particularly useful when there is shaping
Work rounds 16 to 31.
Finish knitting the body by working rounds 16 to 31 of the chart.
Decrease and colour change rounds
Look out for the rounds where you decrease. Be careful – the decreases for the armholes and the neck are in different rounds.
Neck decreases (either side of the steek at the beginning/end of round) are in rounds 17, 21, 25 and 28.
Armhole decreases (either side of the other two steeks) are in rounds 18 and 20.
Colour changes are in rounds 19, 21, 24 and 28.
Catch the long floats in round 17 (see Activity 3) .
You are ready for the next activity
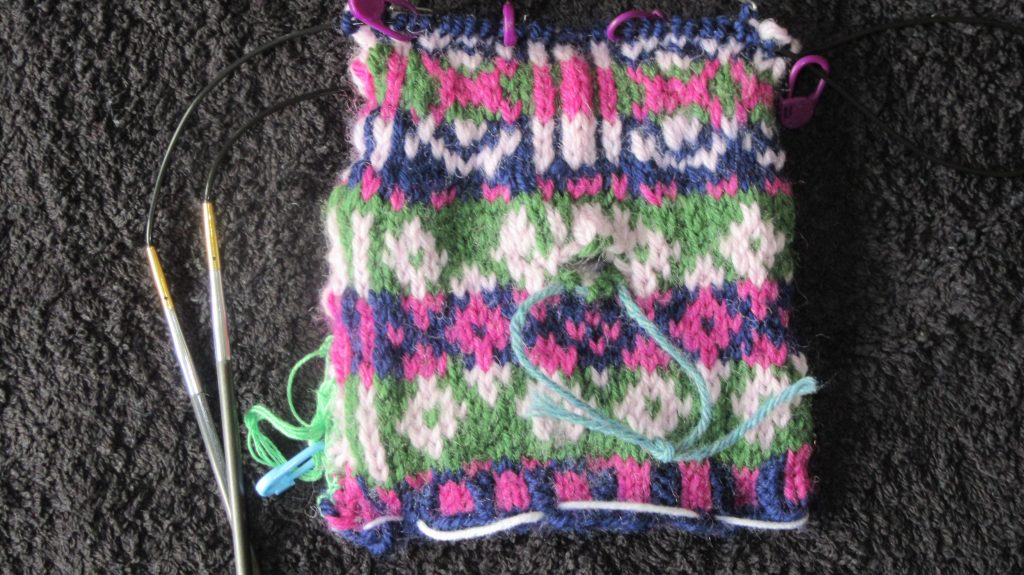
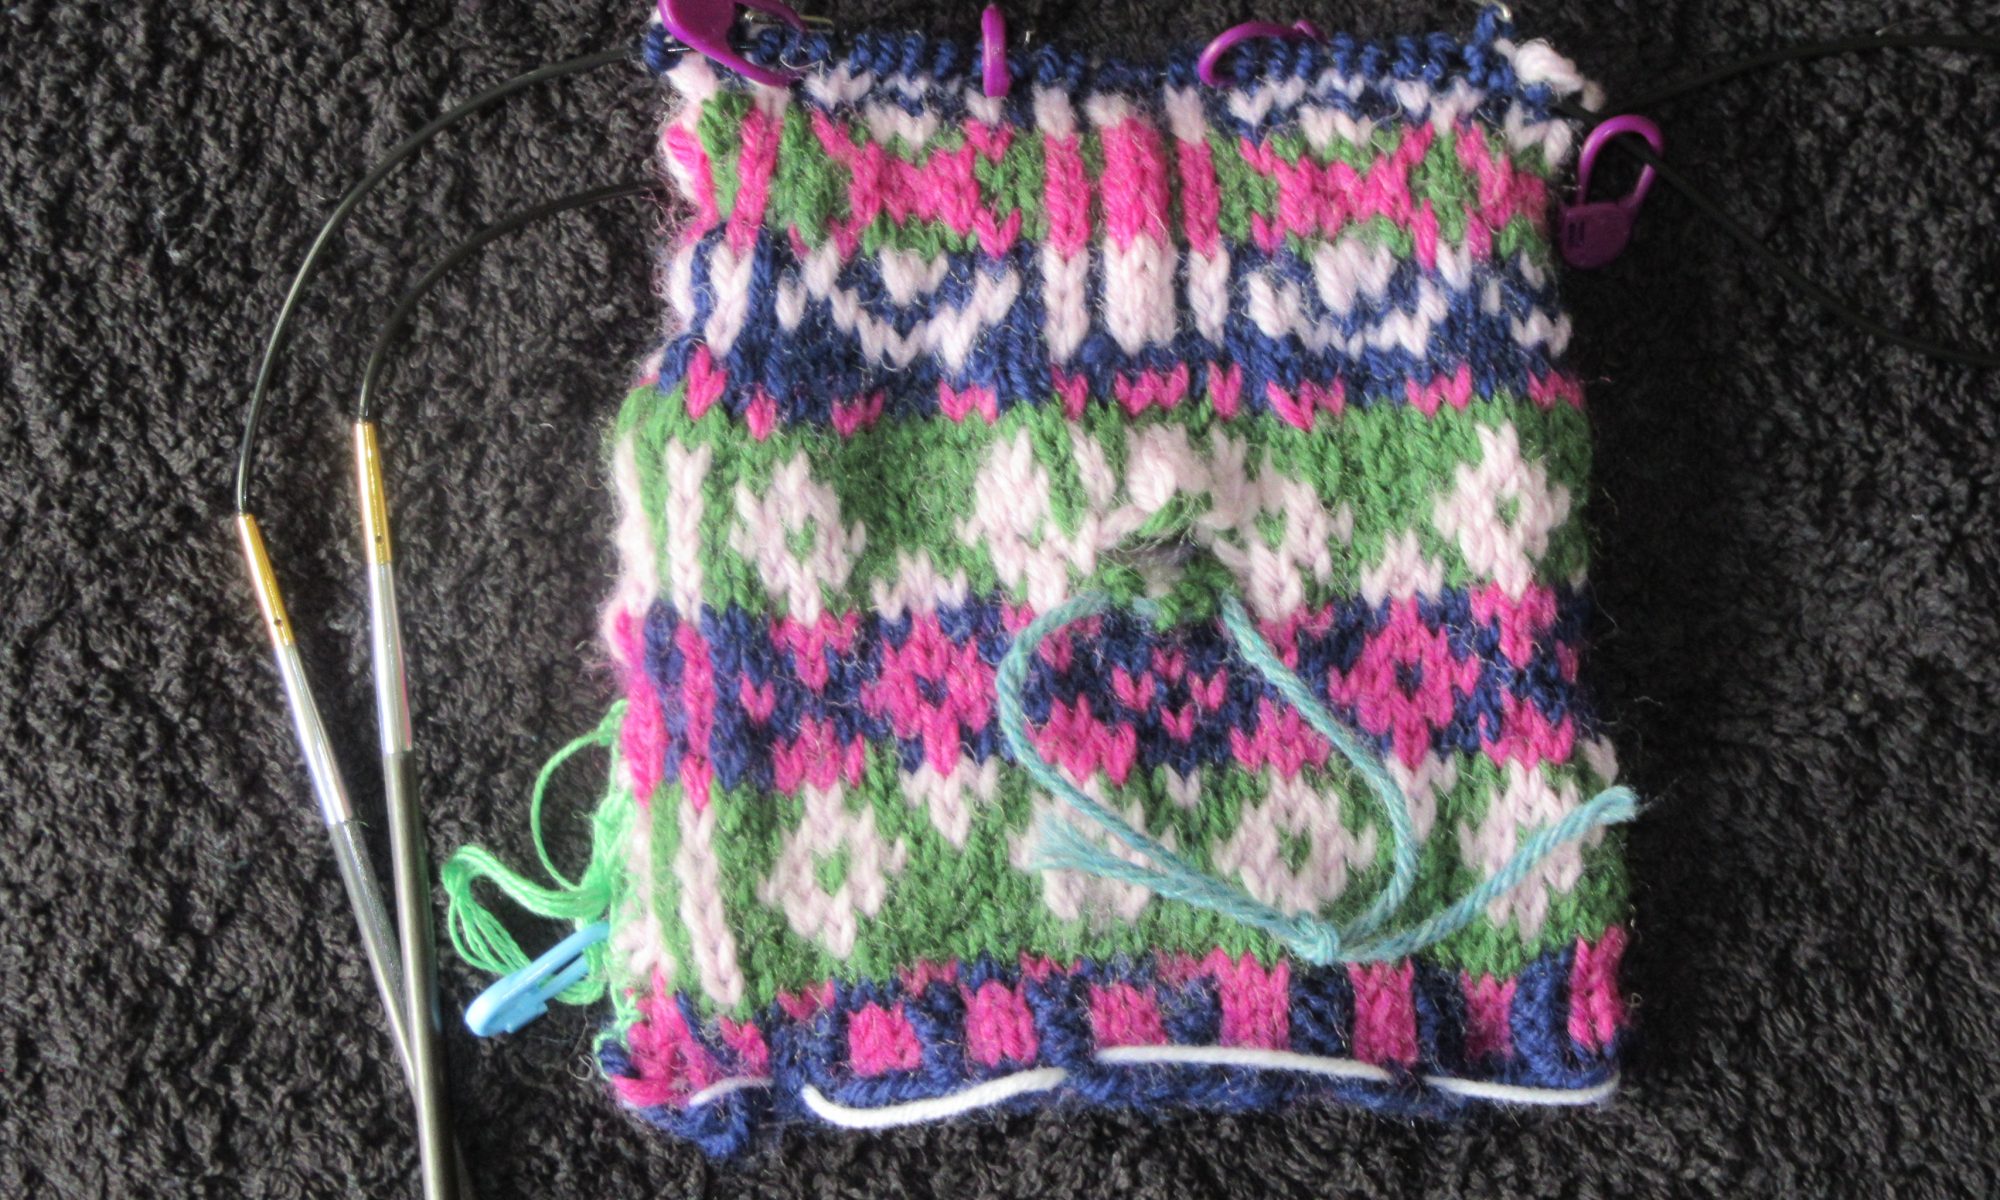
Your work should look something like the photograph.
You are ready to move to the next activity: Activity 9: Bind-off and join shoulders.
Additional links
- T-shop - Introduction to stranded colour work tutorial
- Excerpt from a seaming video by Roxanne Richardson.
- Playlist of the series on videos on how Teabreak Knitter made the Nahanni river vest.
- Very Pink Knits video "Knitting Help - 3 Ways to Join In-the-Round"
- How to bind-off when you have finished knitting. By Very Pink Knits.