
Introduction to stranded colour work tutorial – Activity 5

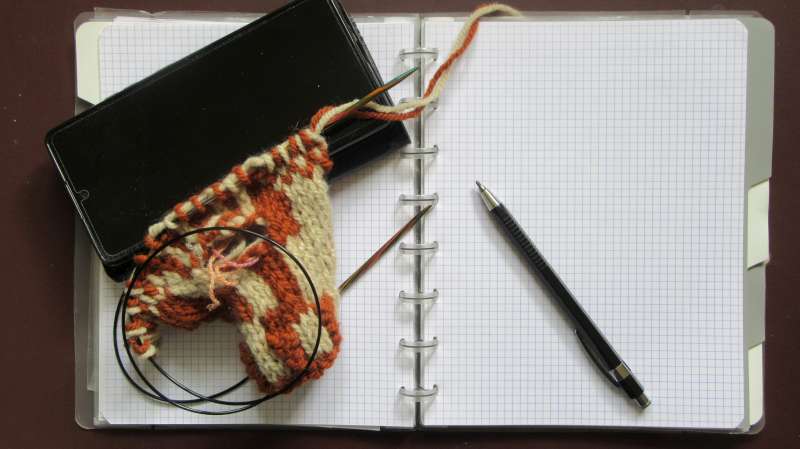
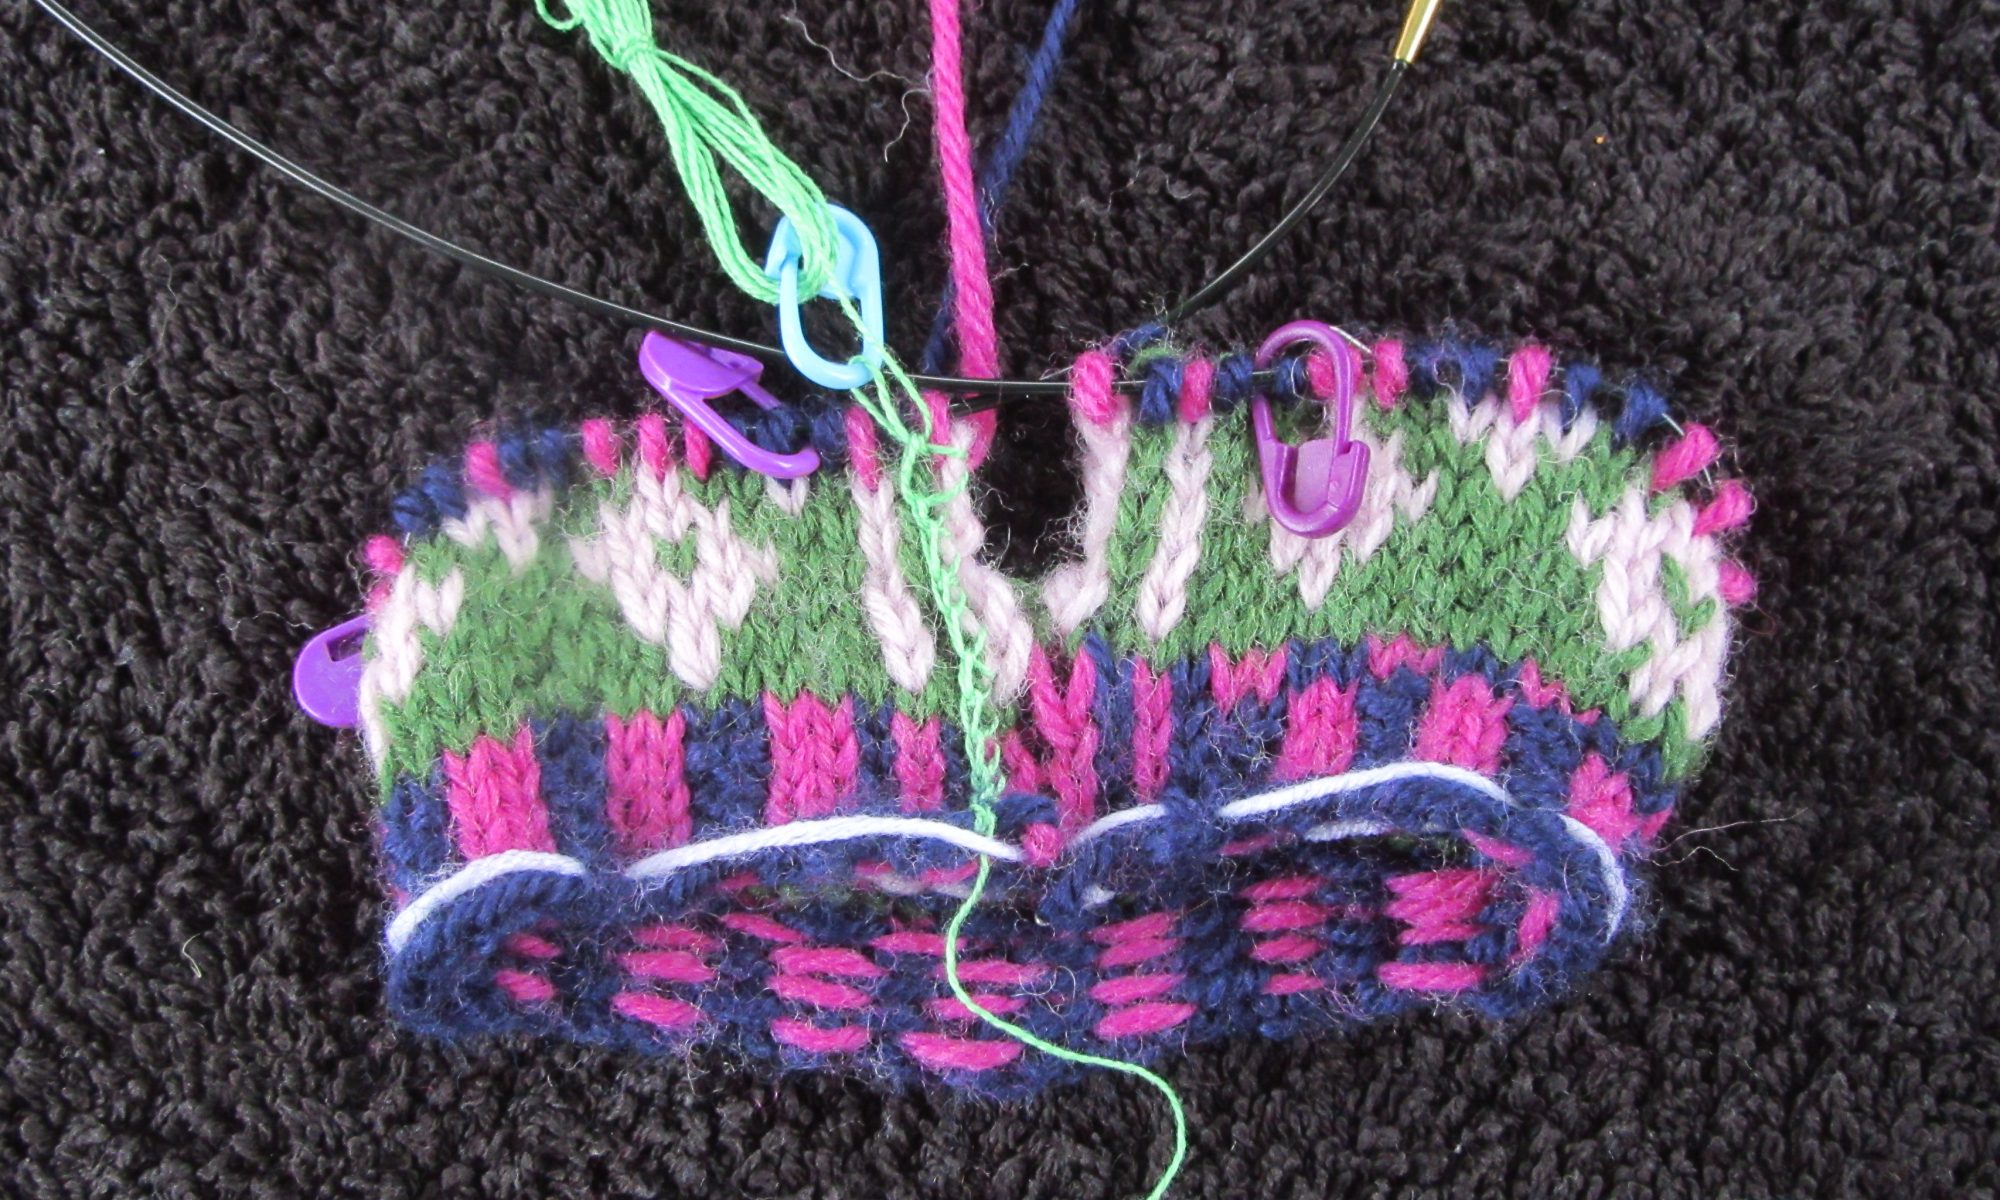
Stranded knitting showing a steek that has been reinforced using crochet reinforcement.

Activity 5: Reinforce first steek

You should have completed Activity 4: Knit stranded colour work when knitting flat and have knit 8 rounds of the motif (three of these knit flat).

Rather than continuing to knit the motif, we will take a break and learn another new technique – reinforcing a steek. Normally, you would only reinforce the steek when you had finished knitting the garment. But this is a tutorial, so I will concentrate on teaching you new things, and then letting you go off and practice them.

Reinforcing a steek

The instructions for this activity are on pages 12 and 13 of the handout. You need to remember where you have put the crochet hook and the thinner yarn!

The video shows you how to reinforce a steek.

You have an even number of stitches in your steeks, so you will be joining the two central stitches of the steek to their neighbours.

Follow the instructions on pages 12 and of the handout to reinforce the steek at the ribbing and first five rows of the motif. This takes you from the cast-on edge to where the steek is split because you knit flat.

When you have finished you should see two neat crochet chains either side of the beginning/end of round.

Go on, give in to temptation

If this was a real project, I would strongly advise that you do not cut the steek until you have picked up the stitches to form the arm and neck bands. But this is a tutorial, and it’s only a small piece, isn’t it? If you want, you can cut the steek now.

You are ready for the next activity
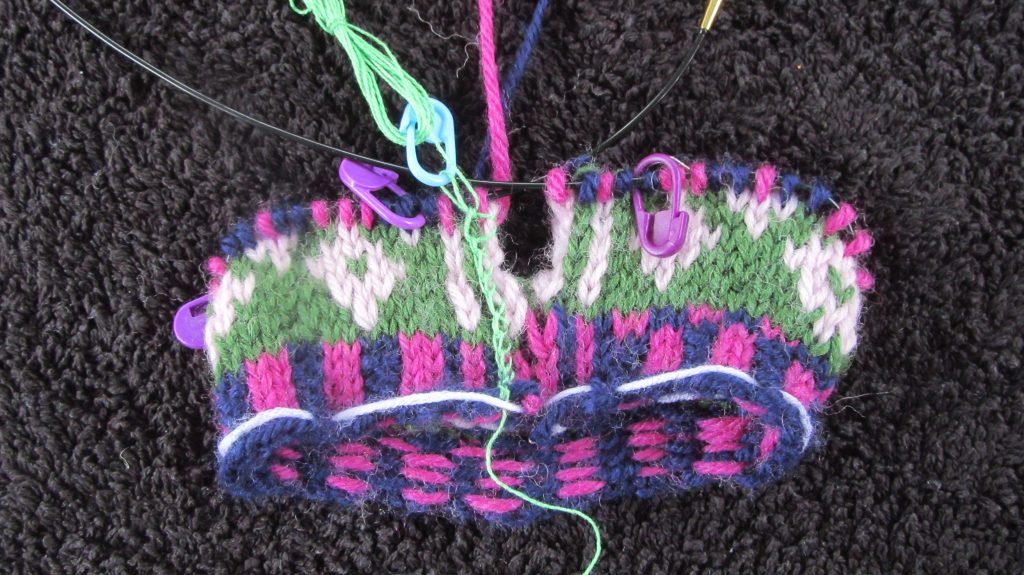
Stranded knitting showing a steek that has been reinforced using crochet reinforcement.

If you resisted temptation, your work should look something like the photograph.

You are ready to move to the next activity: Activity 6: Knit in the round to the armholes.

Additional links

Running an interactive workshop – notes

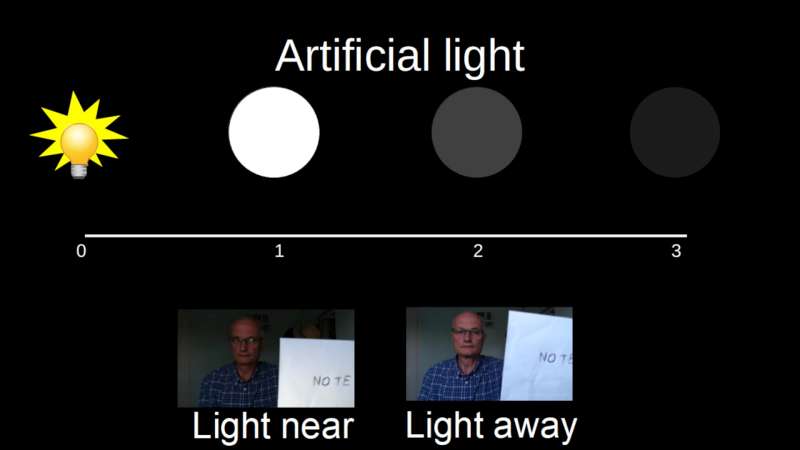
Light bulb on left and three circles: the nearest to the bulb is white, the next mid grey and the last dark grey. Below are two images showing the impact on exposure of holding a white sheet of paper near and away from the light source.

Interactive workshop notes: “Running and interactive workshop”

You have attended the workshop “Running an interactive workshop”. Here are some interactive workshop notes to remind you of what you learned,

Contents of this interactive workshop:
Introductions and welcome.
Planning for your interactive workshop.
Planning your virtual workspace.
Running the interactive workshop.
Summary and actions

Duration: 90 minutes.

Continue reading “Running an interactive workshop – notes”

Apply for a workshop (KCG priority)

Please use this form to apply for a workshop. Your application is emailed to Teabreak Knitter and not stored on this website. Priority will be given to members of the Knitting & Crochet Guild

Teabreak Knitter will contact you using the email address you provide below.

Conditions

By applying for this workshop you agree to:

  • Make every effort to take part in the workshop activities;
  • Show respect to others in the workshop;
  • Allow others in the workshop to see your email address;
  • Allow Teabreak Knitter to store your contact information for purposes of running the workshop;
  • Acknowledge that the workshop and associated materials are in English;
  • Tell Teabreak Knitter if you will no longer be able to take part.

Apply

To apply for a workshop, fill in the form using the drop-down menu to choose the workshop you are applying for. You may only apply for one workshop at a time.

Applicants may be from anywhere in the world. The application asks for a major city near to you so that Teabreak Knitter can see which time zone you are in.

Apply for a workshop - KCG members
Radio Buttons
Name of the workshop that you are applying to join.

After you successfully submit your form you will see a confirmation message above the form (you may need to scroll up). You should also receive an email from Teabreak Knitter. The form will be cleared ready for you to apply for another workshop.

Running an interactive workshop

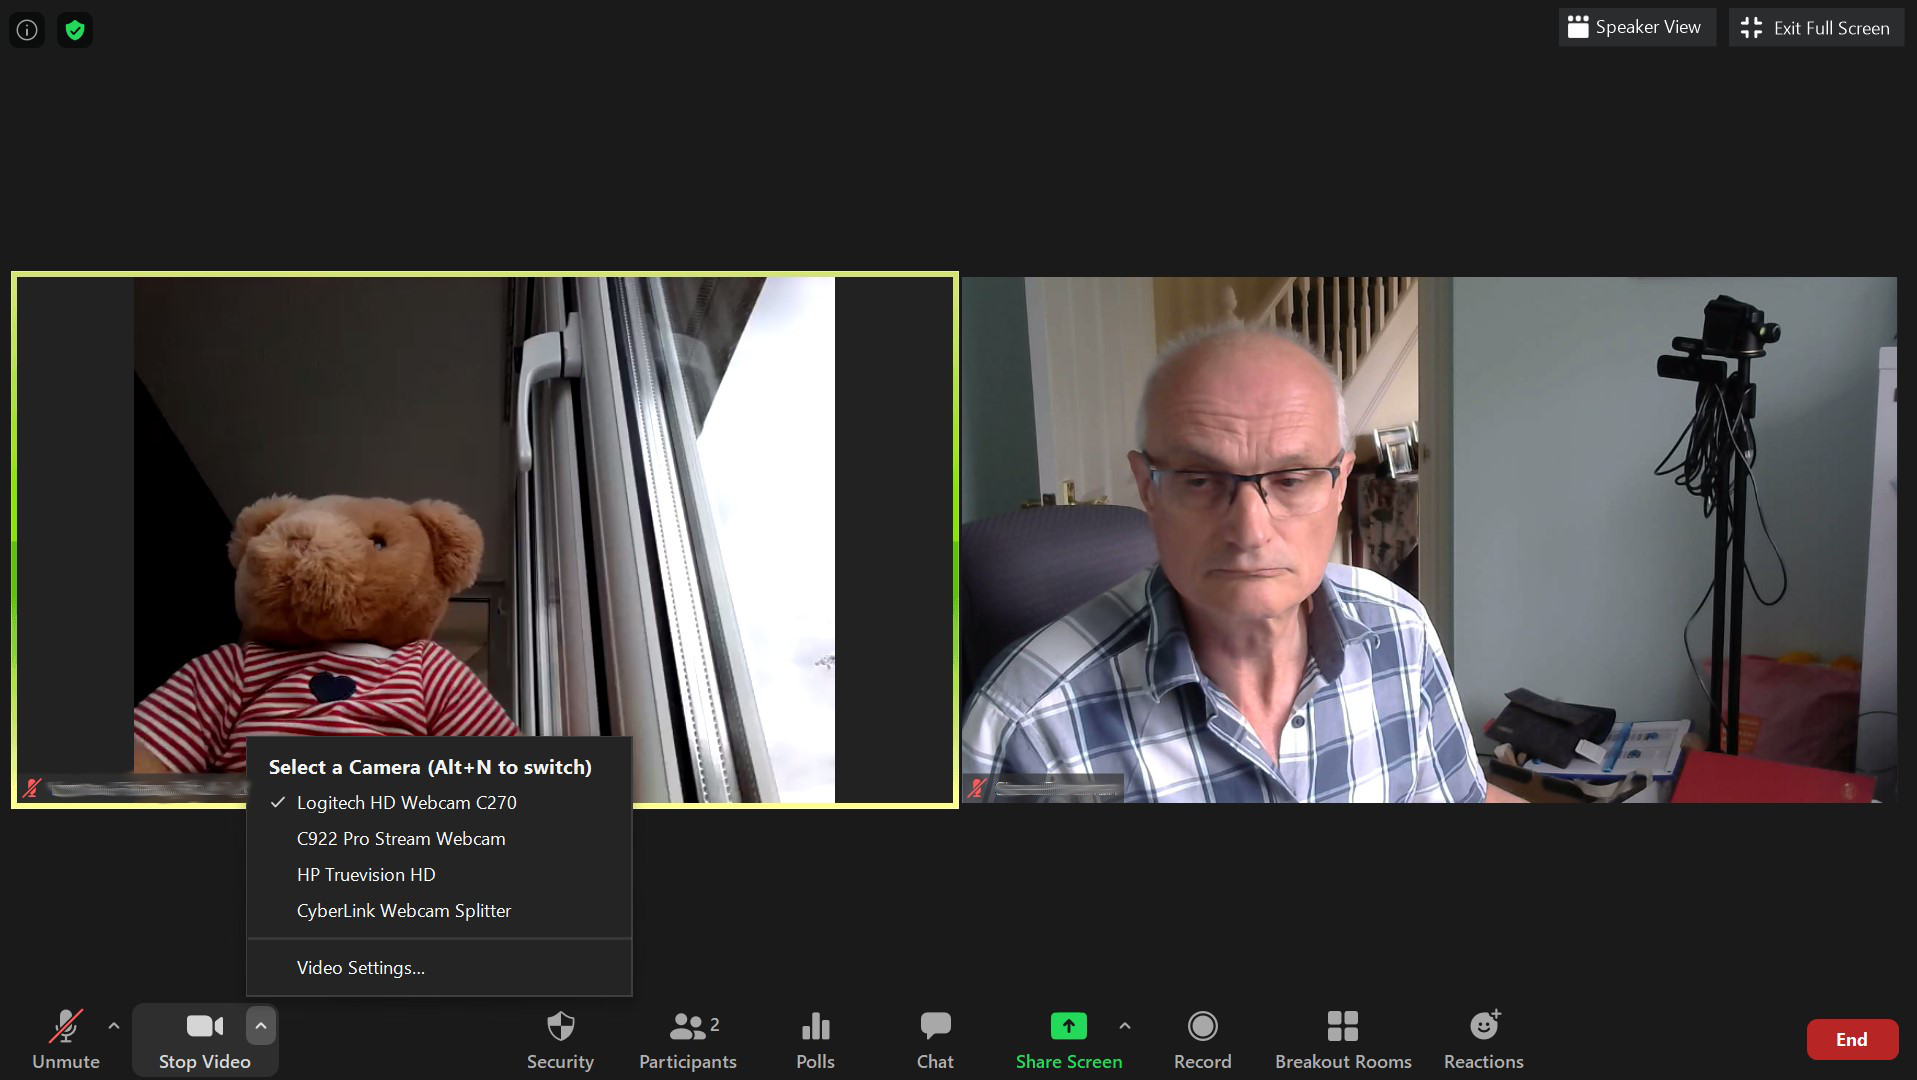
Two participants in a video conference session: a Teddy Bear and an adult male.

This interactive workshop is designed for experienced demonstrators and trainers who want to use video conferencing as a tool for delivering workshops.

By the end of the interactive workshop, you will have learned these skills:

  • Identify how delivering a workshop online may differ from delivering it face to face.
  • Plan the structure of your online workshop.
  • Identify how they you use your cameras and video conferencing software.
  • Plan what supporting materials and props you will need.

This is an online interactive workshop with an interactive group teleconferencing session (using Zoom).

This workshop is free.

Continue reading “Running an interactive workshop”

Delivering a workshop by video conferencing -pilot

Two participants in a video conference session: a Teddy Bear and an adult male.

This workshop is designed for experienced trainers who want to use video conferencing as a tool for delivering workshops.

By the end of the workshop, participants will be able to:

  • identify how delivering a workshop online may differ from delivering it face to face,
  • plan the structure of their online workshop,
  • identify how they will use their cameras and video conferencing software, and
  • plan what supporting materials and props they will need.

This is an online interactive workshop with an interactive group teleconferencing sessions (using Zoom) supported by a downloadable handout.

This workshop is free.

Continue reading “Delivering a workshop by video conferencing -pilot”