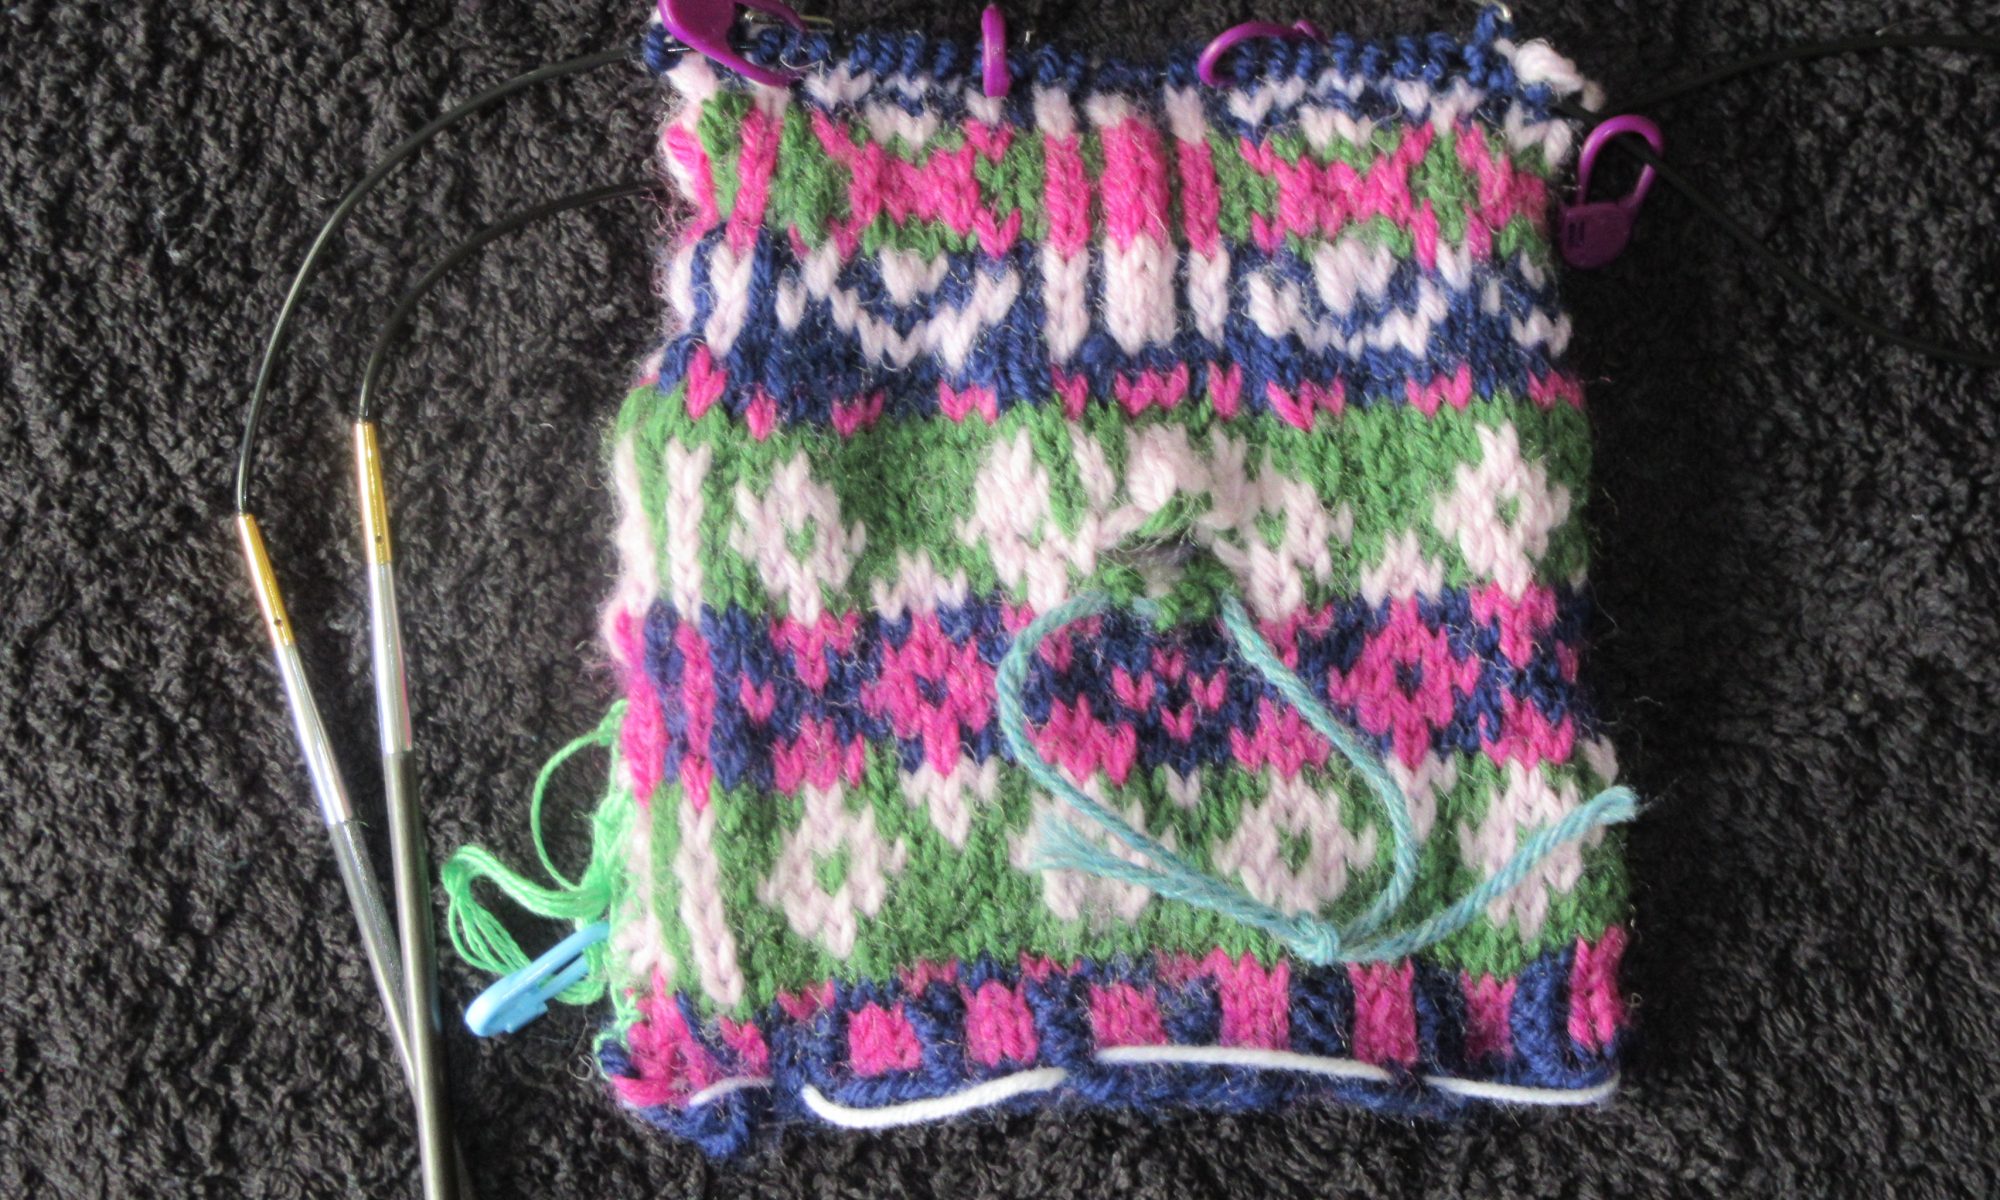
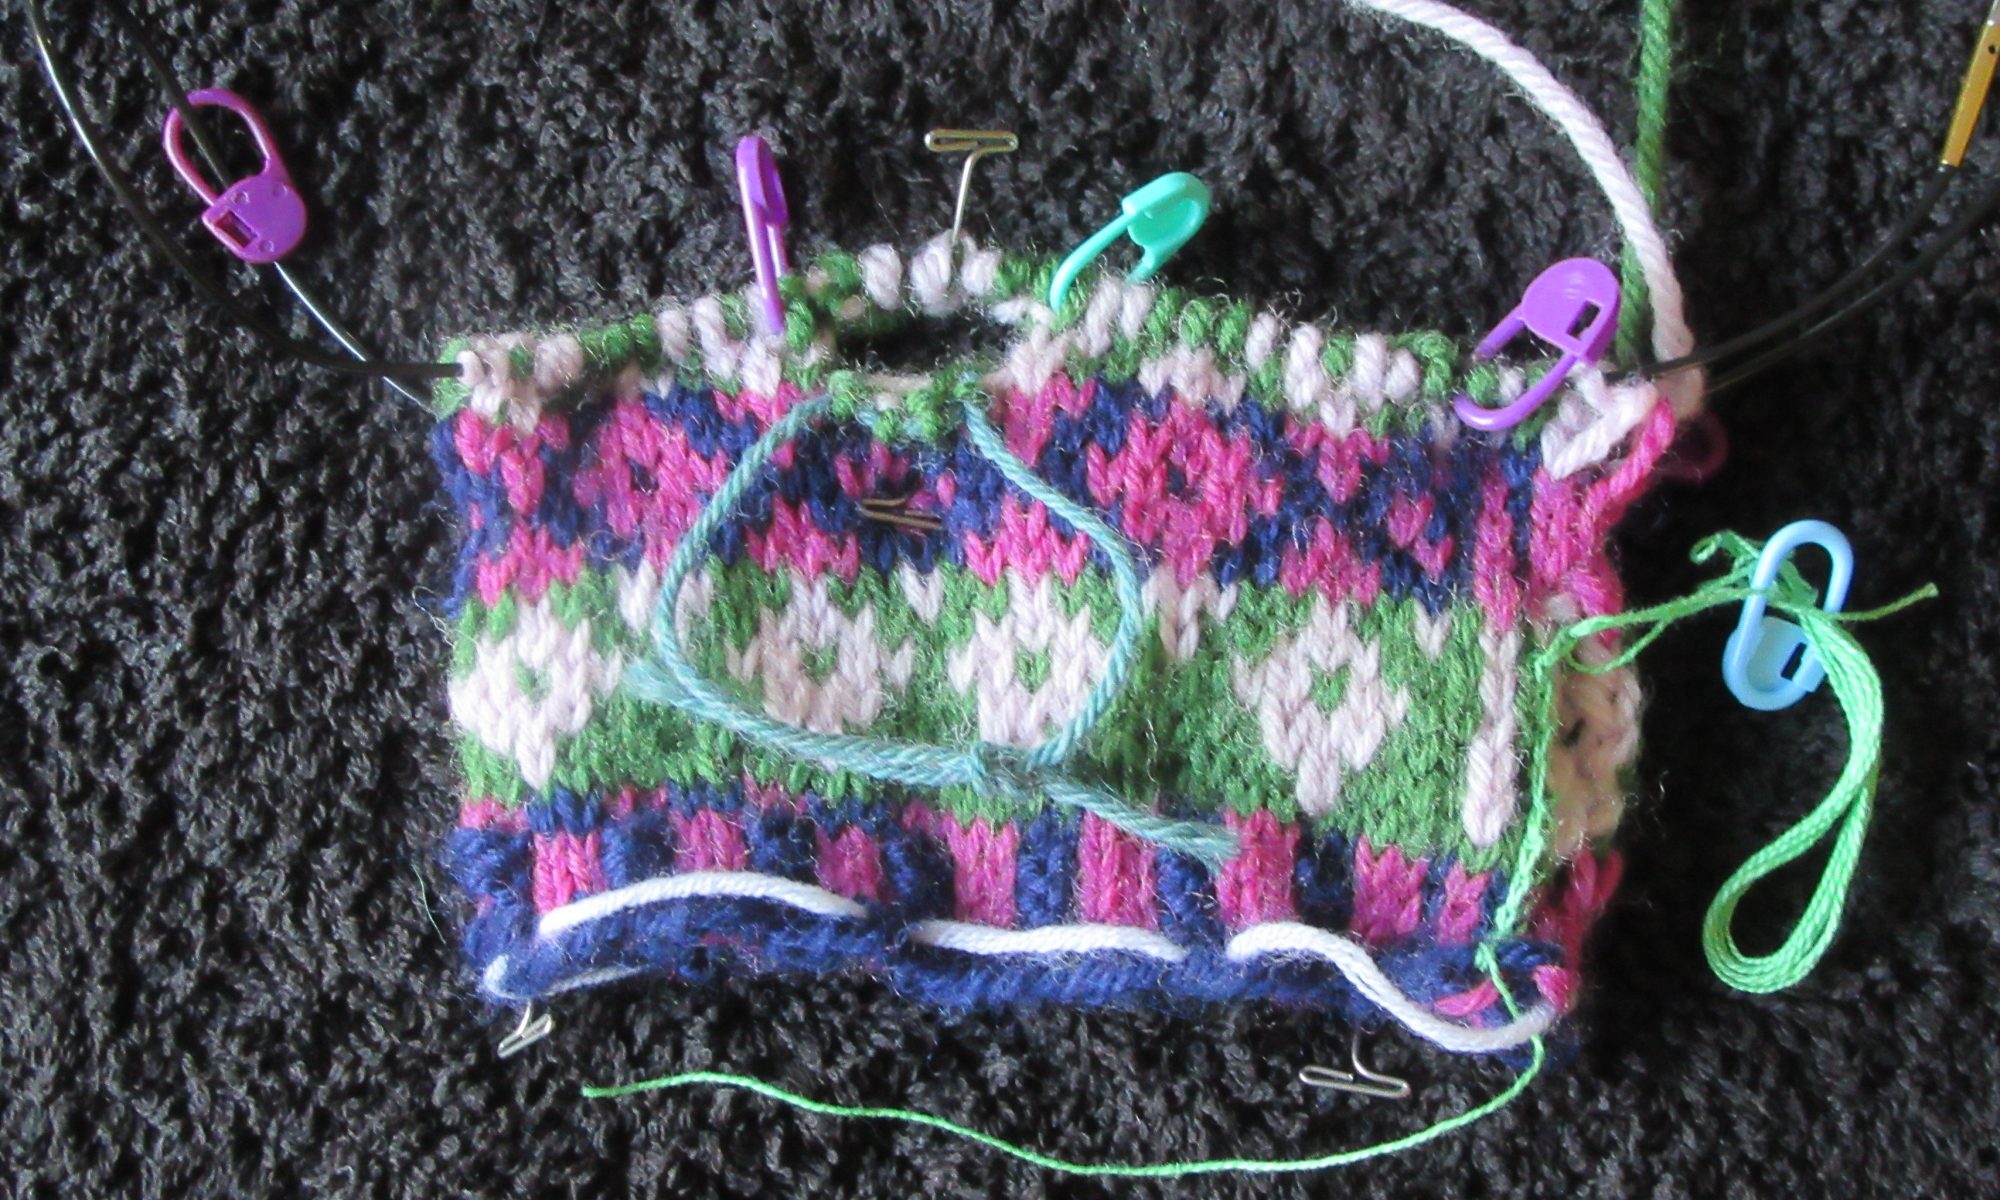
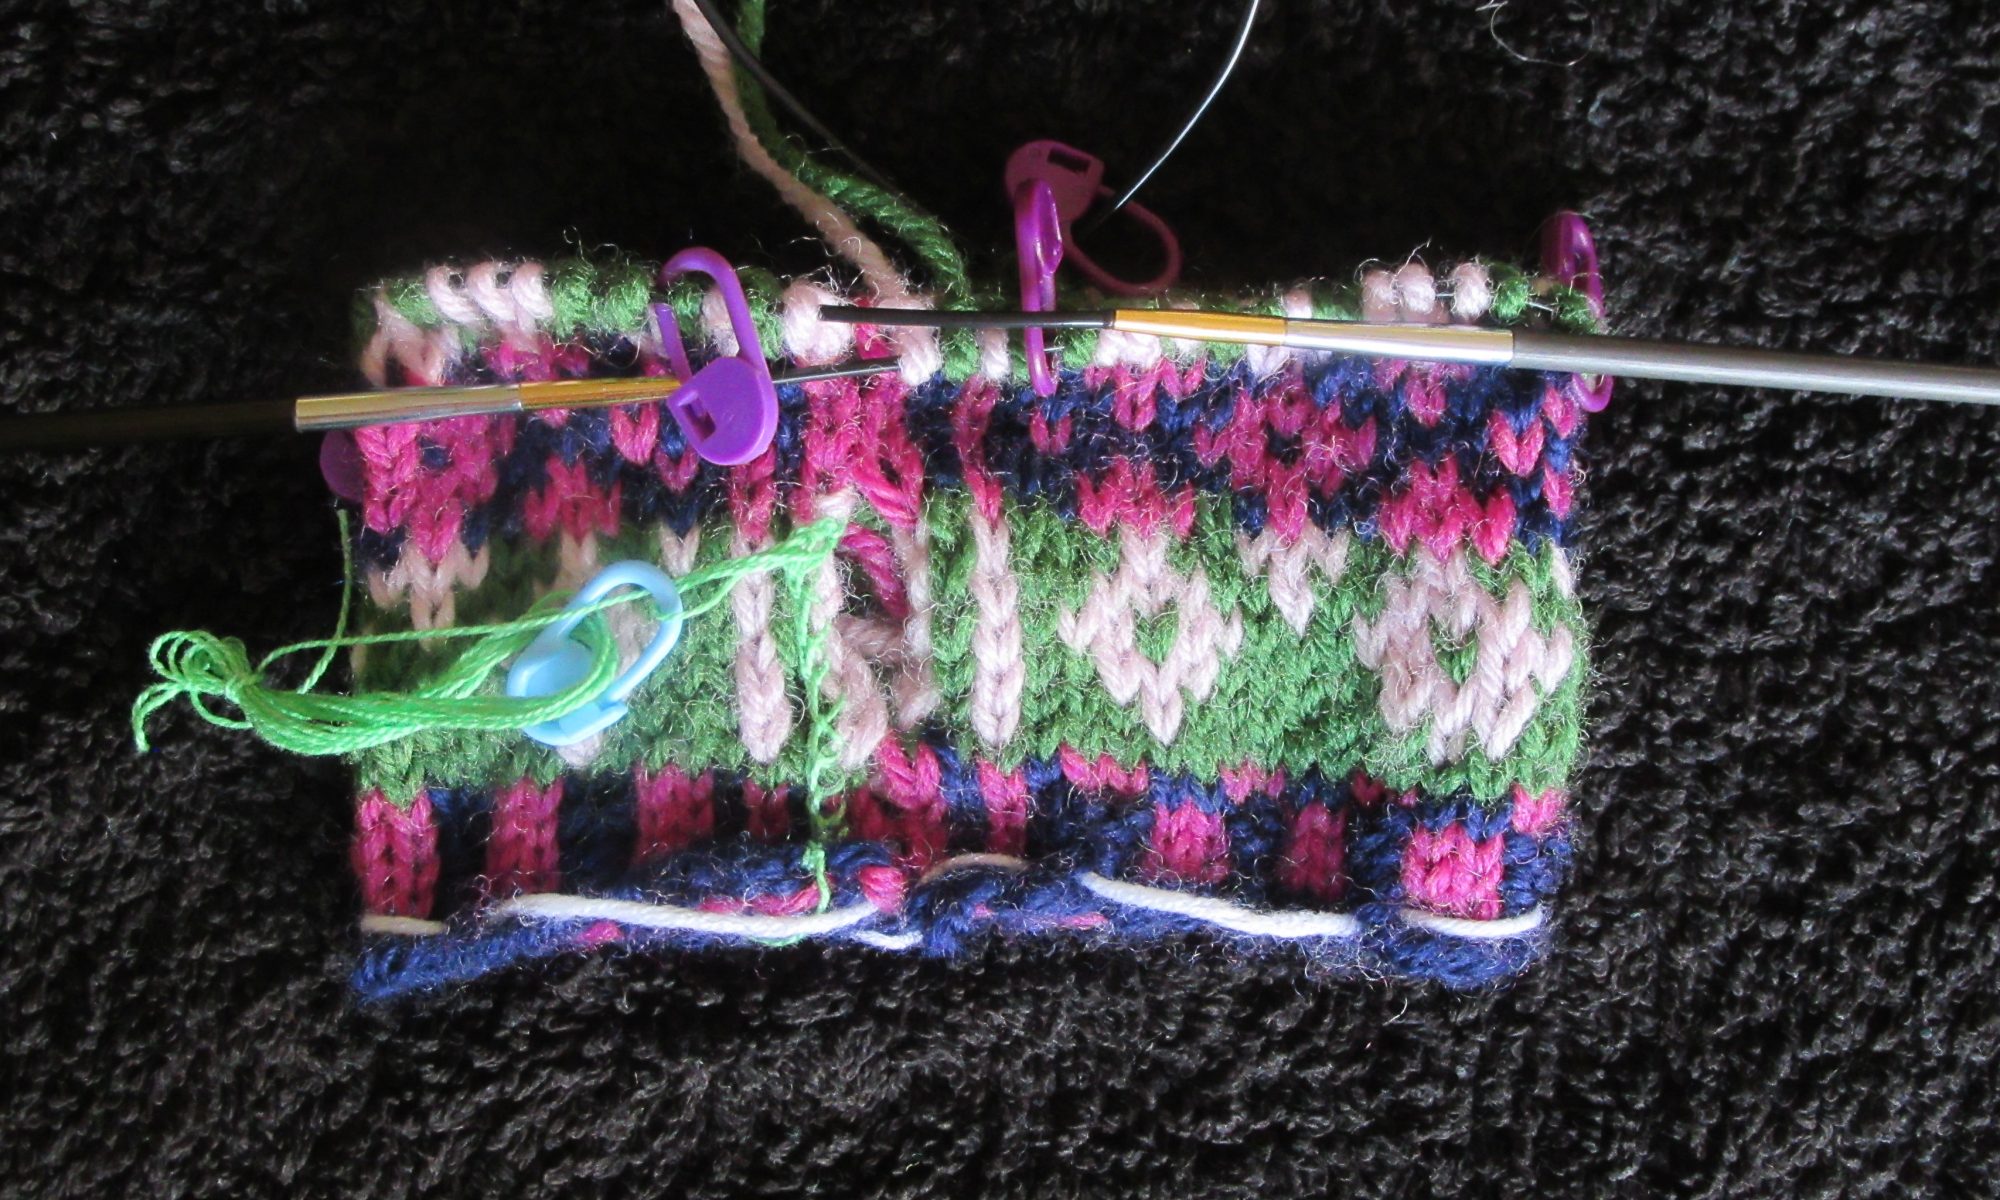
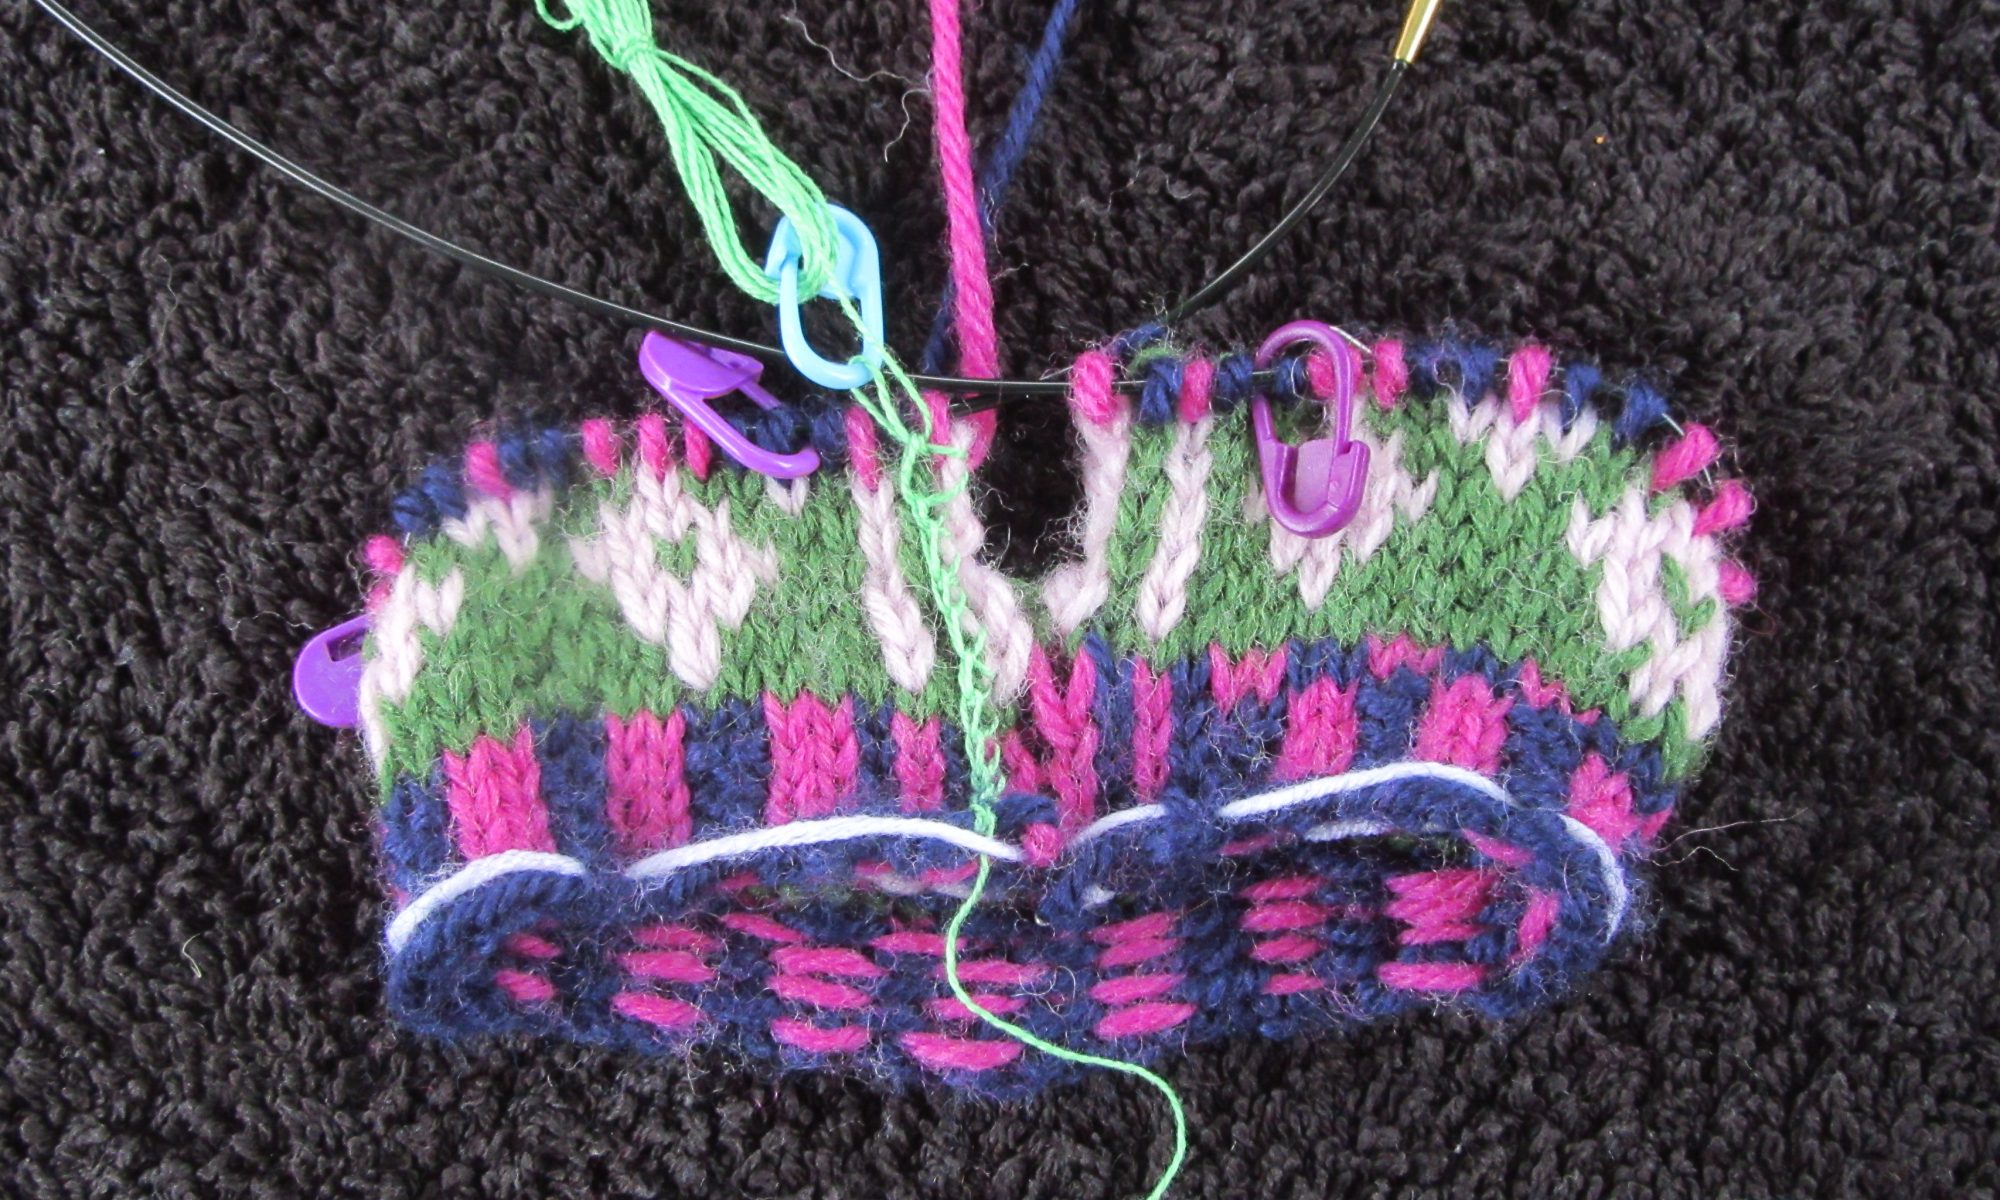
Most people follow a pattern when they are knitting. Knowing how to match the instructions in the pattern to what you see as the fabric is formed on your needles is central to reading your knitting.
Continue reading “Matching what you see to the pattern”Stitch markers
Introduction to stranded colour work tutorial – Activity 12
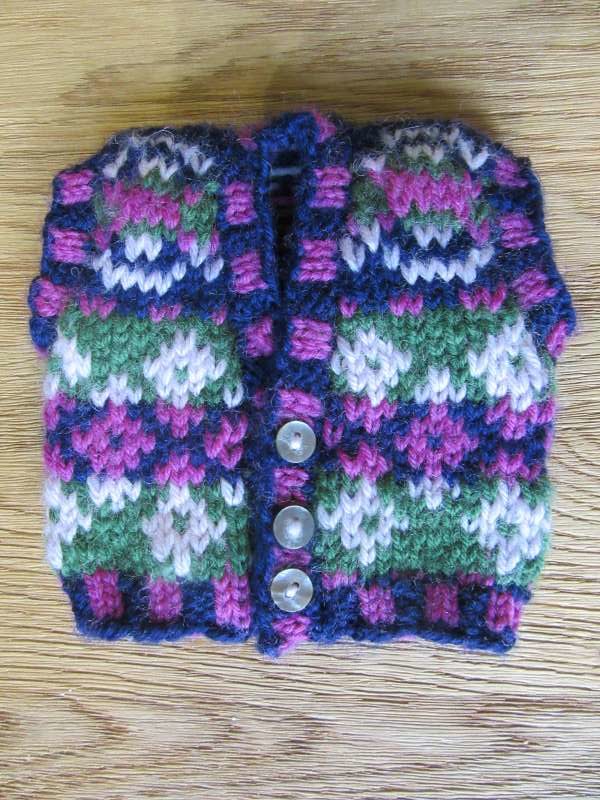
Activity 12: Finishing
You should have completed Activity 11: Pick up stitches for the armhole edging and button band.
Instructions for this activity are on page 22 (Finishing) of the handout.
Continue reading “Introduction to stranded colour work tutorial – Activity 12”Introduction to stranded colour work tutorial – Activity 11
Activity 11: Pick up stitches for the armhole edging and button band
You should have completed Activity 10: Reinforce steeks. The instructions for this activity are on page 21 (Activity 11) of the handout.
Continue reading “Introduction to stranded colour work tutorial – Activity 11”Introduction to stranded colour work tutorial – Activity 10
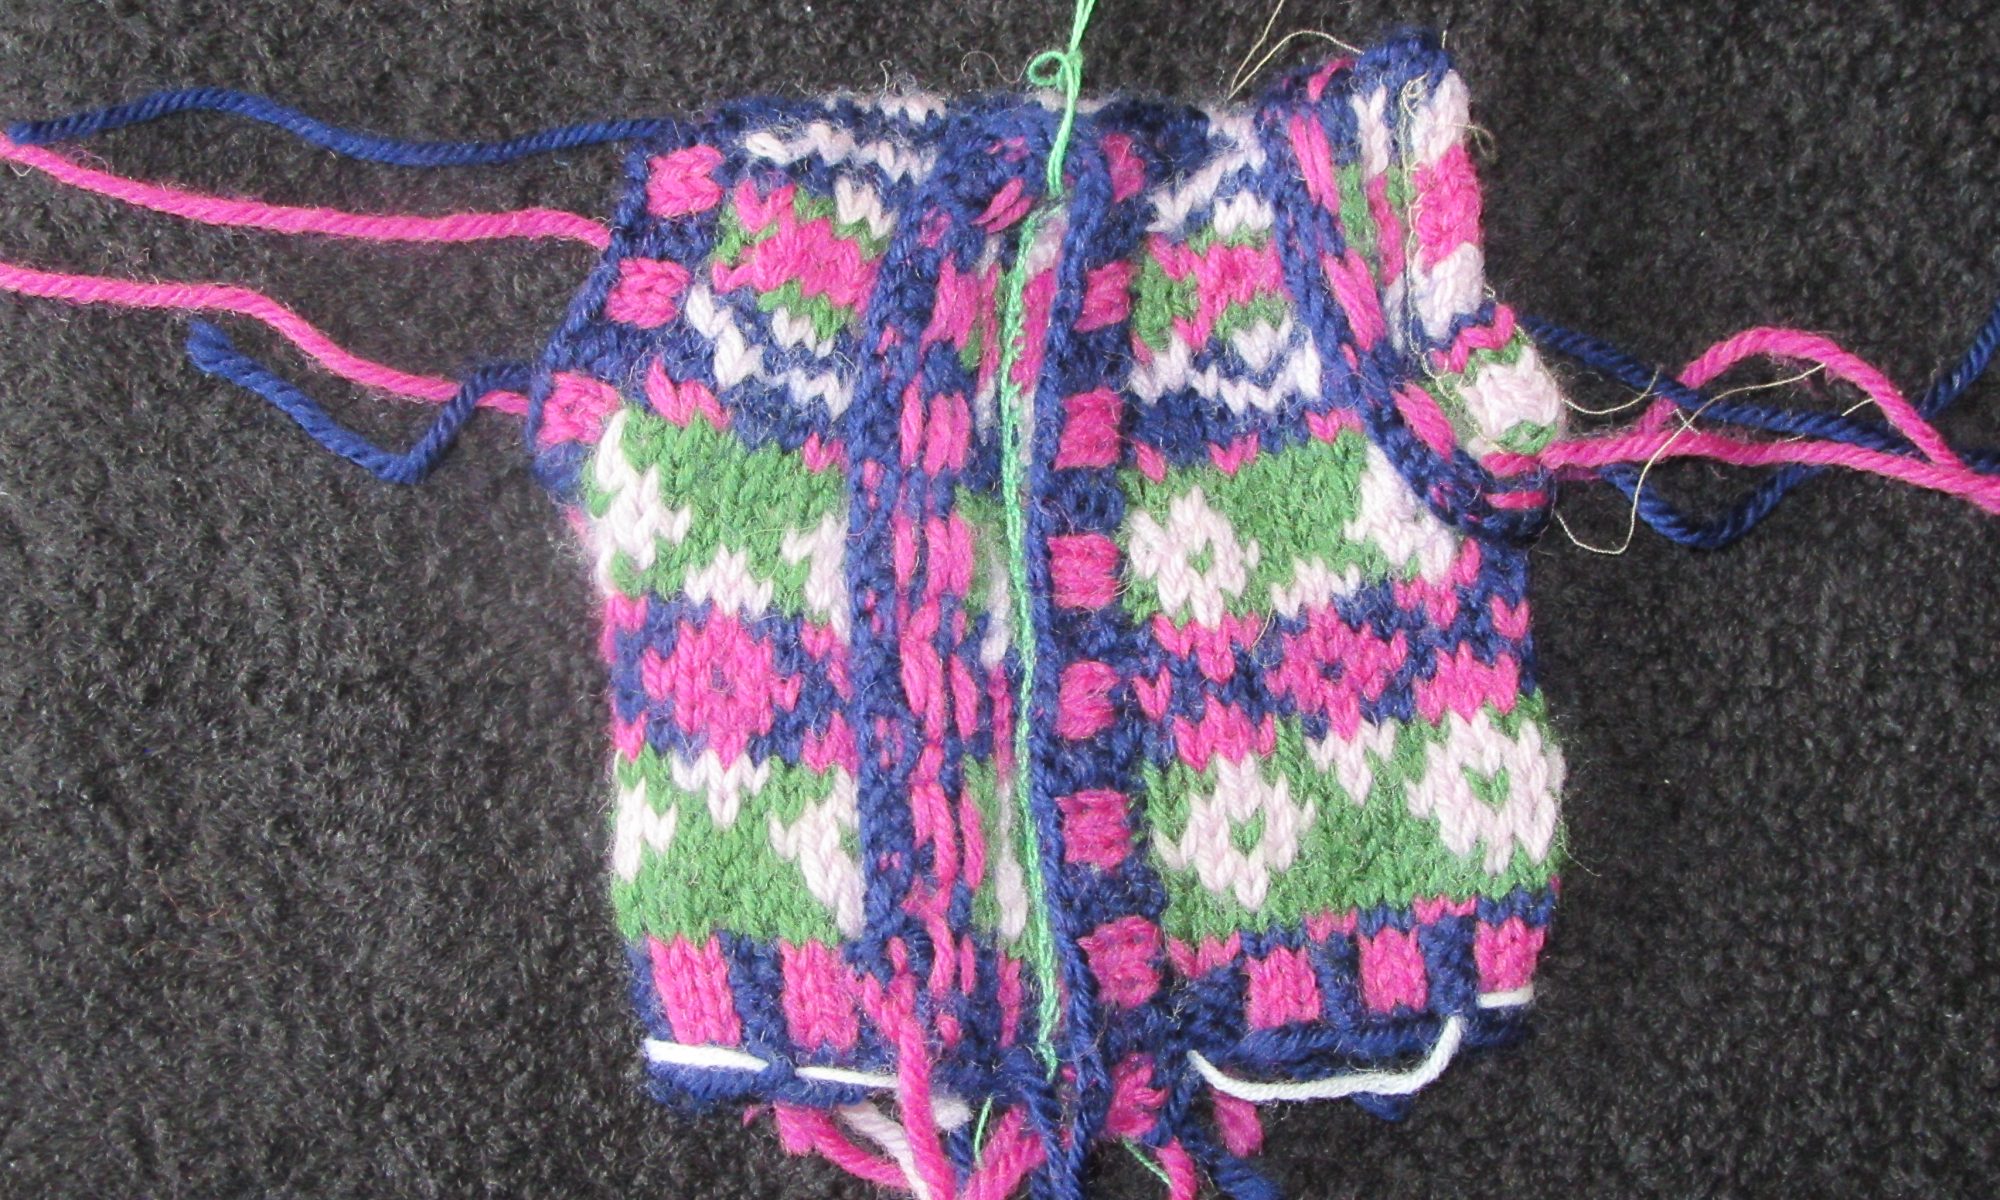
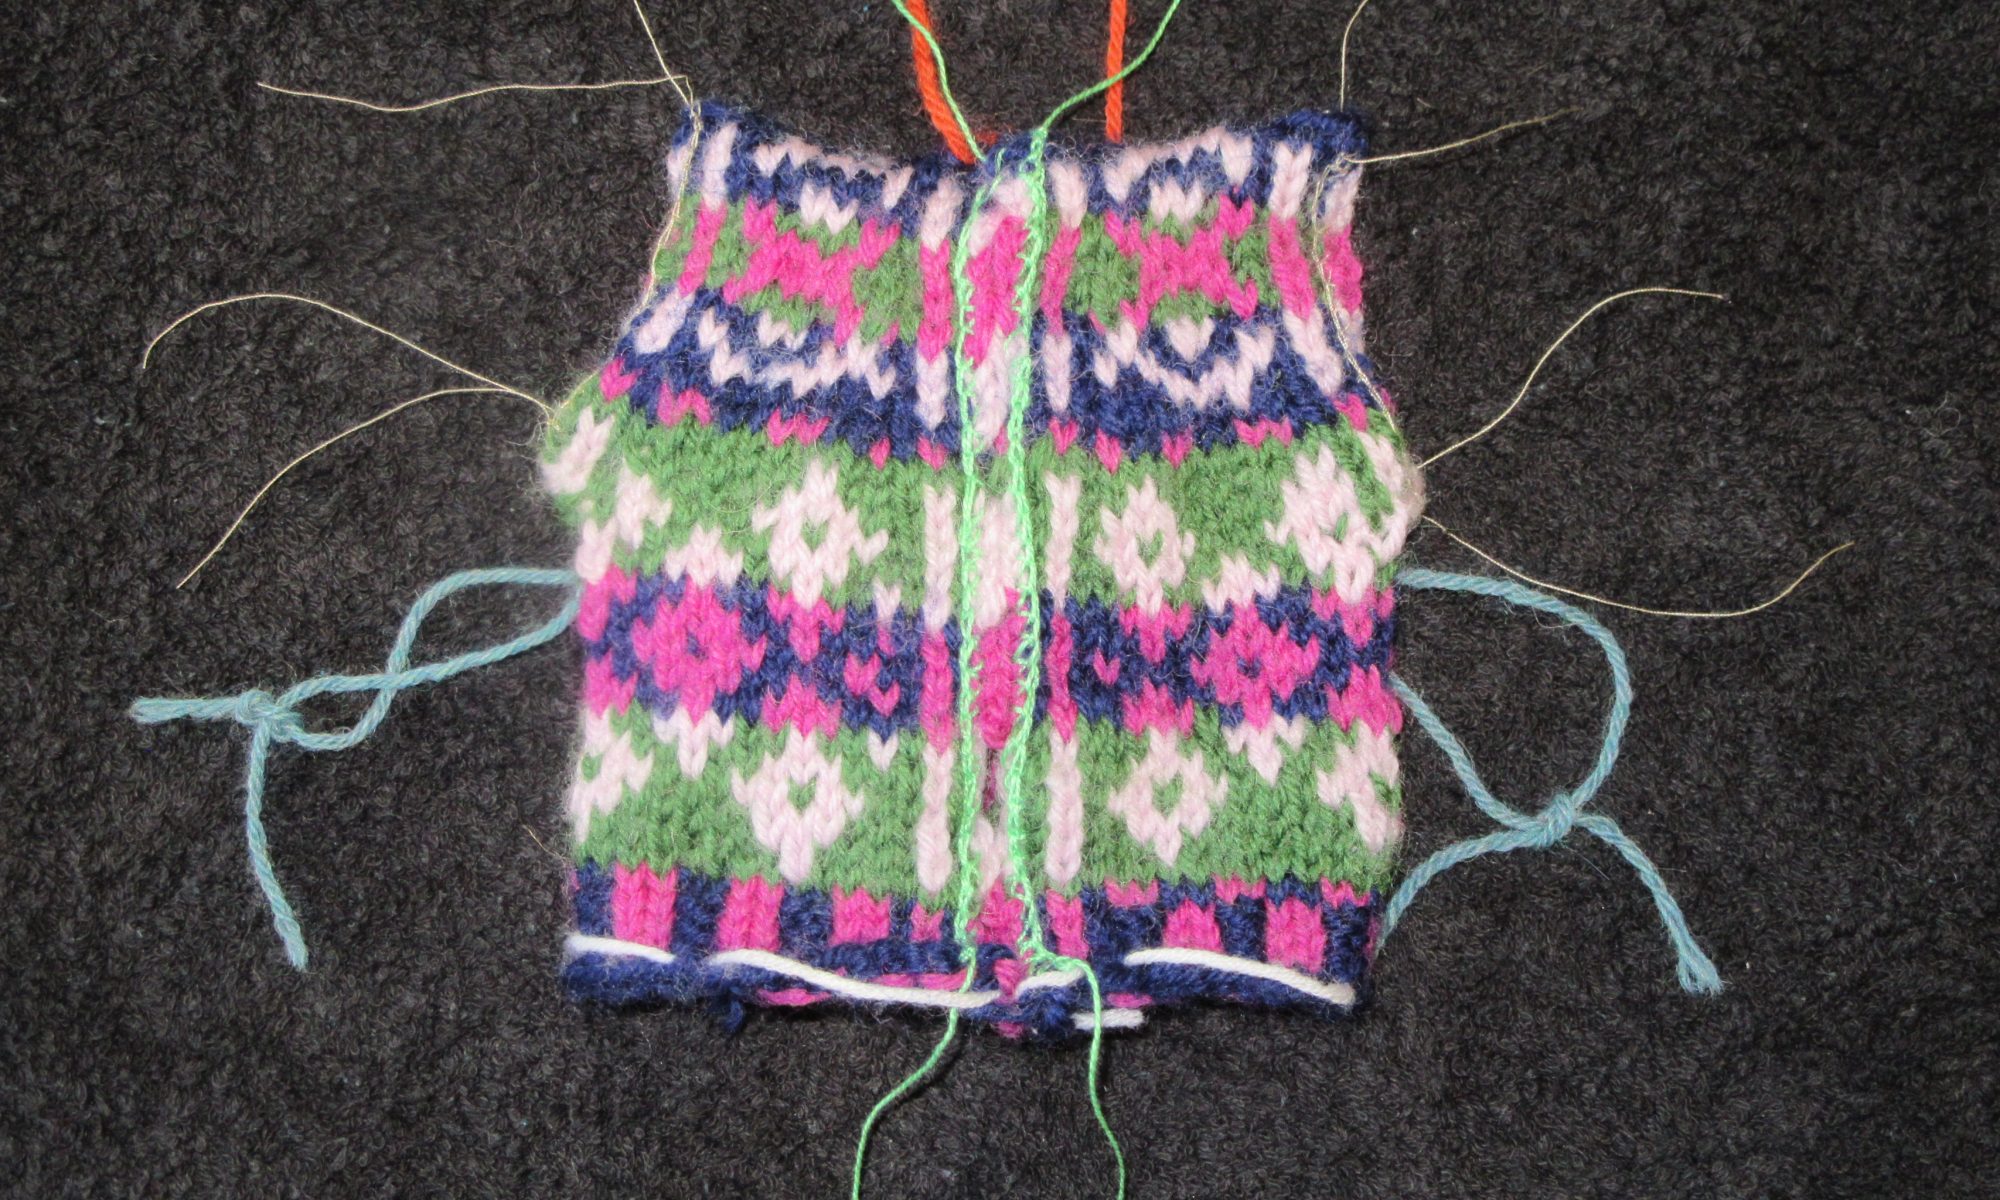
Activity 10: Reinforce steeks
You should have completed Activity 9: Bind-off and join shoulders.
Instructions for this activity are on page 20 of the handout.
Use the crochet method of reinforcing steeks that you learned in activity 5. Reinforce the steeks at the front and the two armholes.
Continue reading “Introduction to stranded colour work tutorial – Activity 10”Introduction to stranded colour work tutorial – Activity 9
Activity 9: Bind-off and join shoulders
You should have completed Activity 8: complete the main body of the waistcoat.
In this activity, you will join your work at the shoulders, leaving the neck open. Instructions for this activity are on page 19 of the handout.
Continue reading “Introduction to stranded colour work tutorial – Activity 9”Introduction to stranded colour work tutorial – Activity 8
Activity 8: Complete the main body of the waistcoat
You should have completed Activity 7: Start steeks for armholes.
This activities introduces decreases either side of the steeks to shape the neck line and armholes. You will find the instructions on pages 17 and 18 of the handout.
Continue reading “Introduction to stranded colour work tutorial – Activity 8”Introduction to stranded colour work tutorial – Activity 7
Activity 7: Start steeks for armholes
You should have completed Activity 6: Knit in the round to the armholes and completed round 14 of the chart.
A steek lets you keep knitting in the round, even when there will be an opening in the finished item. You already have one steek at the beginning of each round that will form the opening at the front of the waistcoat. In this activity you will create two more for the armholes.
Continue reading “Introduction to stranded colour work tutorial – Activity 7”Introduction to stranded colour work tutorial – Activity 6
Activity 6: Knit in the round to the armholes.
You should have completed Activity 5: Reinforce first steek.
This activity is on page 14 of the handout.
Continue reading “Introduction to stranded colour work tutorial – Activity 6”Introduction to stranded colour work tutorial – Activity 5
Activity 5: Reinforce first steek
You should have completed Activity 4: Knit stranded colour work when knitting flat and have knit 8 rounds of the motif (three of these knit flat).
Rather than continuing to knit the motif, we will take a break and learn another new technique – reinforcing a steek. Normally, you would only reinforce the steek when you had finished knitting the garment. But this is a tutorial, so I will concentrate on teaching you new things, and then letting you go off and practice them.
Reinforcing a steek
The instructions for this activity are on pages 12 and 13 of the handout. You need to remember where you have put the crochet hook and the thinner yarn!
The video shows you how to reinforce a steek.
You have an even number of stitches in your steeks, so you will be joining the two central stitches of the steek to their neighbours.
Follow the instructions on pages 12 and of the handout to reinforce the steek at the ribbing and first five rows of the motif. This takes you from the cast-on edge to where the steek is split because you knit flat.
When you have finished you should see two neat crochet chains either side of the beginning/end of round.
Go on, give in to temptation
If this was a real project, I would strongly advise that you do not cut the steek until you have picked up the stitches to form the arm and neck bands. But this is a tutorial, and it’s only a small piece, isn’t it? If you want, you can cut the steek now.
You are ready for the next activity
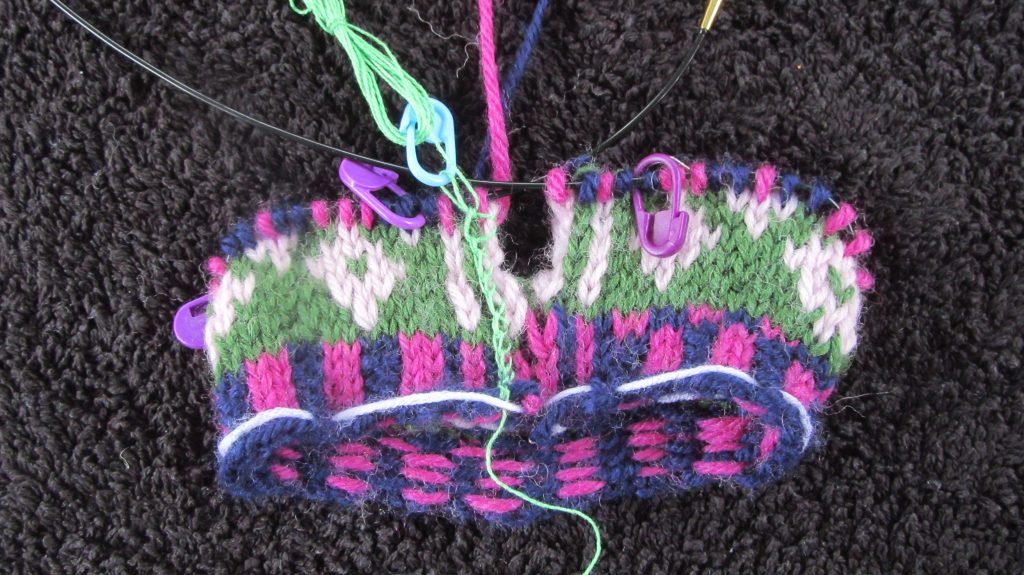
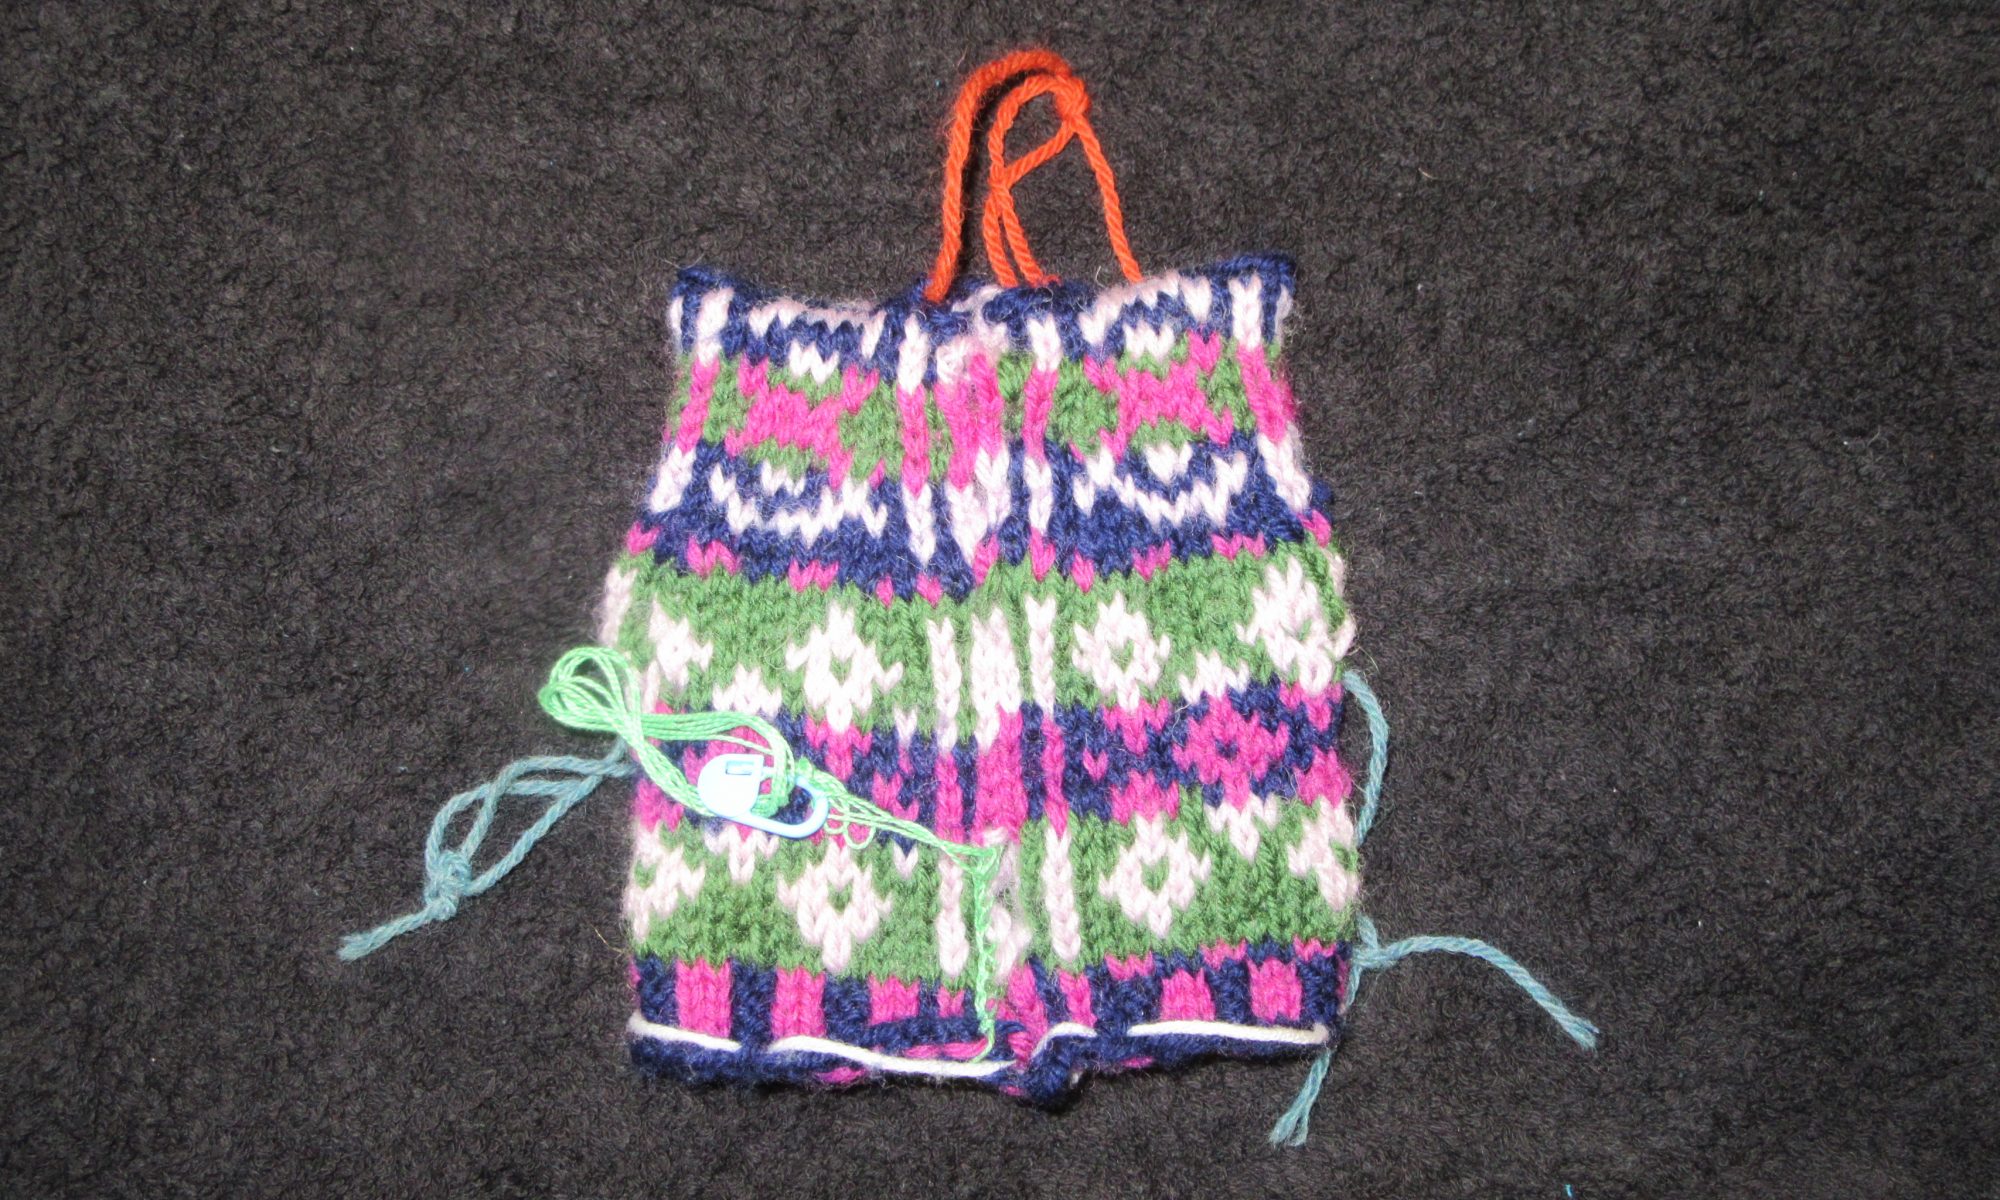
If you resisted temptation, your work should look something like the photograph.
You are ready to move to the next activity: Activity 6: Knit in the round to the armholes.


