Introduction to stranded knitting tutorial
Learn the basics of stranded colour work in this stranded knitting tutorial. You will learn how to knit with two colours and to follow colour charts. Armholes and V-necks will be easy after you learn how to cut a steek. So, if you want to learn at your own pace, this is the tutorial for you.
In addition, the companion “Introduction to stranded knitting workshop” covers the same material in a series of online meetings. You might want to take that workshop if you would like feedback on your progress, for example.
Contents of this workshop
This tutorial uses a practical project to make a miniature stranded colour work sleeveless cardigan. This tutorial guides you through the skills you will need:
- Cast on for knitting stranded colour work in the round.
- Hold yarn for knitting in two colours.
- Knit stranded rib (also known as cartridge rib).
- Read types of chart used for colour work.
- Knit stranded colour work in the round using stocking stitch (knit stitches only).
- Catch your floats to avoid long loops and give even tension.
- Knit colour work “flat” in stocking stitch (using both knit and purl stitches).
- Make decreases in a colour work pattern.
- Pick up stitches along the edge of a steek.
- Prepare and cut a steek.
Skills you will need before starting this tutorial
To understand this tutorial, you need to be able to:
- Cast on.
- Knit and purl.
- Knit in the round using circular needles or double pointed needles.
- So that you can knit this small item with circular needles, you need to use the magic loop (or travelling loop) or two circular needles.
- Decrease using right-leaning (k2tog) and left-leaning (ssk or sl1 k2tog psso) decreases.
- Pick up and knit stitches from the sides and top of knitting.
Let’s get started
Work through these activities to knit your own sleeveless waistcoat for a cuddly toy. You will need to download the handout for this workshop that contains the chart and pattern, as well as useful tips.
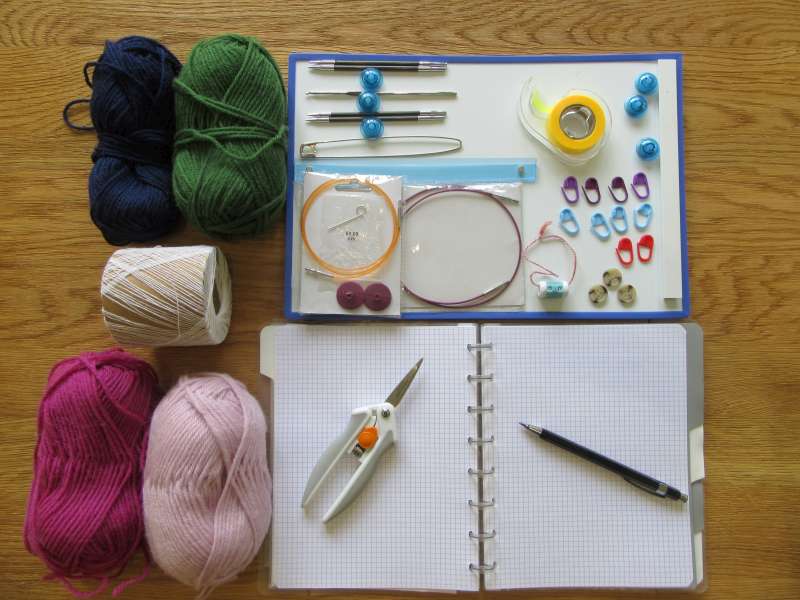
Yarn and tools
Start by gathering together the yarn, notions and tools you will need.
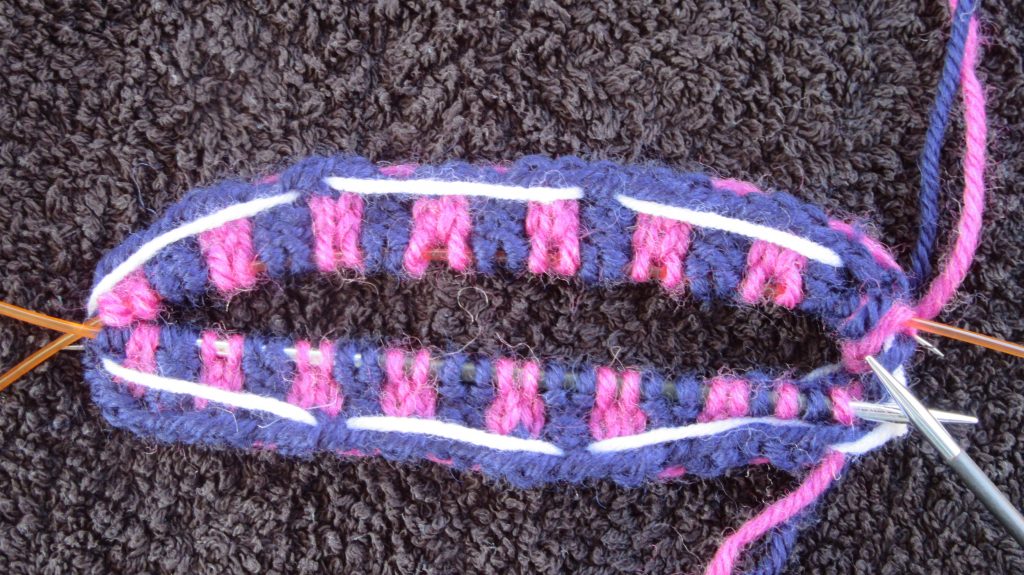
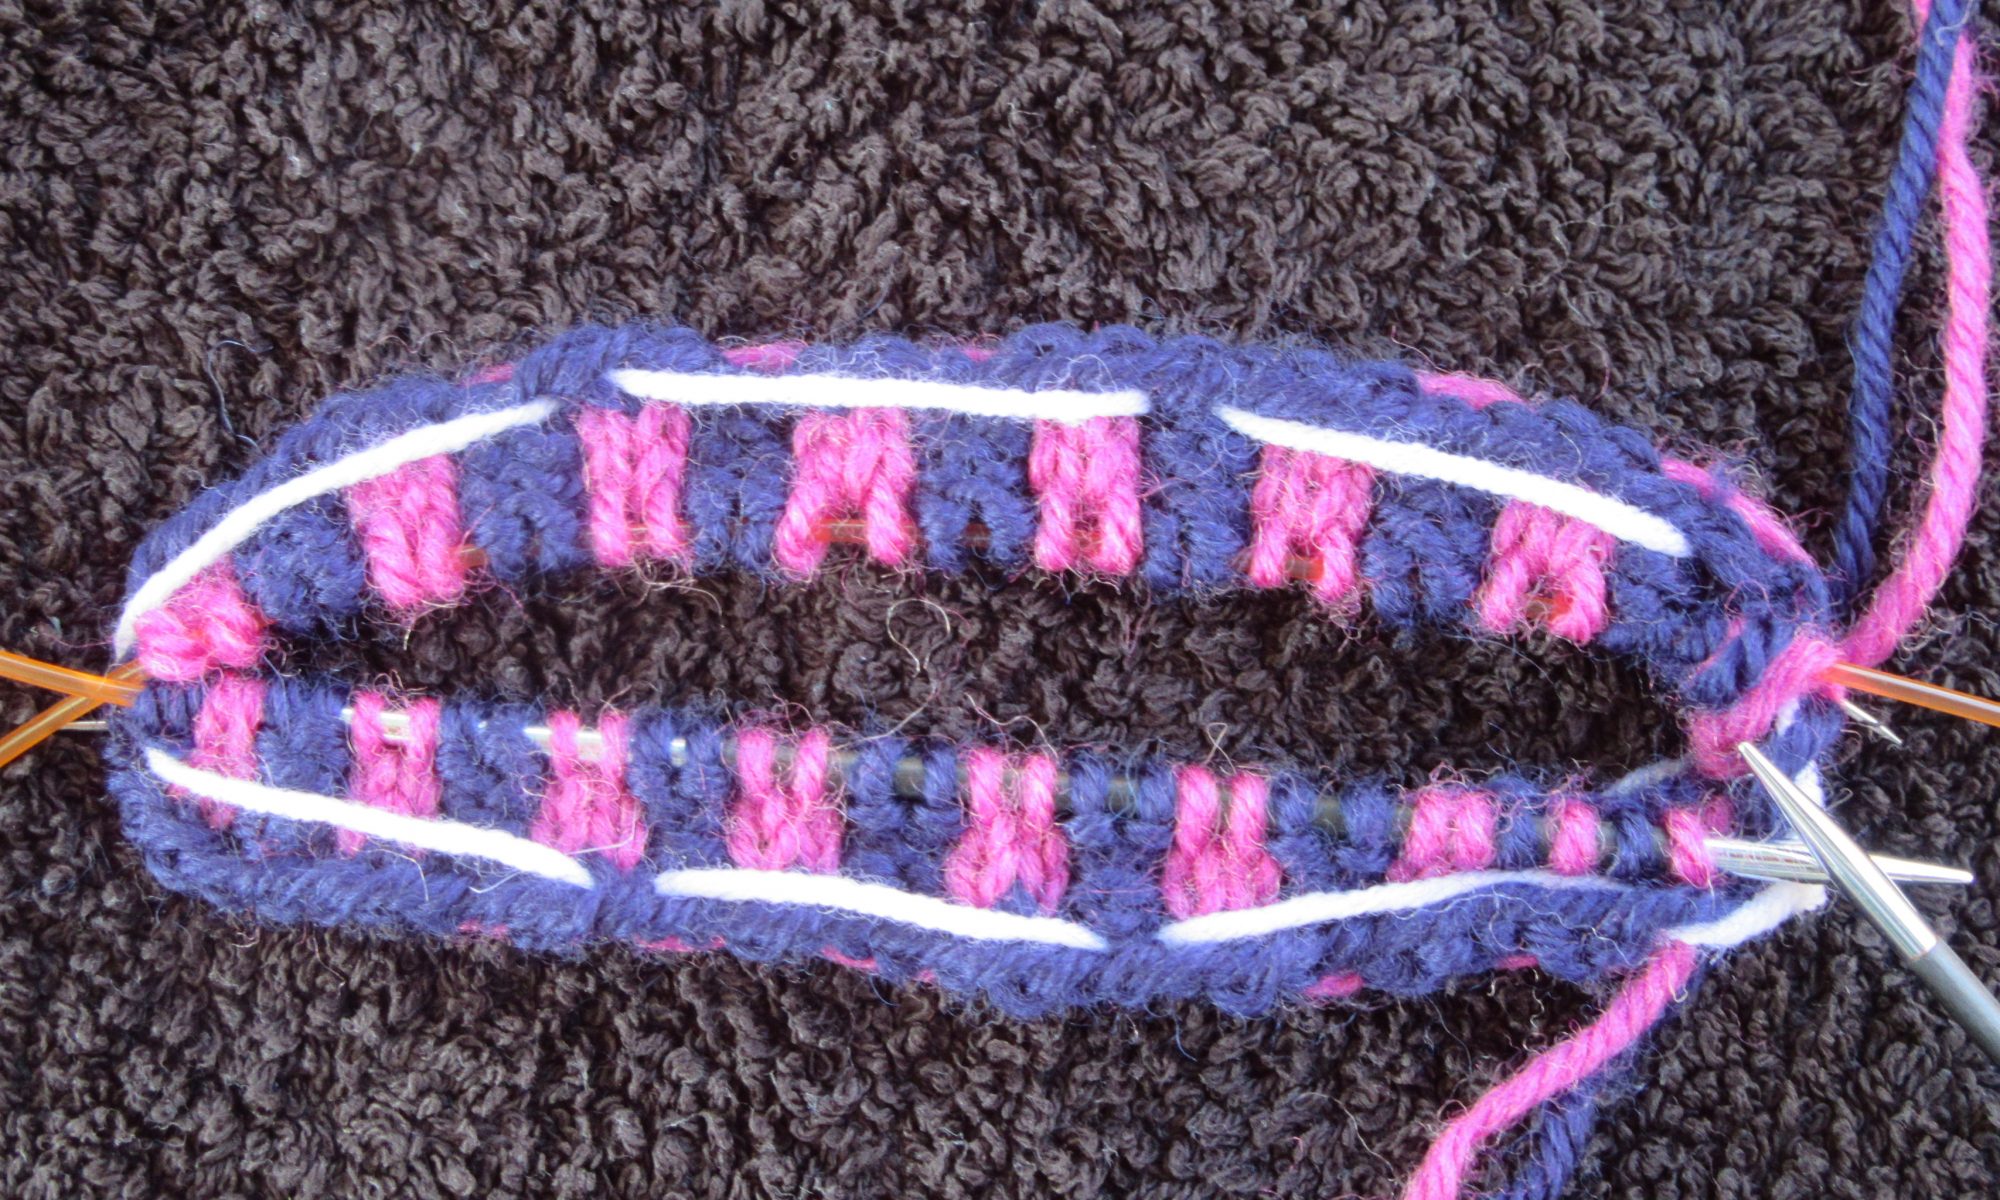
Activity 1: Vertical stripe rib
Cast on and knit the vertical stripe rib.
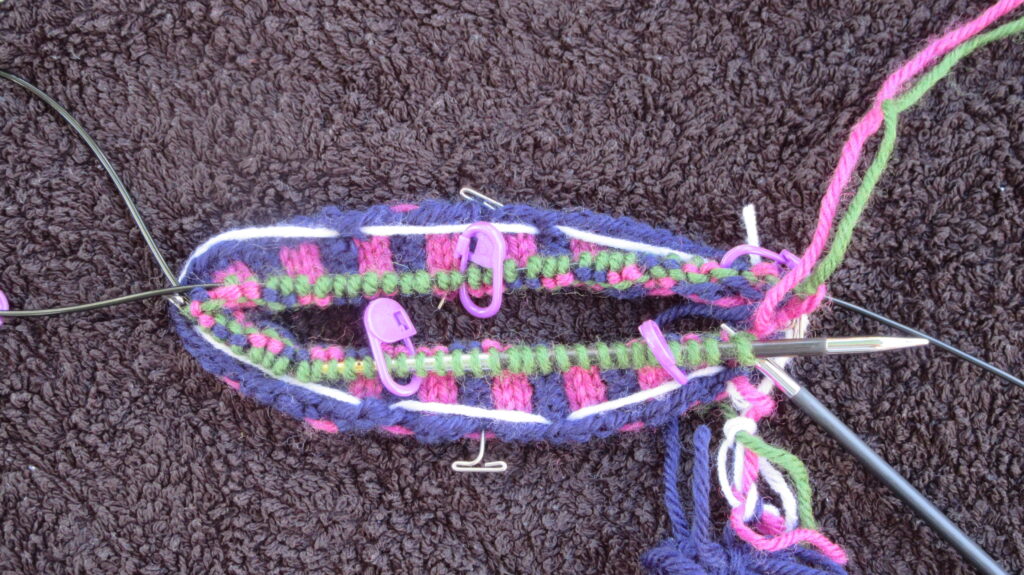
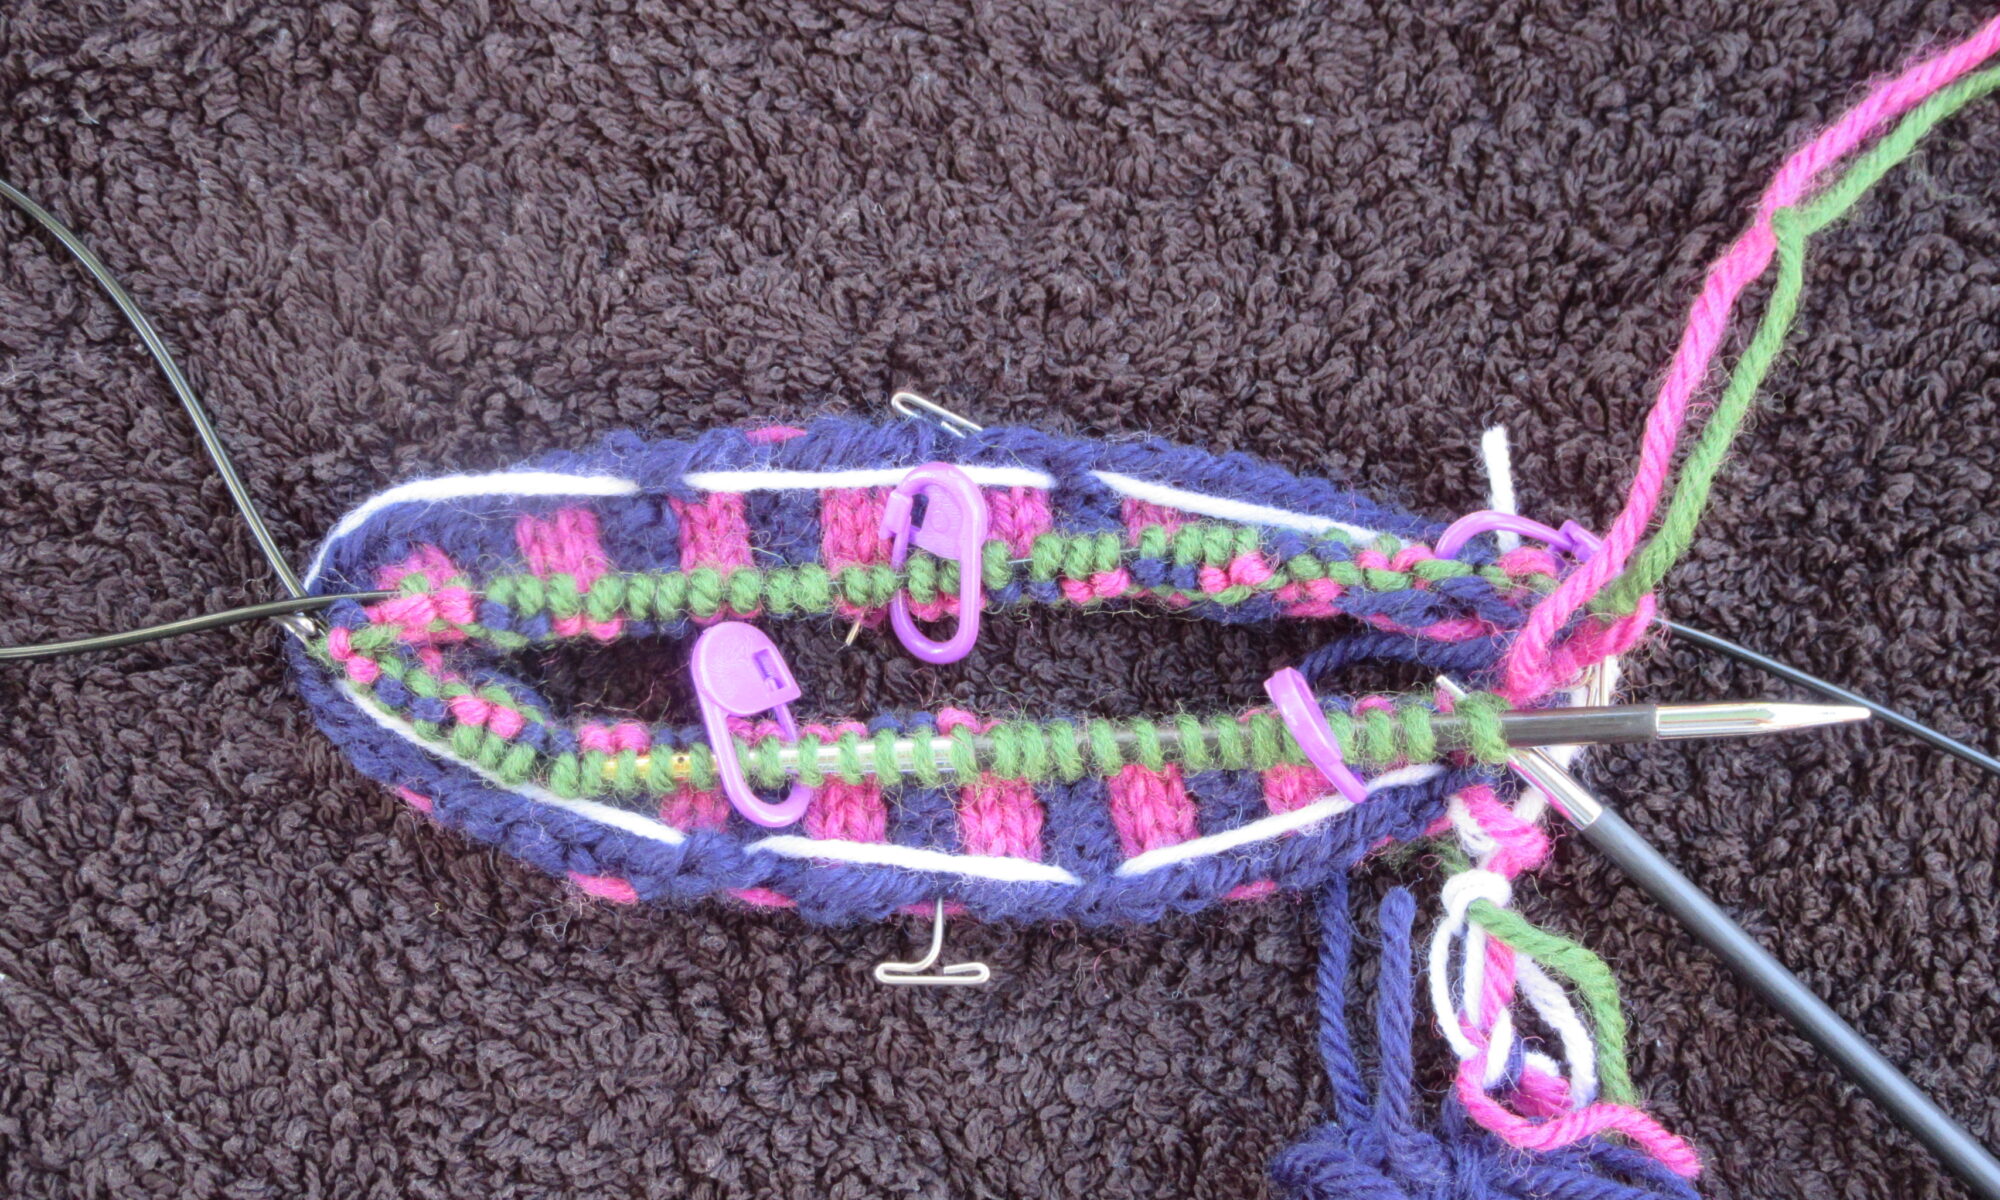
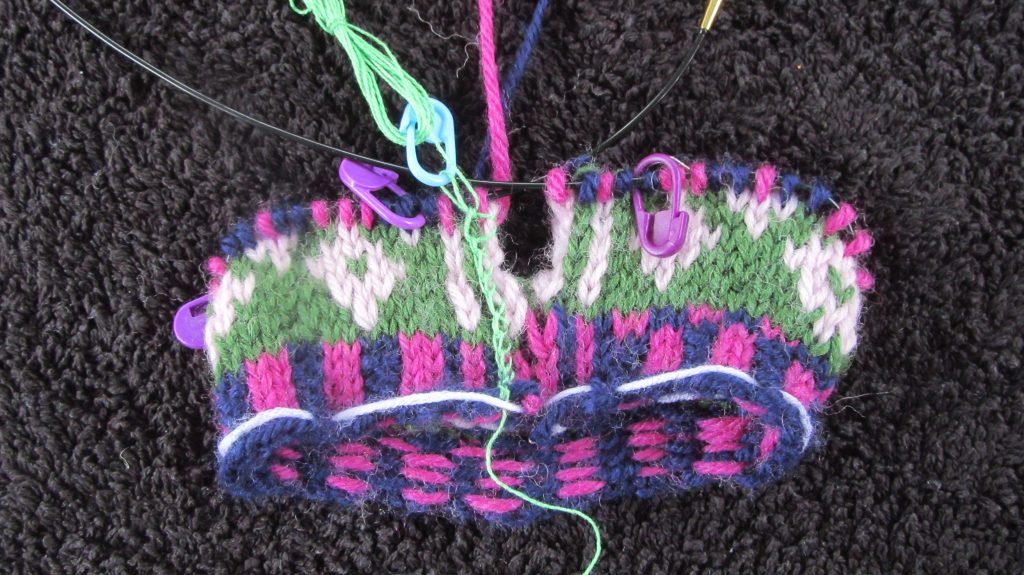
Activity 2: Knit in the round
Learn how to read a chart and to knit with two colours in the round.
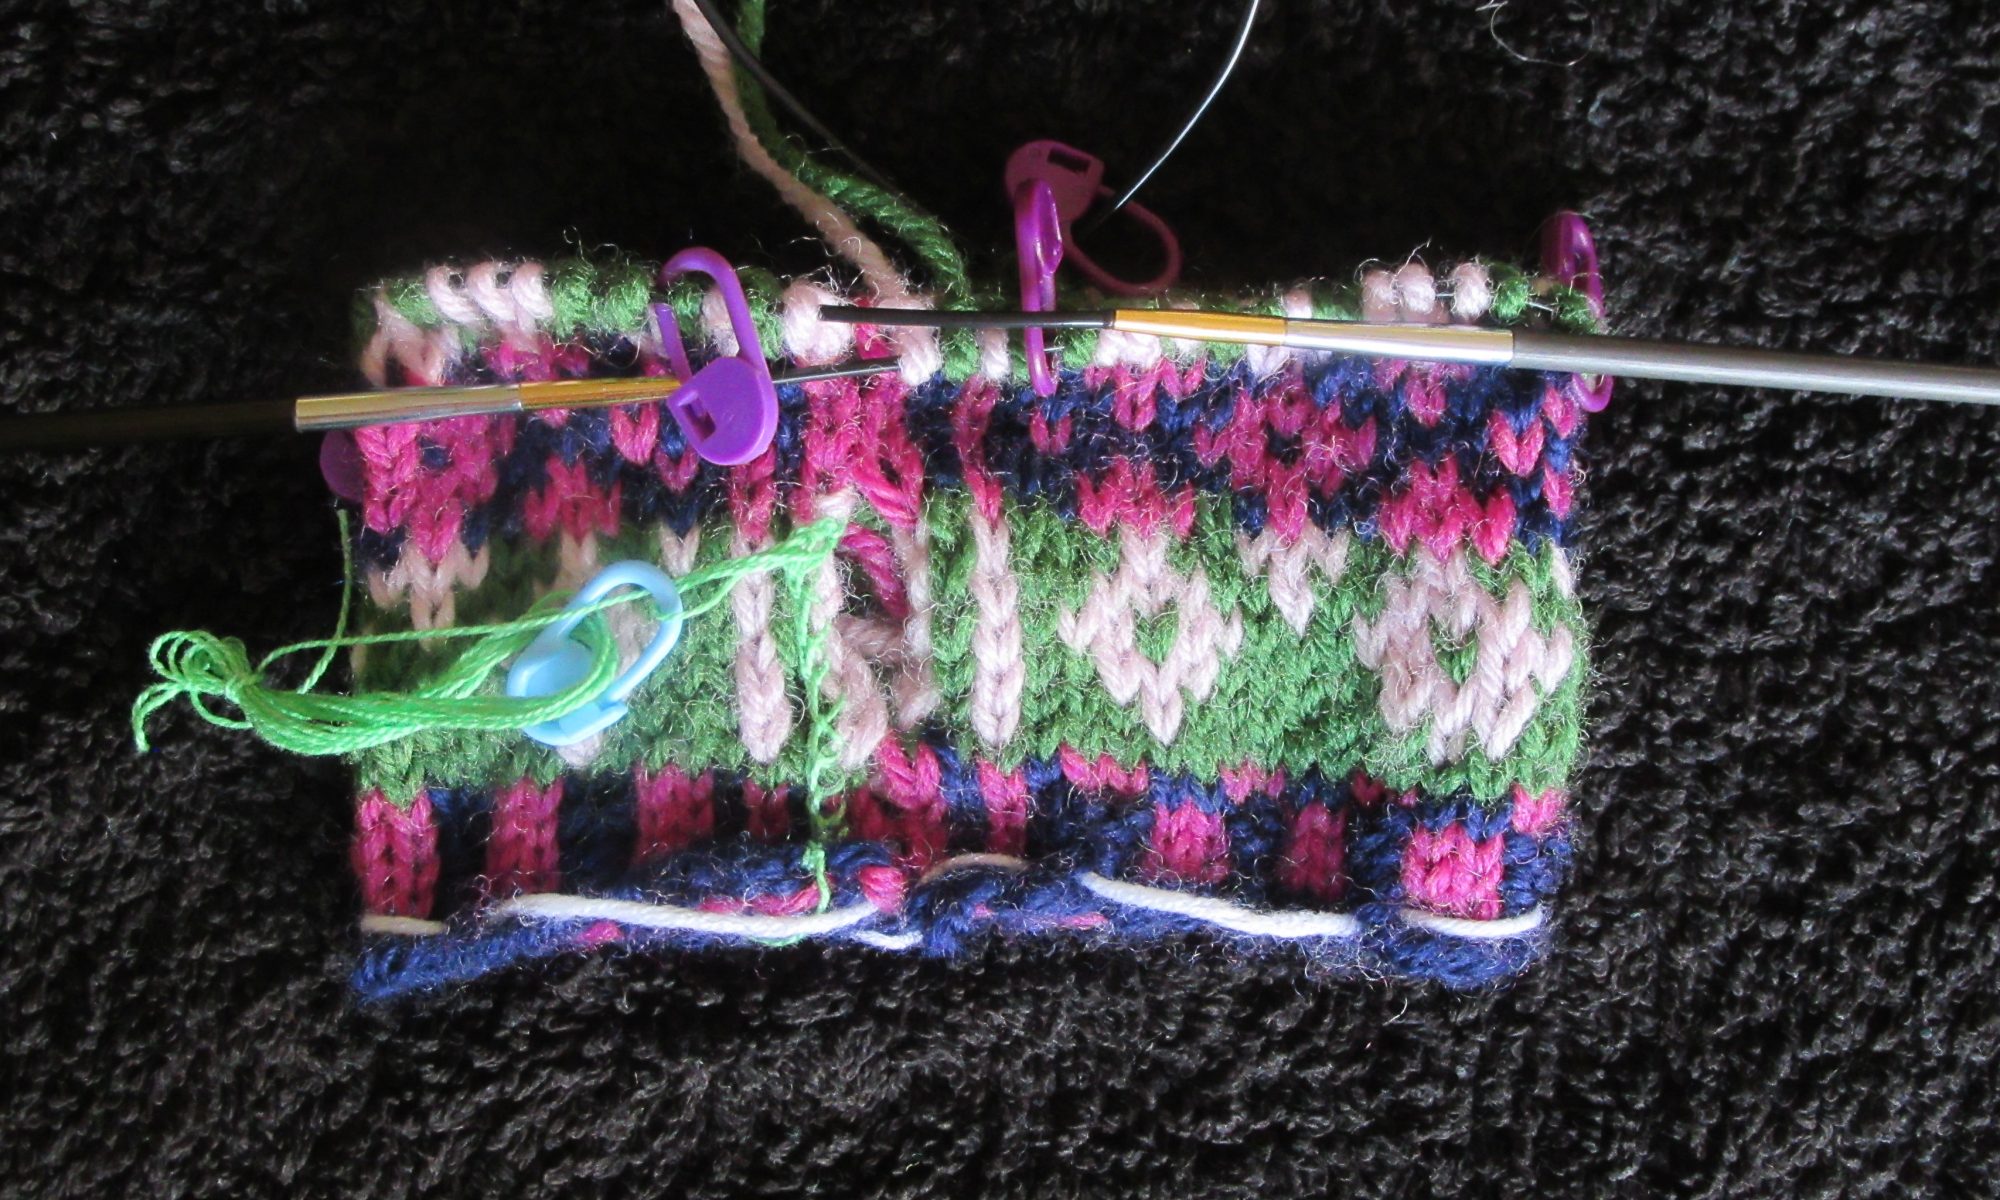
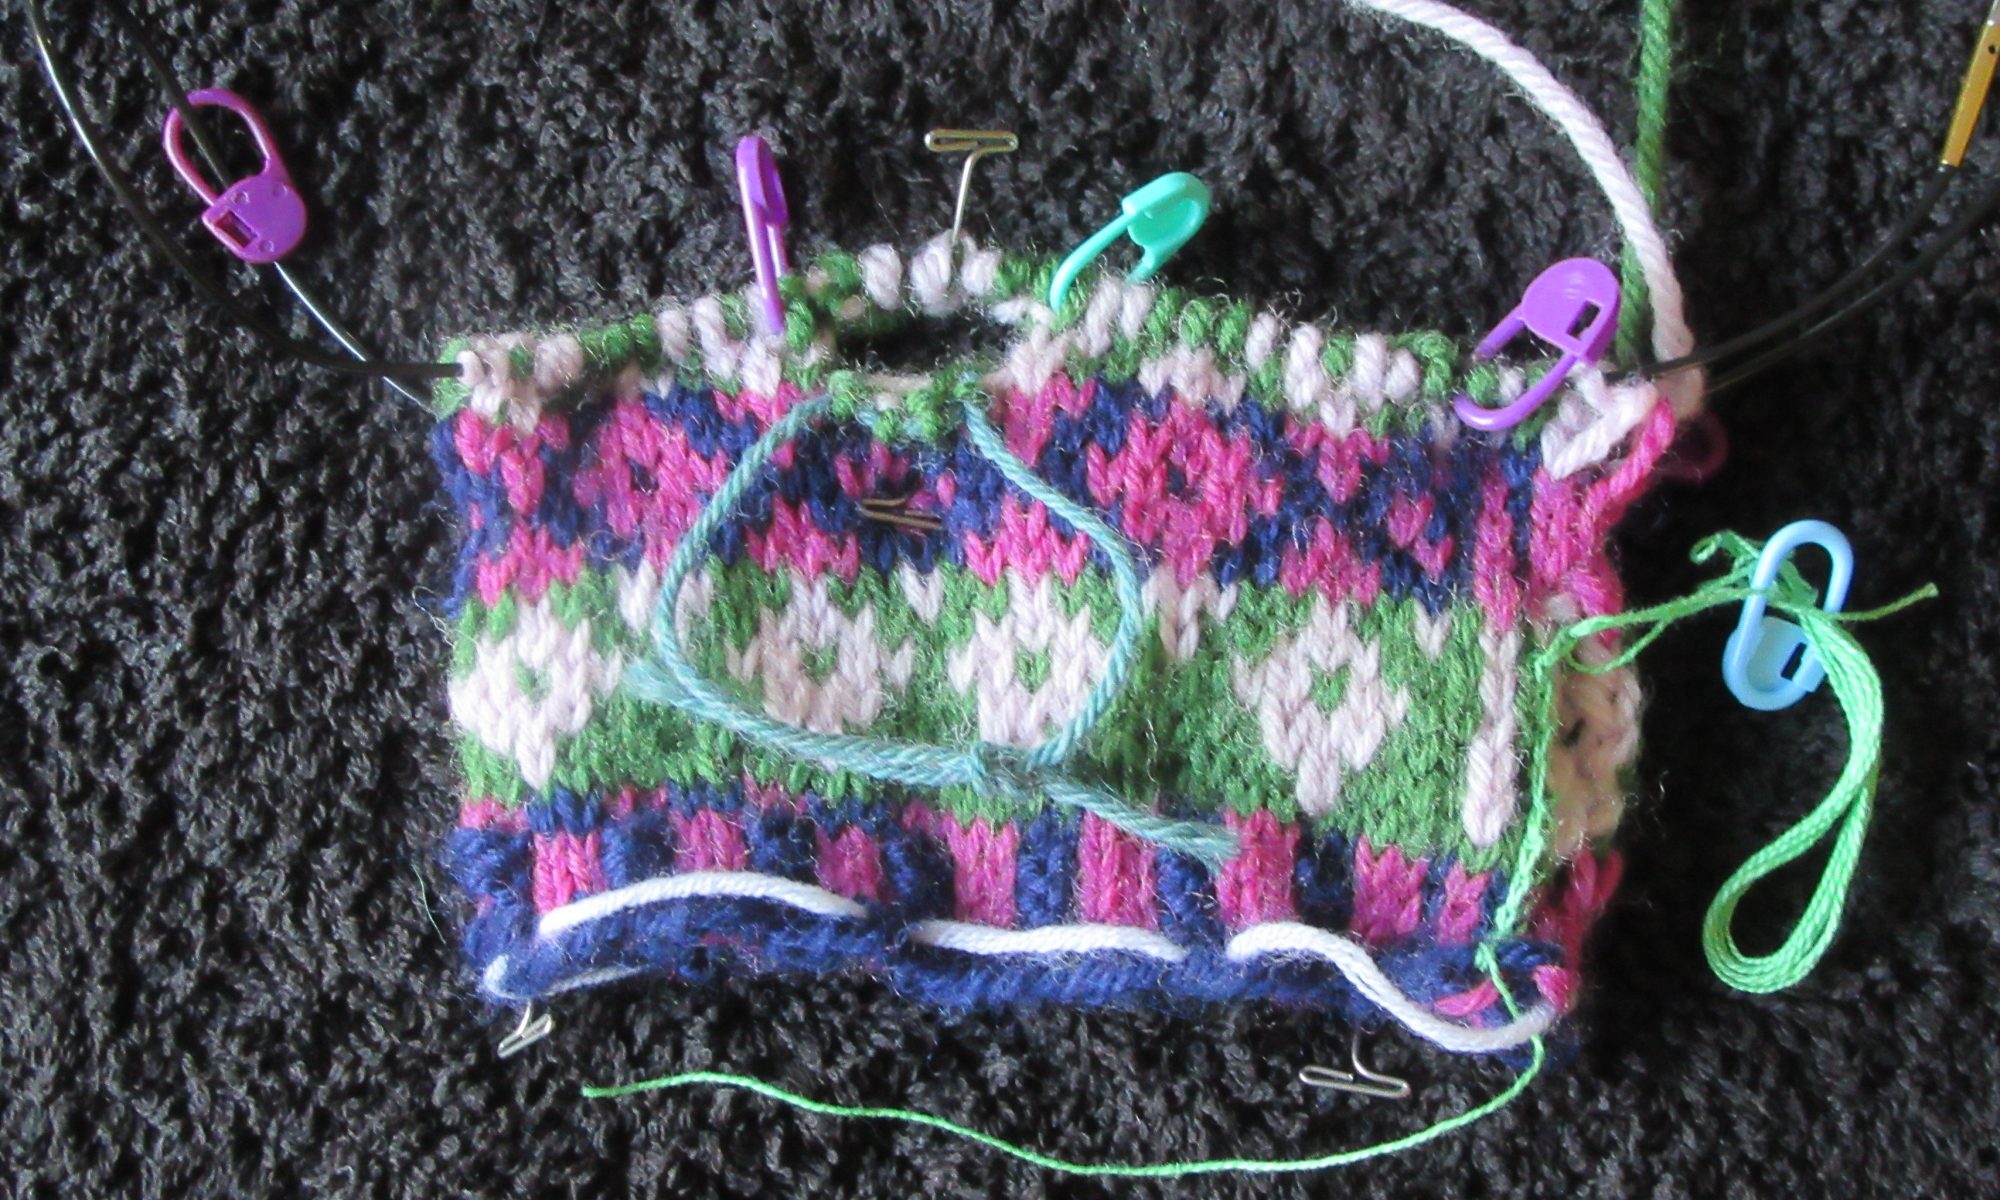
Activity 3: Catch floats
Learn how to catch floats when working on the public side. This avoids long floats, and helps keep even tension.
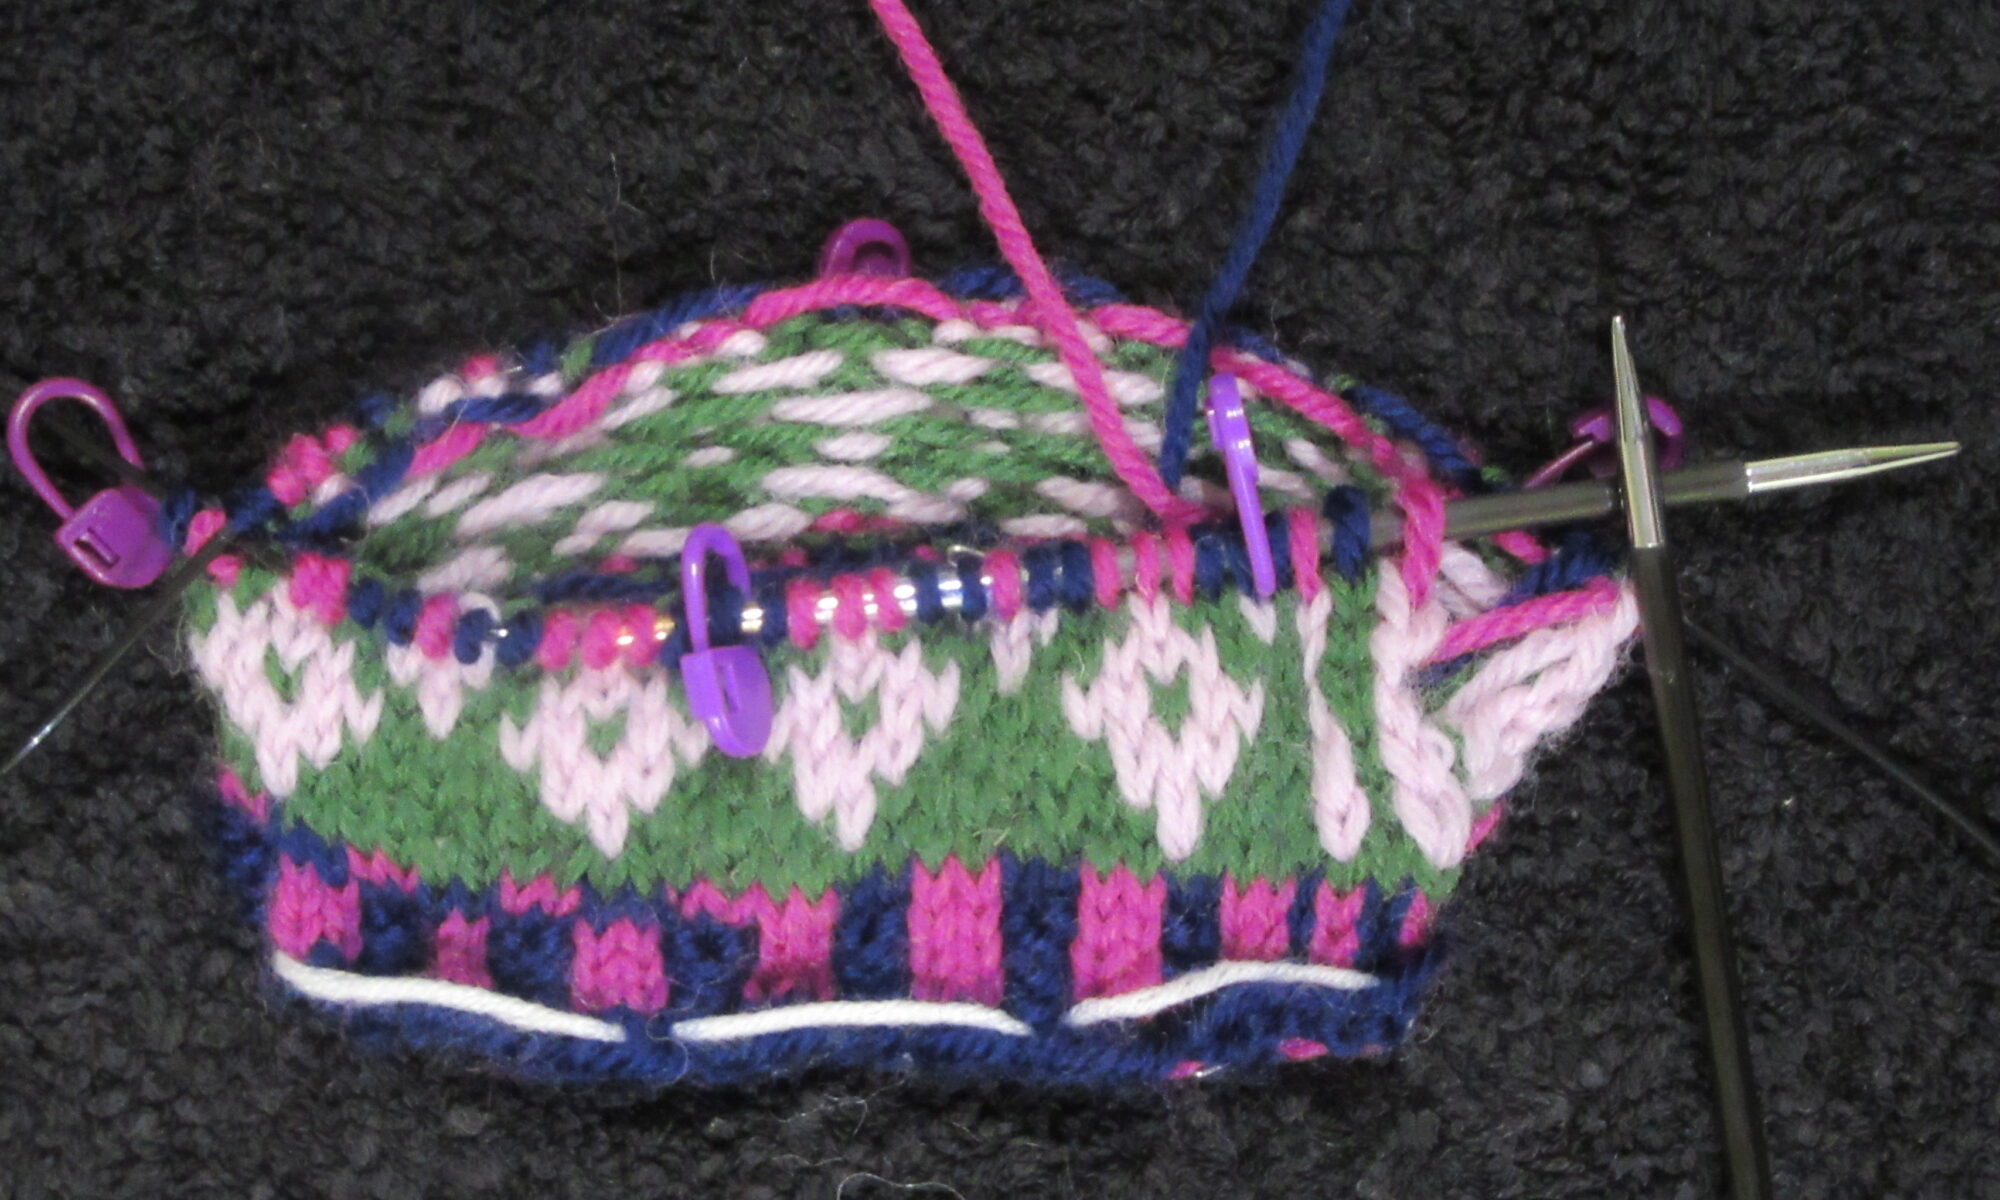
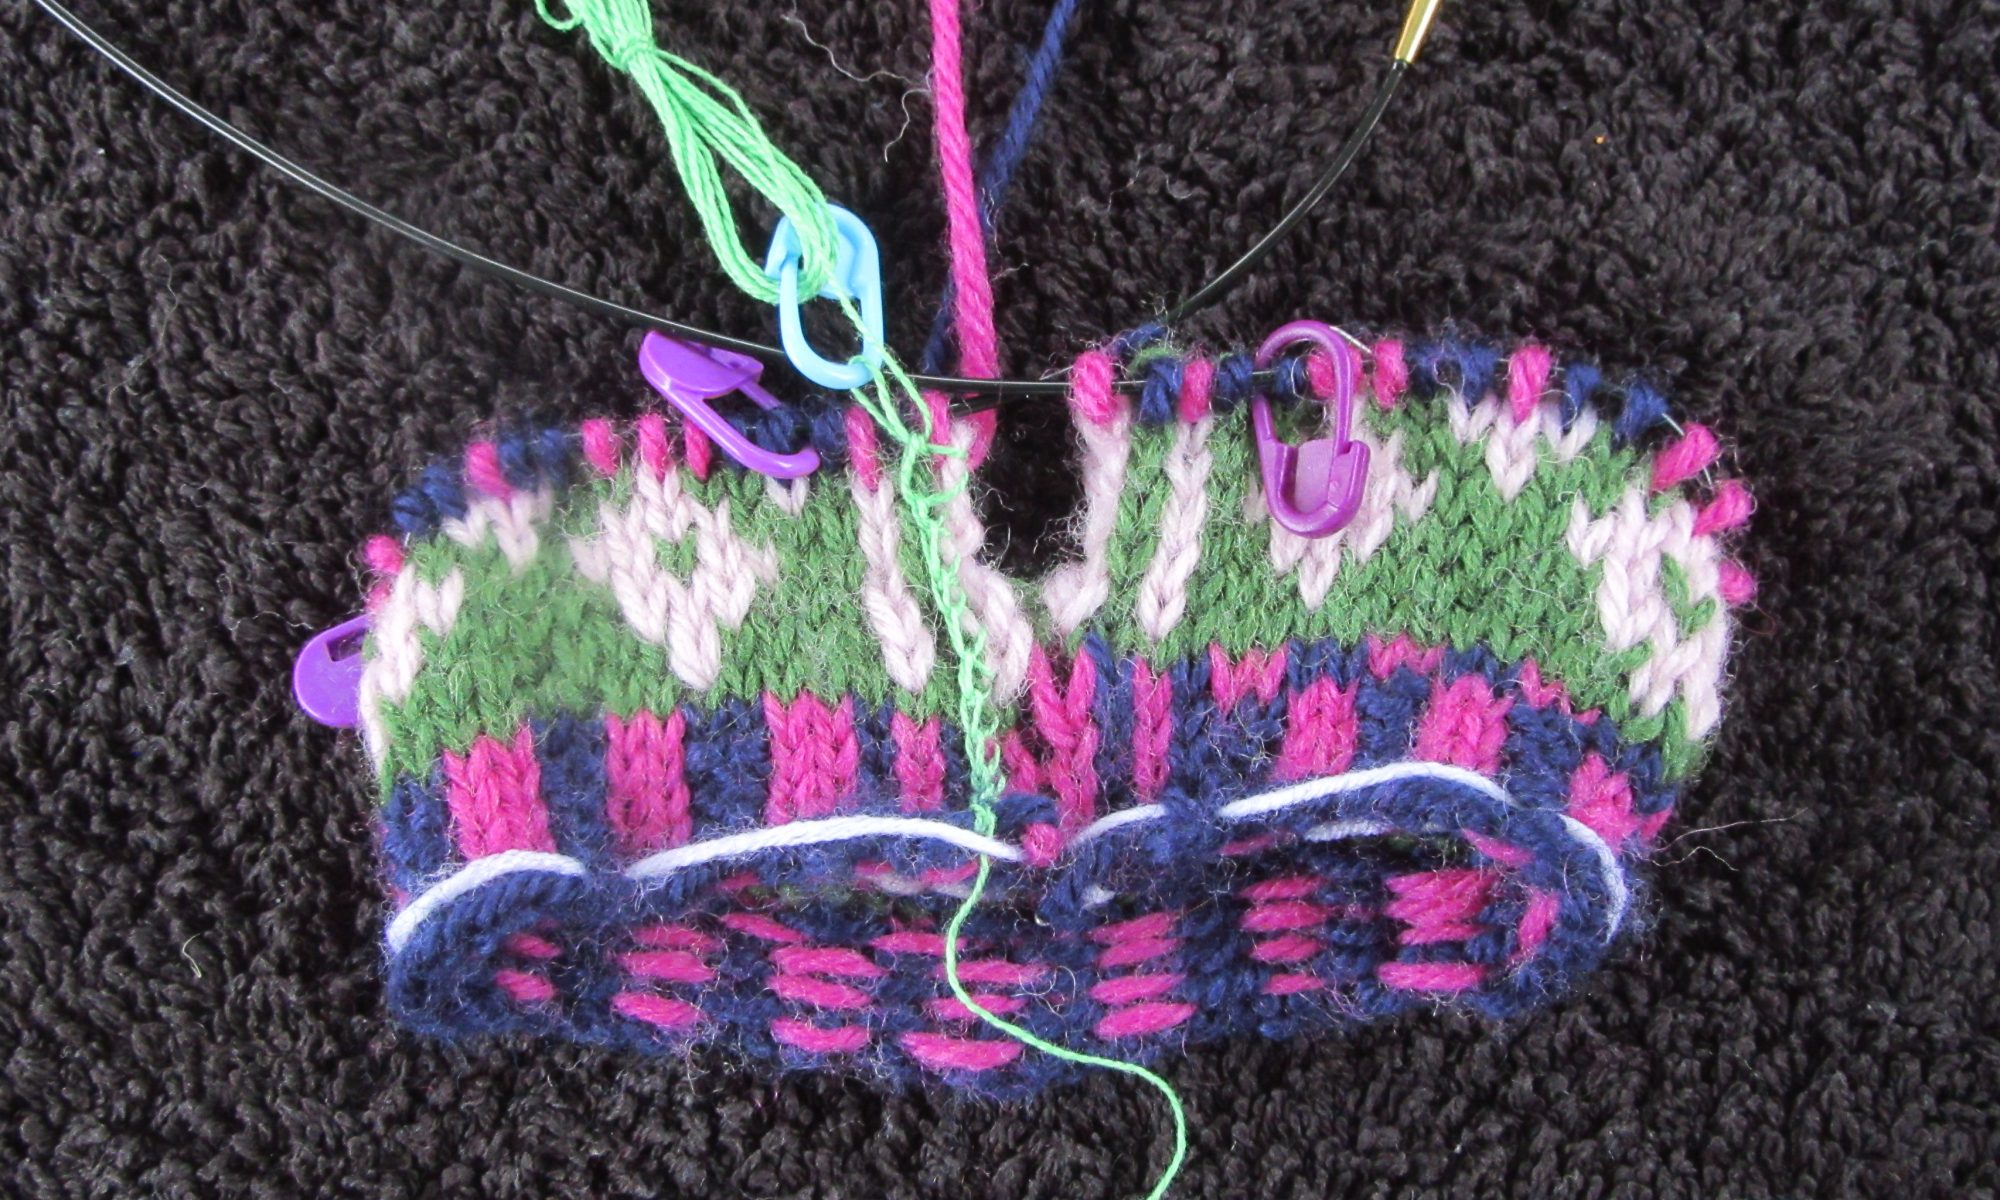
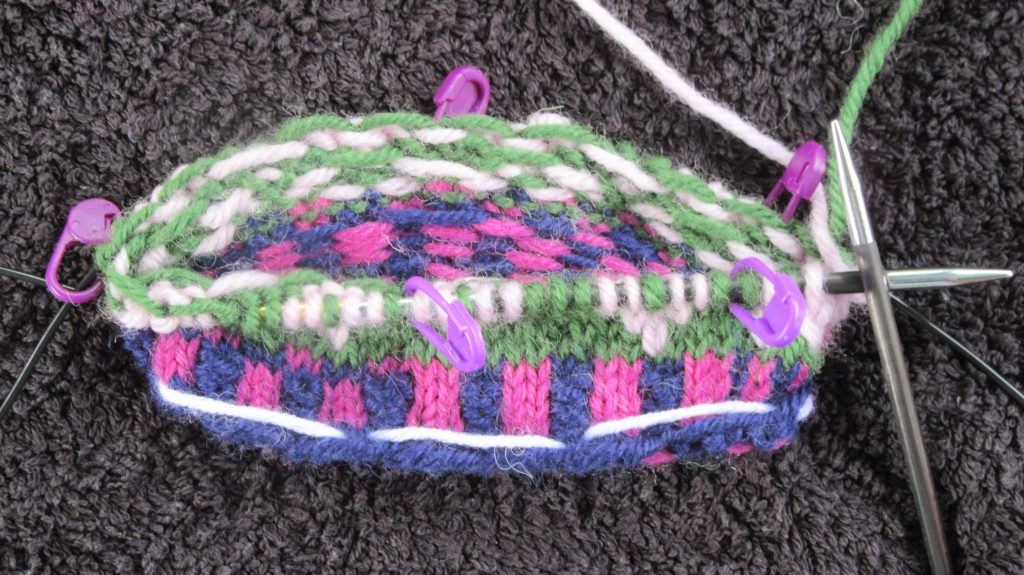
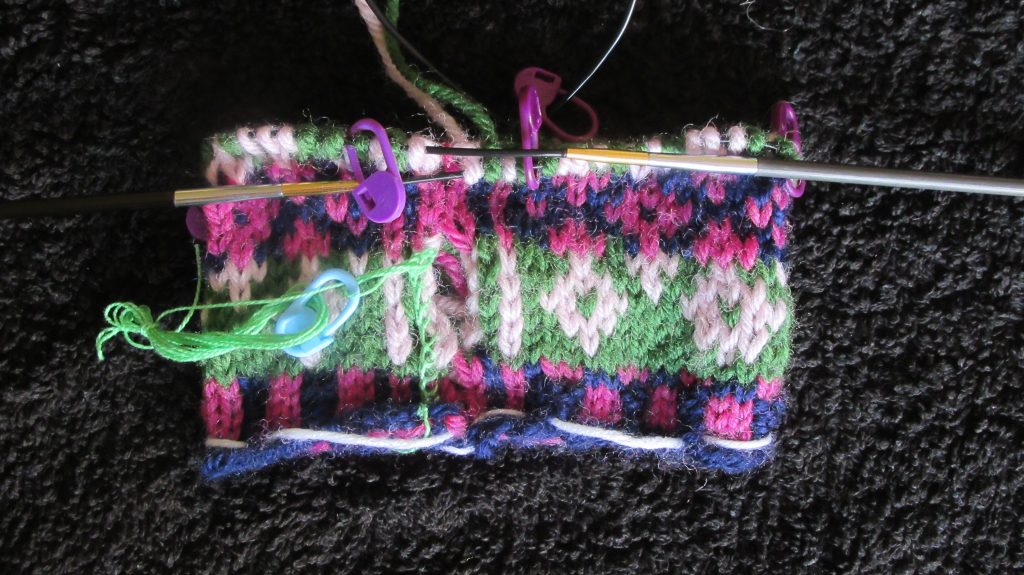
Activity 4: Knit stranded colour work flat
Learn how to knit stranded colour work using knit public side and purl private side rows.
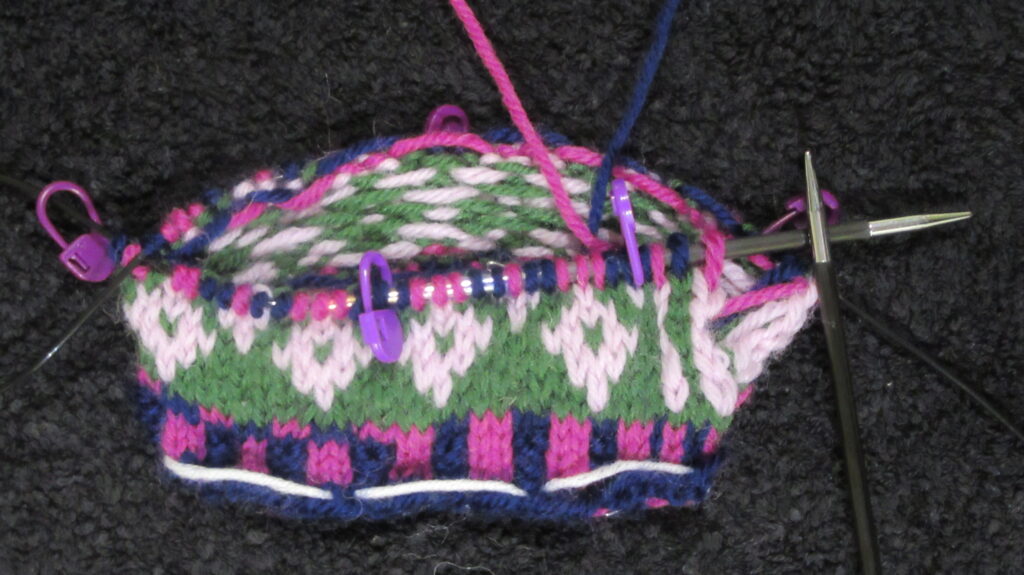
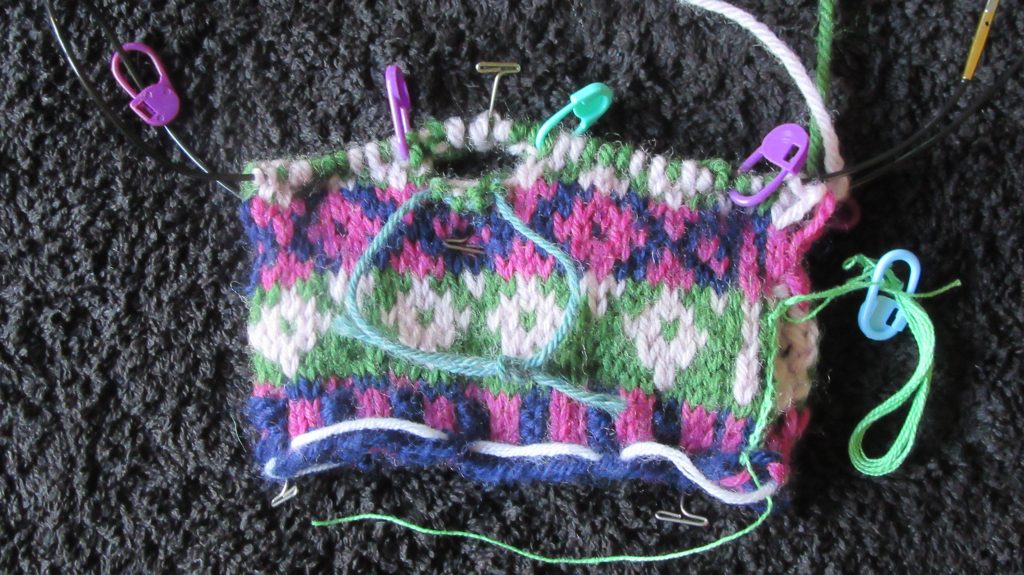
Activity 5: Reinforce your first steek
Learn how to hold the steek stitches in place before you cut them.
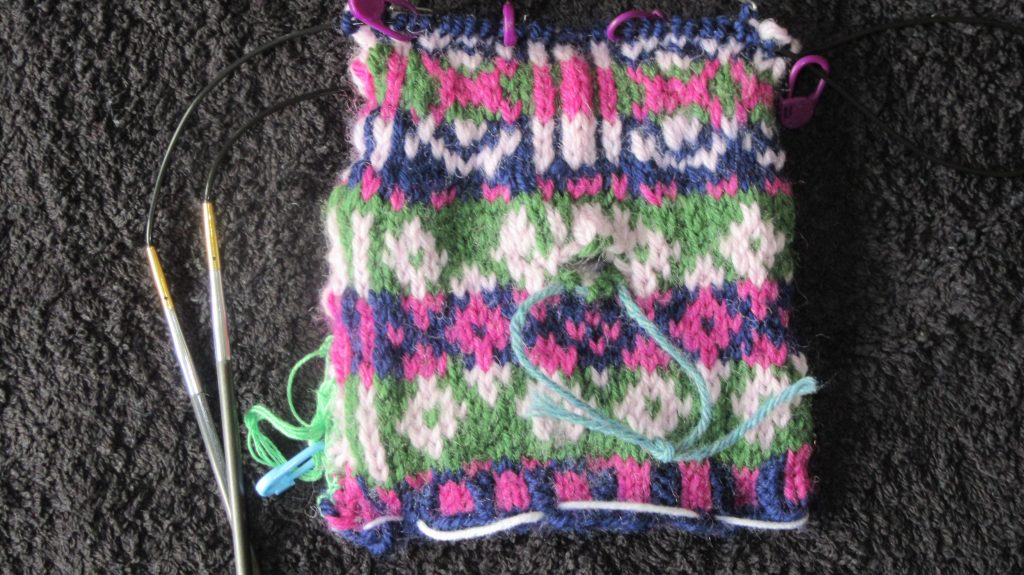
Activity 6: Continue in the round
Now that you can knit both flat and in the round, continue until you start shaping your waistcoat.
Activity 7: Cast on for steeks
Learn how to add extra stitches for the steeks to prepare for shaping your fabric.
Activity 8: Complete the main body
Learn how to decrease while following the chart.

Activity 9: Bind off and join the shoulders
Prepare your waistcoat for adding the arm- and button-bands.
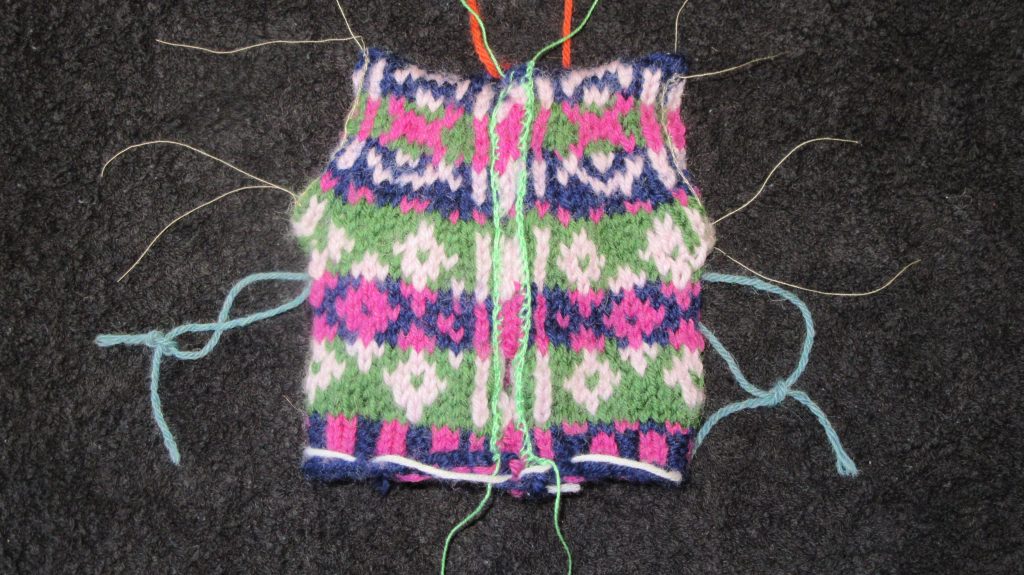
Activity 10: Reinforce steeks
Reinforce all your steeks ready for cutting.
Activity 11: Pick up and knit the bands
Learn how to pick up stitches for the arm- and button-bands and then knit the bands.
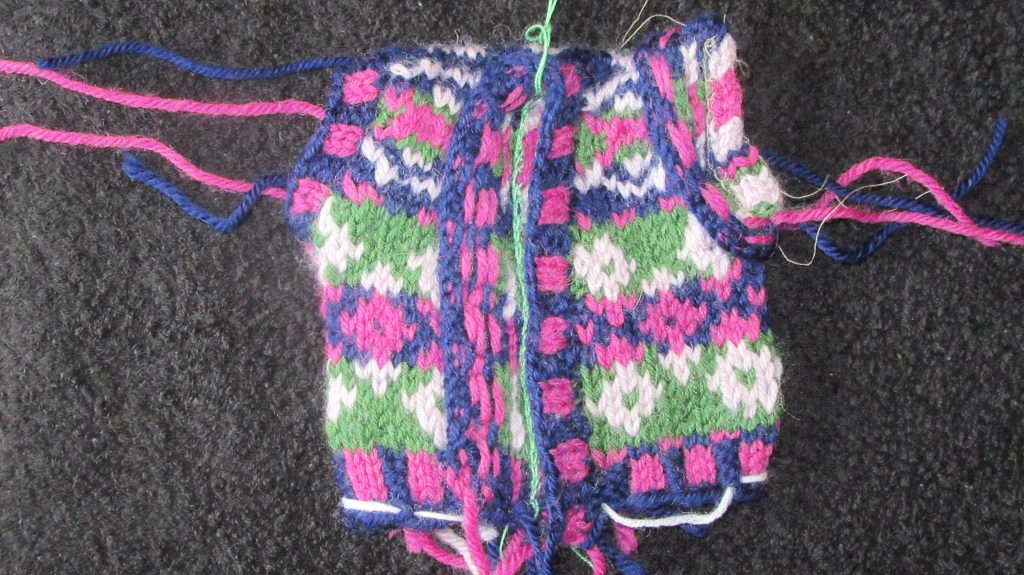
Activity 12: Finishing
Learn how to cut the steeks. Then sew in the ends and “dress” your waistcoat.

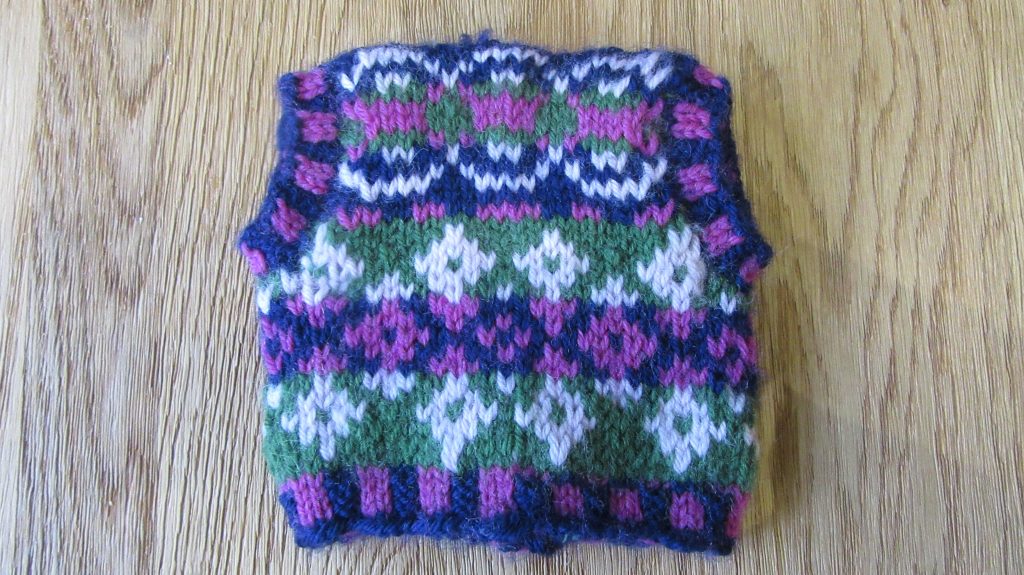
Activity 13: Congratulations
Now you have finished your waistcoat, sit back and admire your work.