Learn the basics of stranded colour work in this stranded knitting tutorial. You will learn how to knit with two colours and to follow colour charts. Armholes and V-necks will be easy after you learn how to cut a steek. So, if you want to learn at your own pace, this is the tutorial for you.
In addition, the companion “Introduction to stranded knitting workshop” covers the same material in a series of online meetings. You might want to take that workshop if you would like feedback on your progress, for example.
Contents of this workshop
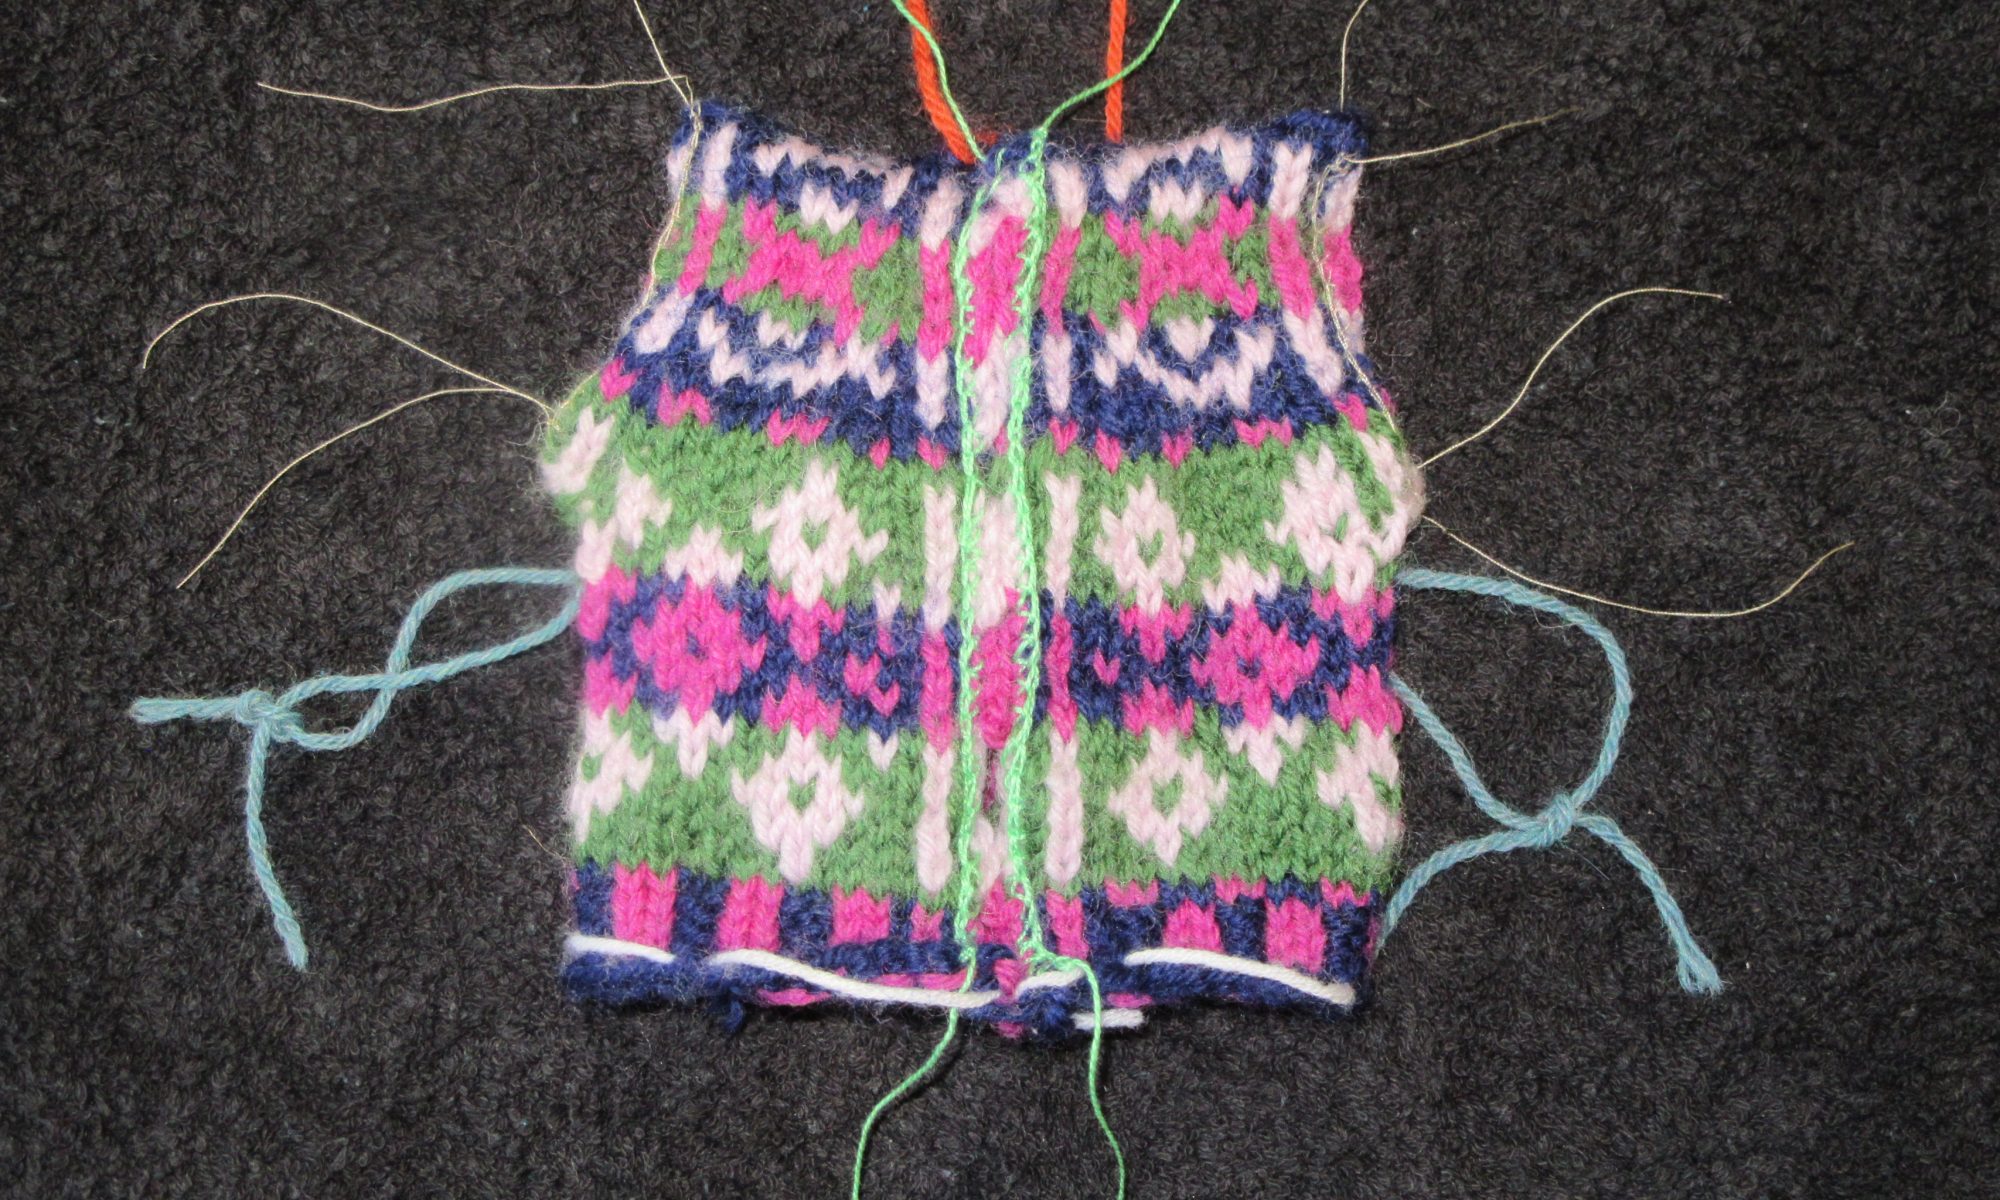
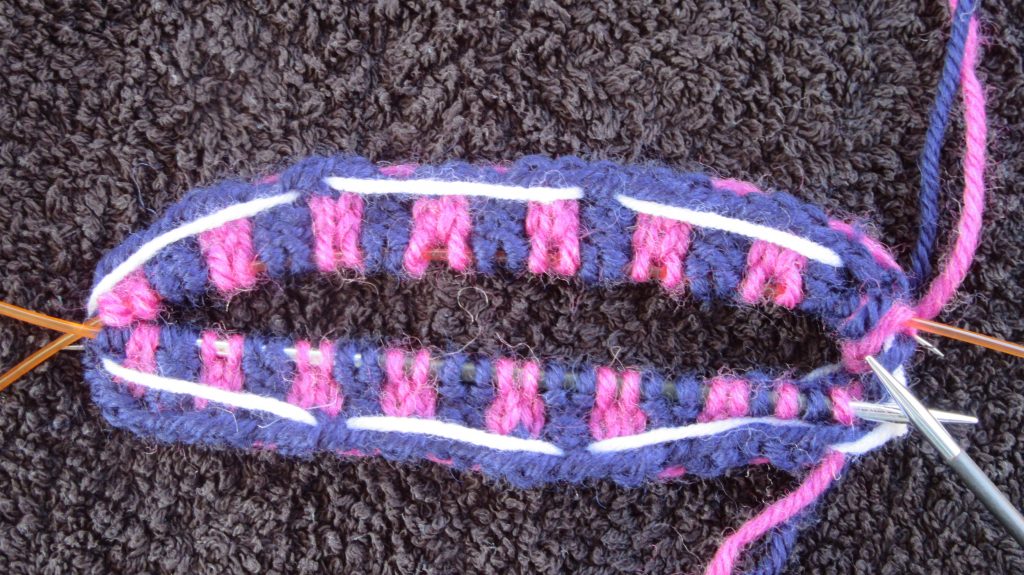
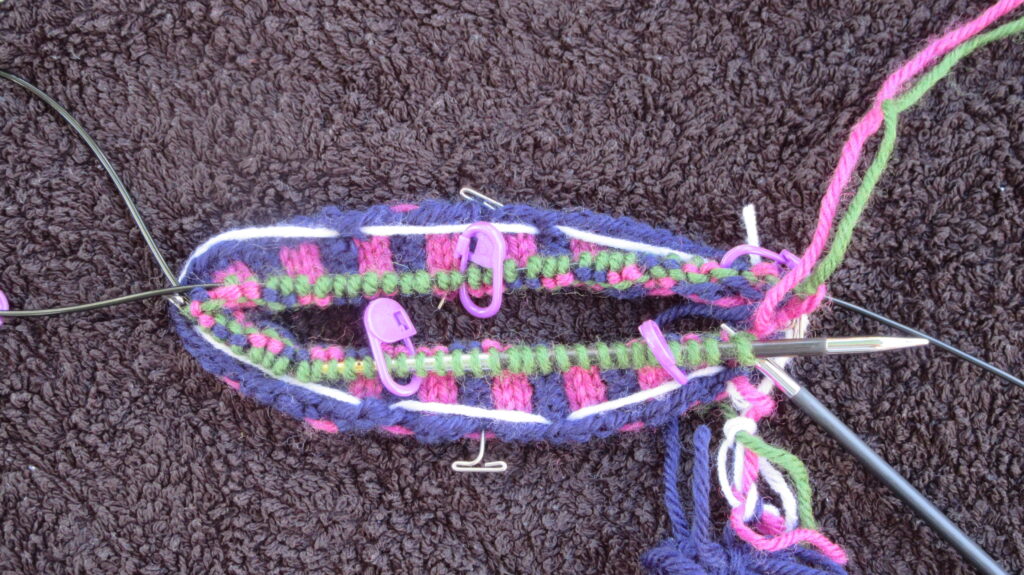
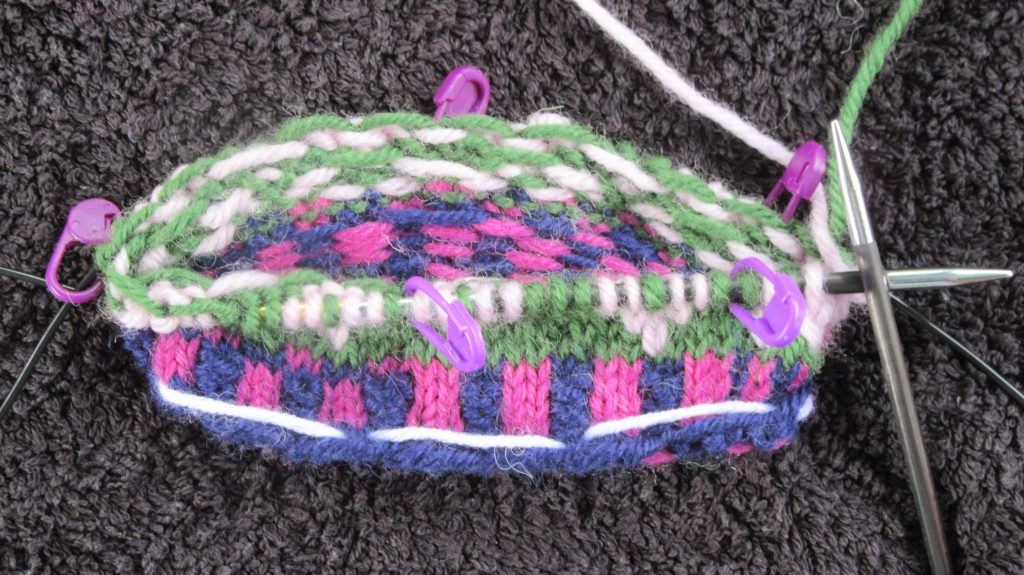
This tutorial uses a practical project to make a miniature stranded colour work sleeveless cardigan. This tutorial guides you through the skills you will need:
Cast on for knitting stranded colour work in the round.
Hold yarn for knitting in two colours.
Knit stranded rib (also known as cartridge rib).
Read types of chart used for colour work.
Knit stranded colour work in the round using stocking stitch (knit stitches only).
Catch your floats to avoid long loops and give even tension.
Knit colour work “flat” in stocking stitch (using both knit and purl stitches).
Make decreases in a colour work pattern.
Pick up stitches along the edge of a steek.
Prepare and cut a steek.
Skills you will need before starting this tutorial
To understand this tutorial, you need to be able to:
Cast on.
Knit and purl.
Knit in the round using circular needles or double pointed needles.
So that you can knit this small item with circular needles, you need to use the magic loop (or travelling loop) or two circular needles.
Decrease using right-leaning (k2tog) and left-leaning (ssk or sl1 k2tog psso) decreases.
Pick up and knit stitches from the sides and top of knitting.
Let’s get started
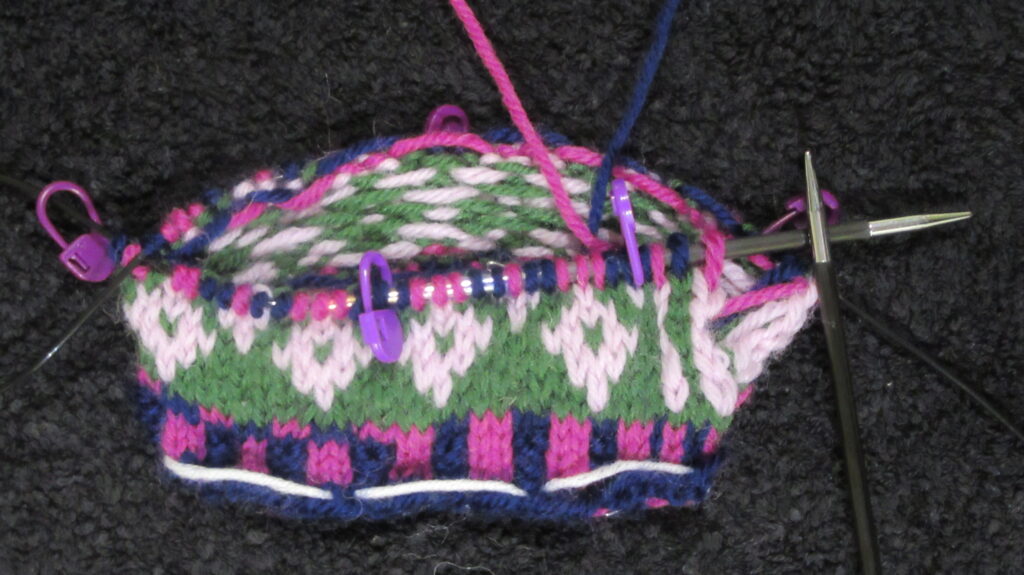
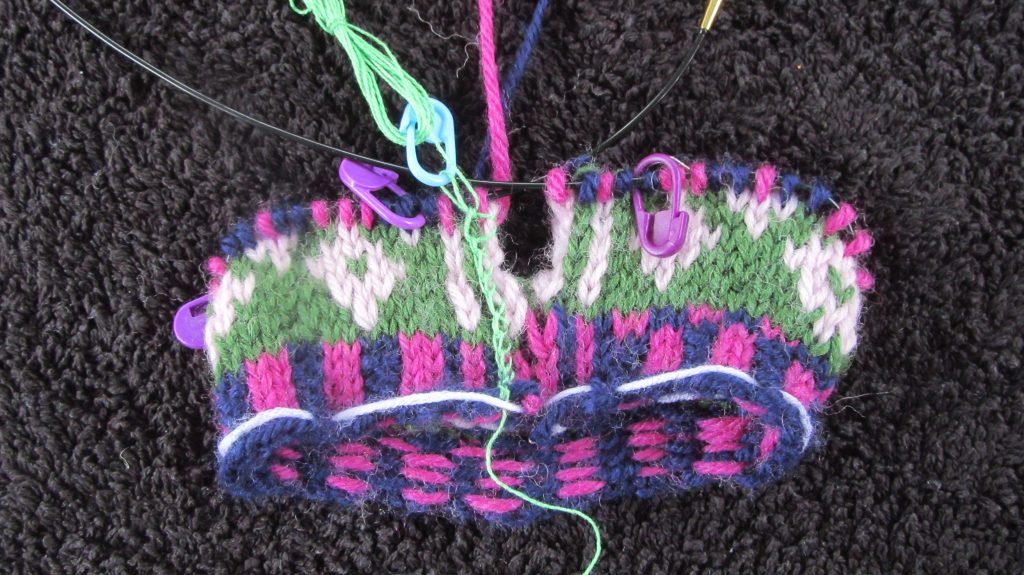
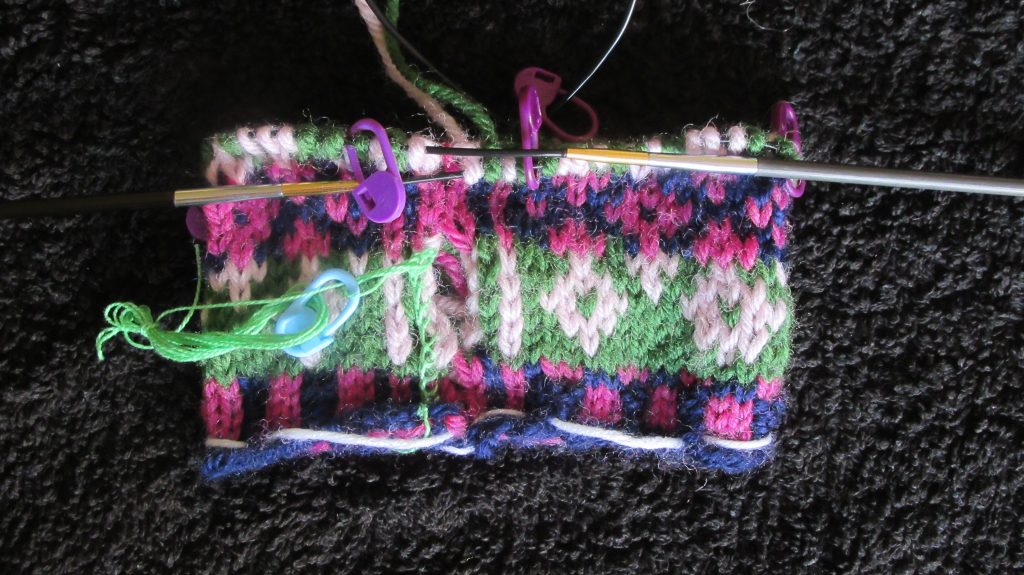
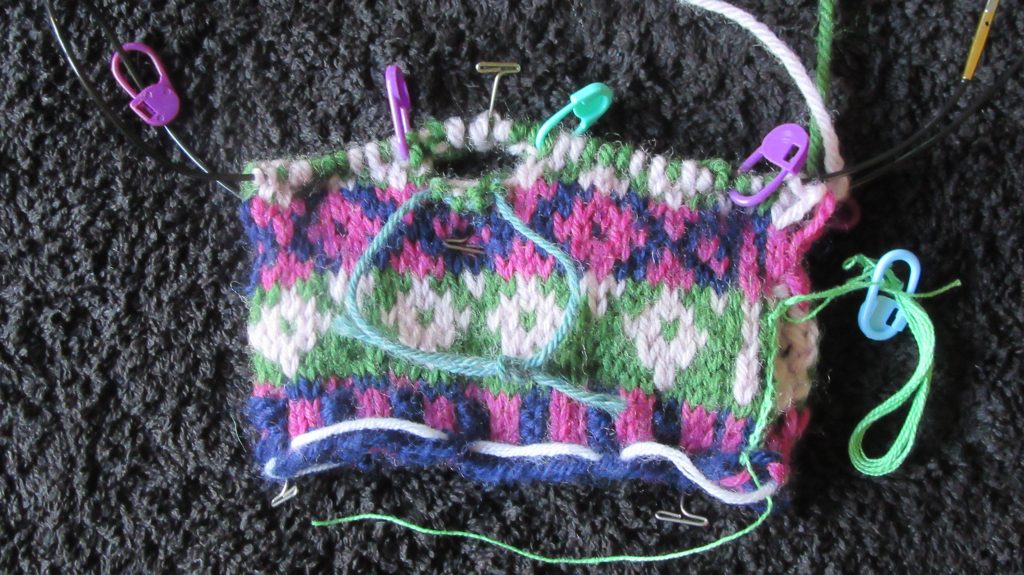
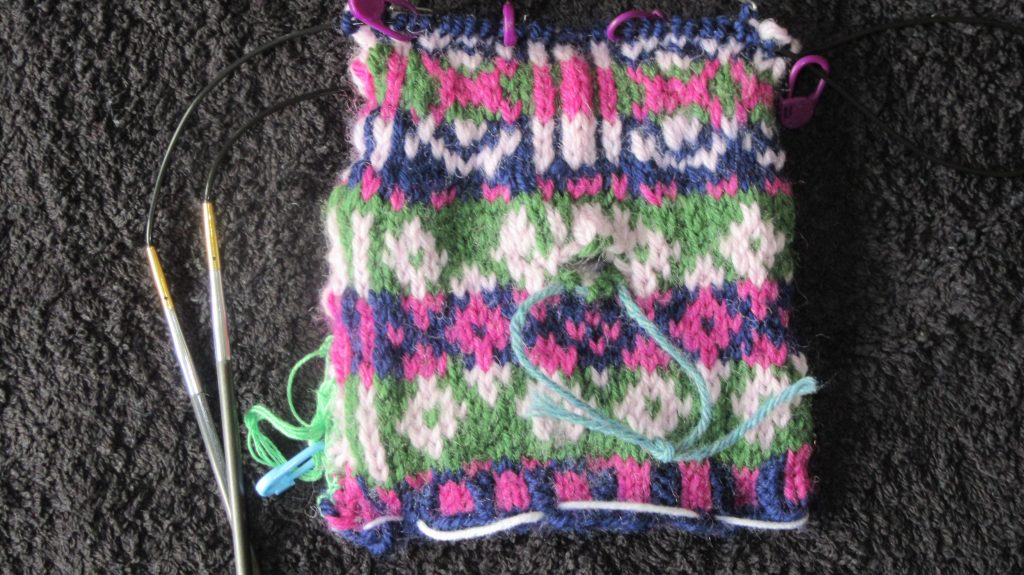
Work through these activities to knit your own sleeveless waistcoat for a cuddly toy. You will need to download the handout for this workshop that contains the chart and pattern, as well as useful tips.
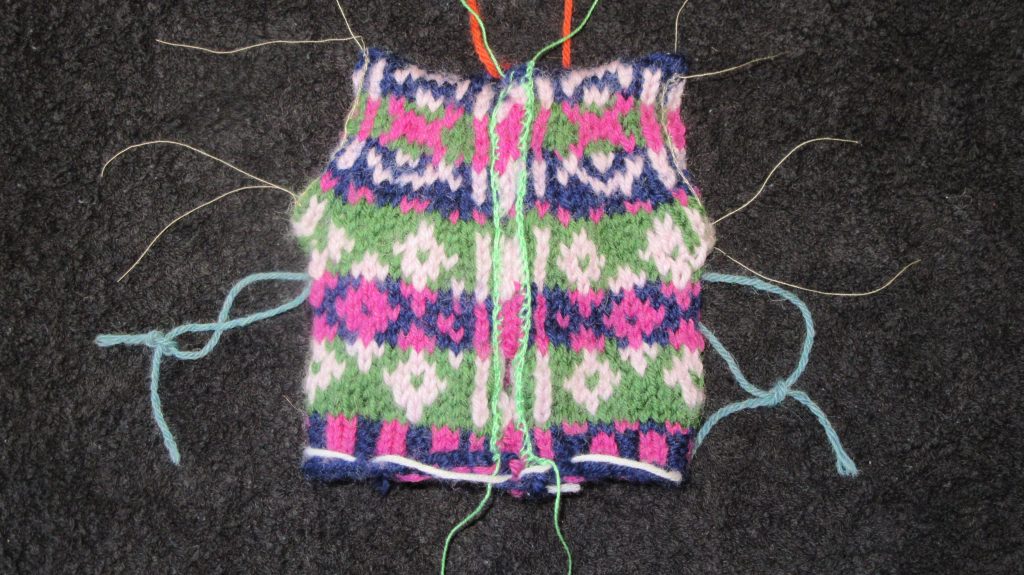
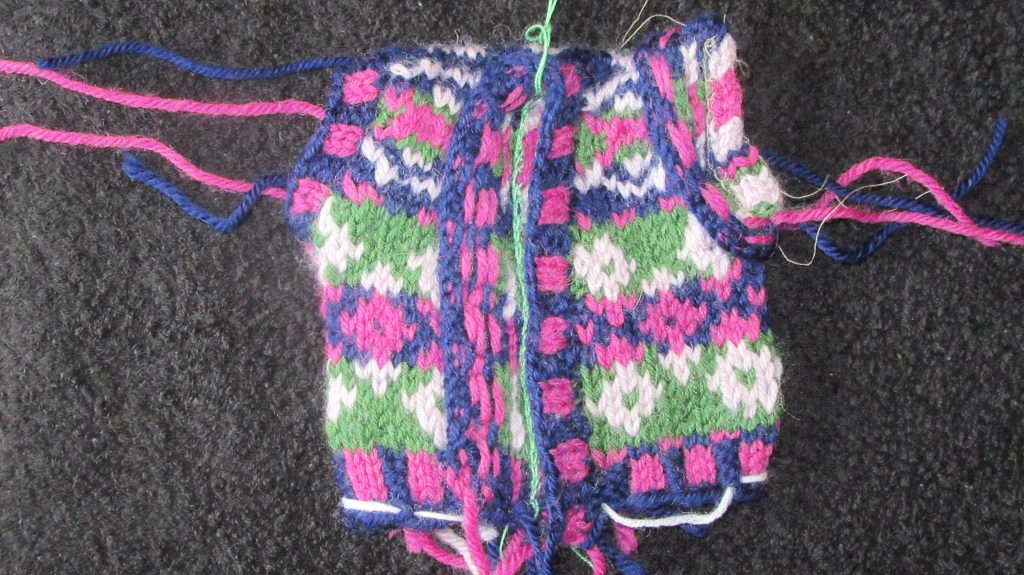
Learn how to cut the steeks. Then sew in the ends and “dress” your waistcoat.
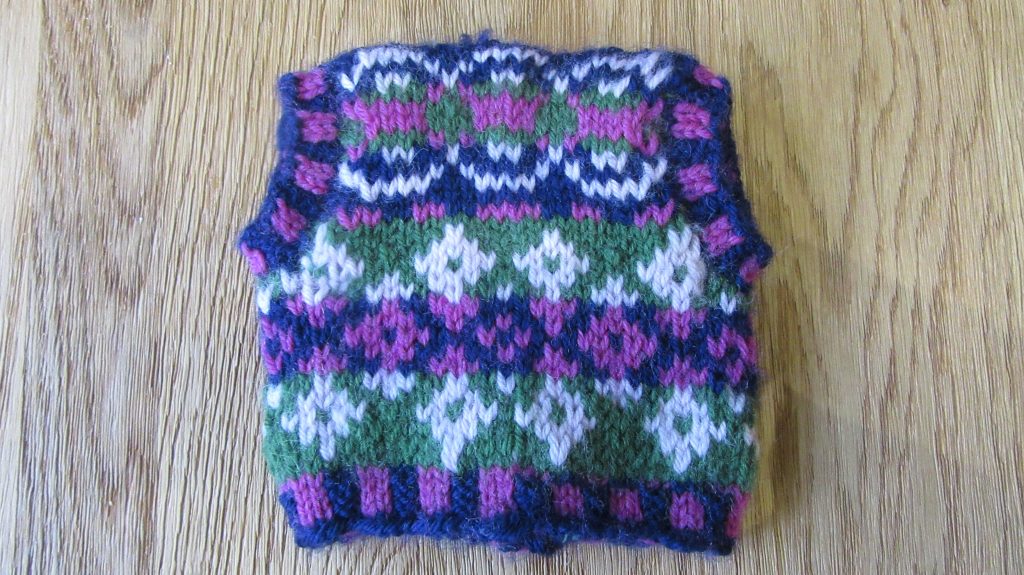
Activity 13: Congratulations
Now you have finished your waistcoat, sit back and admire your work.
We use cookies on our website to give you the most relevant experience by remembering your preferences and repeat visits. By clicking “Accept”, you consent to the use of ALL the cookies.
This website uses cookies to improve your experience while you navigate through the website. Out of these, the cookies that are categorized as necessary are stored on your browser as they are essential for the working of basic functionalities of the website. We also use third-party cookies that help us analyze and understand how you use this website. These cookies will be stored in your browser only with your consent. You also have the option to opt-out of these cookies. But opting out of some of these cookies may affect your browsing experience.
Necessary cookies are absolutely essential for the website to function properly. These cookies ensure basic functionalities and security features of the website, anonymously.
Cookie
Duration
Description
__cfduid
1 month
The cookie is used by cdn services like CloudFare to identify individual clients behind a shared IP address and apply security settings on a per-client basis. It does not correspond to any user ID in the web application and does not store any personally identifiable information.
cookielawinfo-checbox-analytics
11 months
This cookie is set by GDPR Cookie Consent plugin. The cookie is used to store the user consent for the cookies in the category "Analytics".
cookielawinfo-checbox-functional
11 months
The cookie is set by GDPR cookie consent to record the user consent for the cookies in the category "Functional".
cookielawinfo-checbox-others
11 months
This cookie is set by GDPR Cookie Consent plugin. The cookie is used to store the user consent for the cookies in the category "Other.
cookielawinfo-checkbox-advertisement
1 year
The cookie is set by GDPR cookie consent to record the user consent for the cookies in the category "Advertisement".
cookielawinfo-checkbox-necessary
11 months
This cookie is set by GDPR Cookie Consent plugin. The cookies is used to store the user consent for the cookies in the category "Necessary".
cookielawinfo-checkbox-performance
11 months
This cookie is set by GDPR Cookie Consent plugin. The cookie is used to store the user consent for the cookies in the category "Performance".
DYNSRV
session
This cookie is used for load balancing purposes to decide which server to send the visitor.
viewed_cookie_policy
11 months
The cookie is set by the GDPR Cookie Consent plugin and is used to store whether or not user has consented to the use of cookies. It does not store any personal data.
Functional cookies help to perform certain functionalities like sharing the content of the website on social media platforms, collect feedbacks, and other third-party features.
Performance cookies are used to understand and analyze the key performance indexes of the website which helps in delivering a better user experience for the visitors.
Cookie
Duration
Description
YSC
session
This cookies is set by Youtube and is used to track the views of embedded videos.
Analytical cookies are used to understand how visitors interact with the website. These cookies help provide information on metrics the number of visitors, bounce rate, traffic source, etc.
Cookie
Duration
Description
_ga
2 years
This cookie is installed by Google Analytics. The cookie is used to calculate visitor, session, campaign data and keep track of site usage for the site's analytics report. The cookies store information anonymously and assign a randomly generated number to identify unique visitors.
_gid
1 day
This cookie is installed by Google Analytics. The cookie is used to store information of how visitors use a website and helps in creating an analytics report of how the website is doing. The data collected including the number visitors, the source where they have come from, and the pages visted in an anonymous form.
Advertisement cookies are used to provide visitors with relevant ads and marketing campaigns. These cookies track visitors across websites and collect information to provide customized ads.
Cookie
Duration
Description
IDE
1 year 24 days
Used by Google DoubleClick and stores information about how the user uses the website and any other advertisement before visiting the website. This is used to present users with ads that are relevant to them according to the user profile.
test_cookie
15 minutes
This cookie is set by doubleclick.net. The purpose of the cookie is to determine if the user's browser supports cookies.
VISITOR_INFO1_LIVE
5 months 27 days
This cookie is set by Youtube. Used to track the information of the embedded YouTube videos on a website.